How to Make a Wooden Decoy Bird to Protect Your Garden
Welcome! This article contains affiliate links, meaning I get a commission if you decide to make a purchase through my links, at no extra cost to you.
When my husband started whittling away in his workshop for hours on end, I got a little worried. Surely there were more pressing things to be doing than carving wooden birds?
That was a couple of months ago, and now we’re enjoying the fruits of his labor quite literally. Our tomatoes are untouched, and we’re even getting a few strawberries and figs, which is a treat as the birds have been devouring them all up to this point.
Our wooden decoy birds are flying high and are proving decidedly fruitful if you’ll excuse the pun.
Why You Need a Decoy Bird in Your Garden
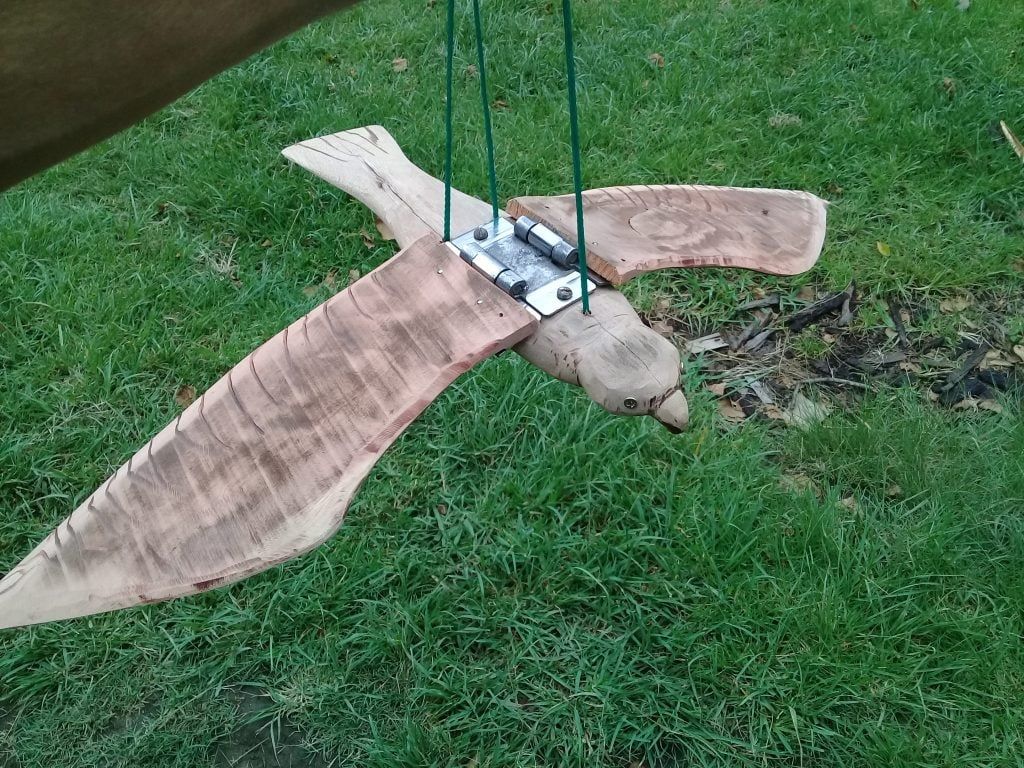
Simple enough to make, or so my husband assures me, decoys can be used for various purposes.
Duck decoys, for instance, are used by hunters to attract other ducks. Crow hunters use decoy owls to provoke aggressive behavior in their prey.
Ours was a rather more hippy approach, aimed at using raptor decoys to scare off the seed and fruit-eating birds.
What Kind of Decoy Should You Make?
Before you start the creative process of making a decoy bird, do some research. If you want a deterrent, find out what raptors and birds of prey are most common in your area.
Also, find out what birds you want to deter and which predators are most likely to keep them off your plants without scaring the living daylights out of them.
While there are a lot of raptors in the Eastern Cape of South Africa, including the impressive Crowned Eagle and the iconic Fish Eagle, when it comes to predators that target small seed-eaters, the Gymnogene and African Goshawk are our principal species. We, therefore, chose these as our decoy models.
What Do You Need to Make a Wooden Decoy?
You might find you need some wood, for starters, a couple of hinges to attach the wings, and some hard-wearing, UV-resistant twine or string.
You’ll also need the following tools:
- Jigsaw (where to buy a jigsaw)
- Angle grinder (and sanding discs) (where to buy an angle grinder)
- Axe (where to buy a good axe)
- Drill (where to buy a drill)
- Hammer and chisel (where to buy a hammer and chisel)
- Wood carving knife (where a buy a good quality carving knife)
A Step-by-Step Guide to Building a Wooden Decoy Raptor
Step 1
Study the shape of the bird you’re modeling your decoy on, focusing on the wing and tail shape. Without the correct proportions, you won’t be fooling anyone!
A basic rule of thumb is that each wing should be roughly the same length as the bird’s body and tail combined.
Step 2
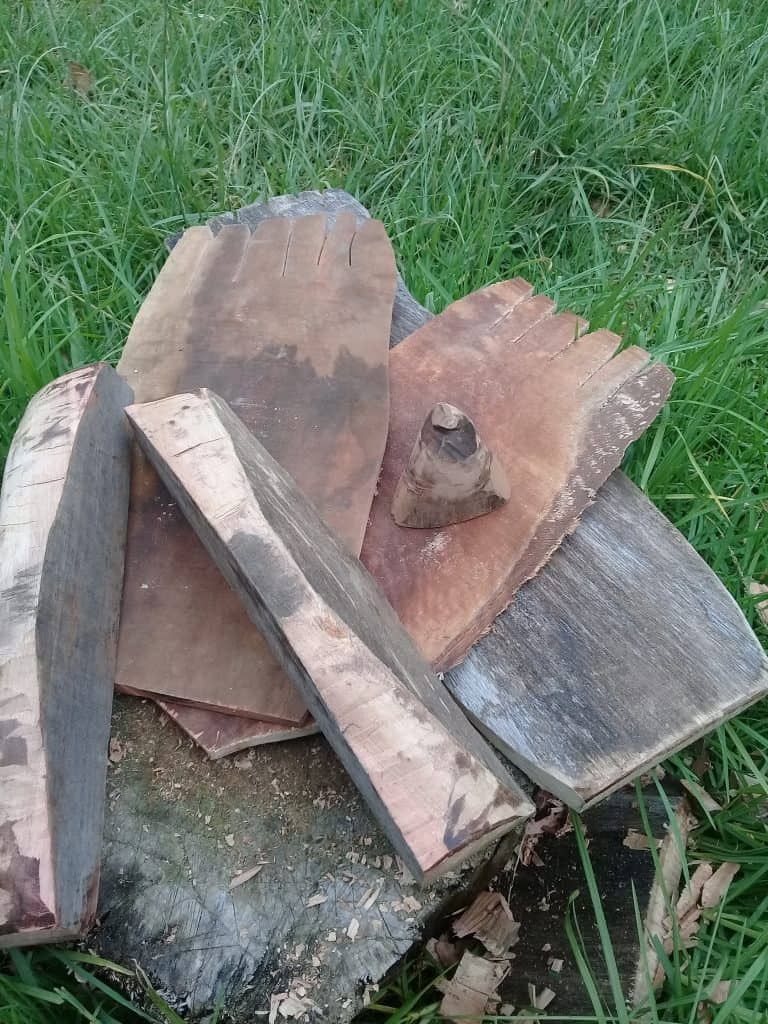
Select and assemble your equipment. We opted for offcuts of eucalyptus, which is durable, weather-resistant, and relatively easy to work with.
Step 3
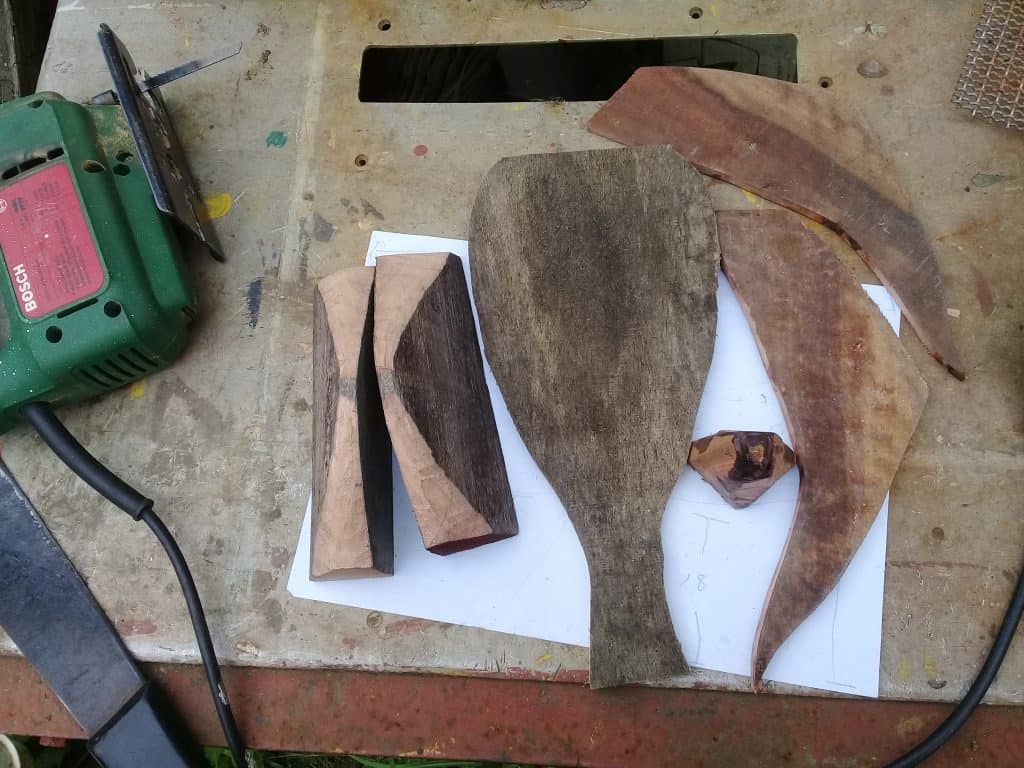
Stencil or sketch the pattern of your bird onto the wood.
We used 15mm planks for the wings and a 50mm x 40mm plank for the thicker body. Once you’ve got the shapes satisfactory, cut them out using a jigsaw, reciprocating saw, or similar tool. (The Milwaukee Hackzall is awesome, check it out!)
Step 4
Create the contours of the wing using an angle grinder with an 80-grain sanding disk attached. With a little practice, you can even create shading and patterns to mimic the feathers.
You can see our favorite angle grinders here!
Step 5
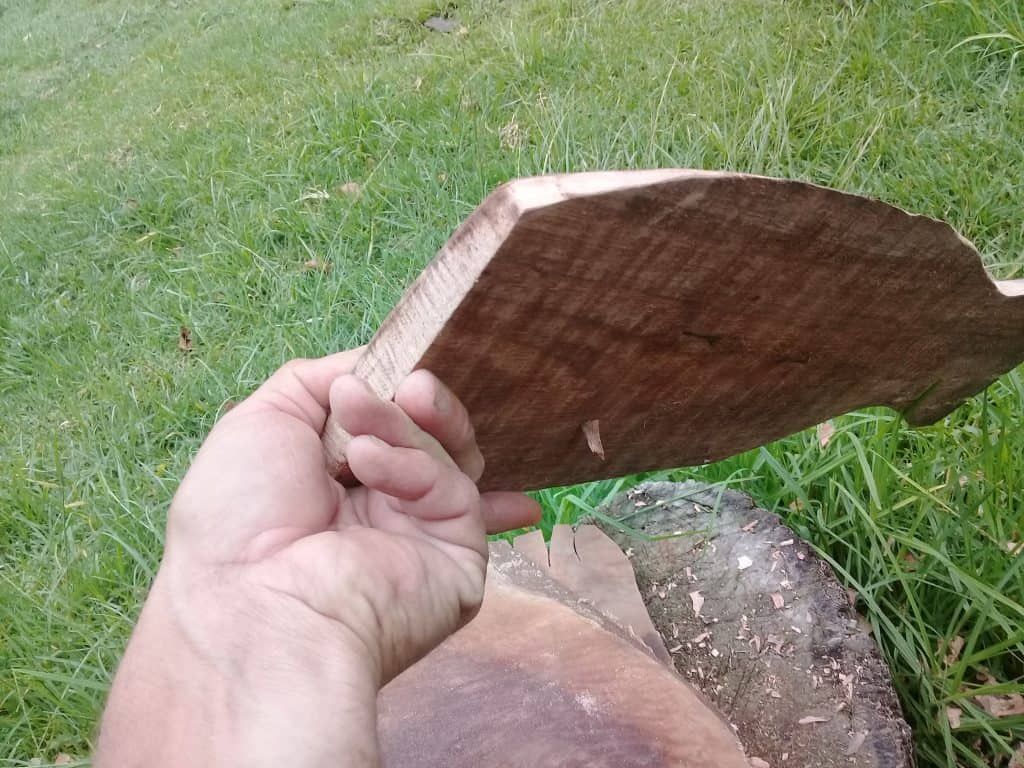
Although the plank we chose for the body was already slightly tapered, using an axe, chisel, and wood carving knife, we enhanced the shape further.
If you’re using plywood for your decoy bird, you can create a thicker body by laminating a few pieces together and then contouring them with a sanding disk, as you did the wings.
Step 6
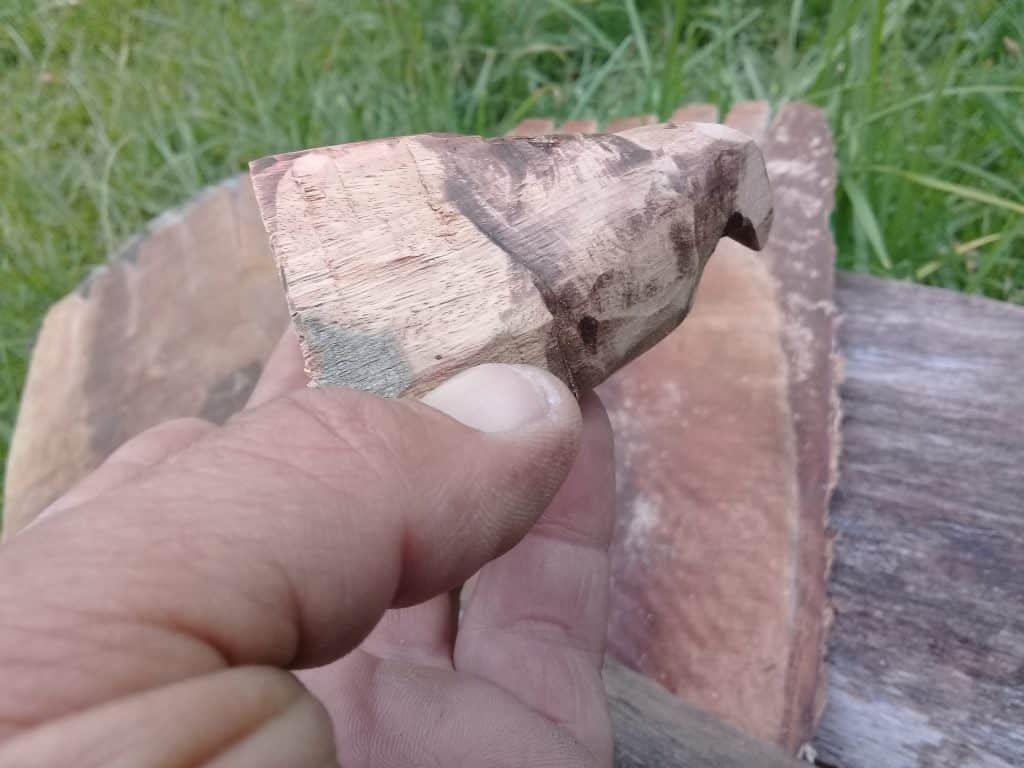
Construct the head of your raptor, making sure the beak is accurate enough to be convincing.
This is a tricky step and may take several attempts before you get it right. Some deft work with a chisel and a piece of sandpaper should prove successful in the end, however.
Step 7
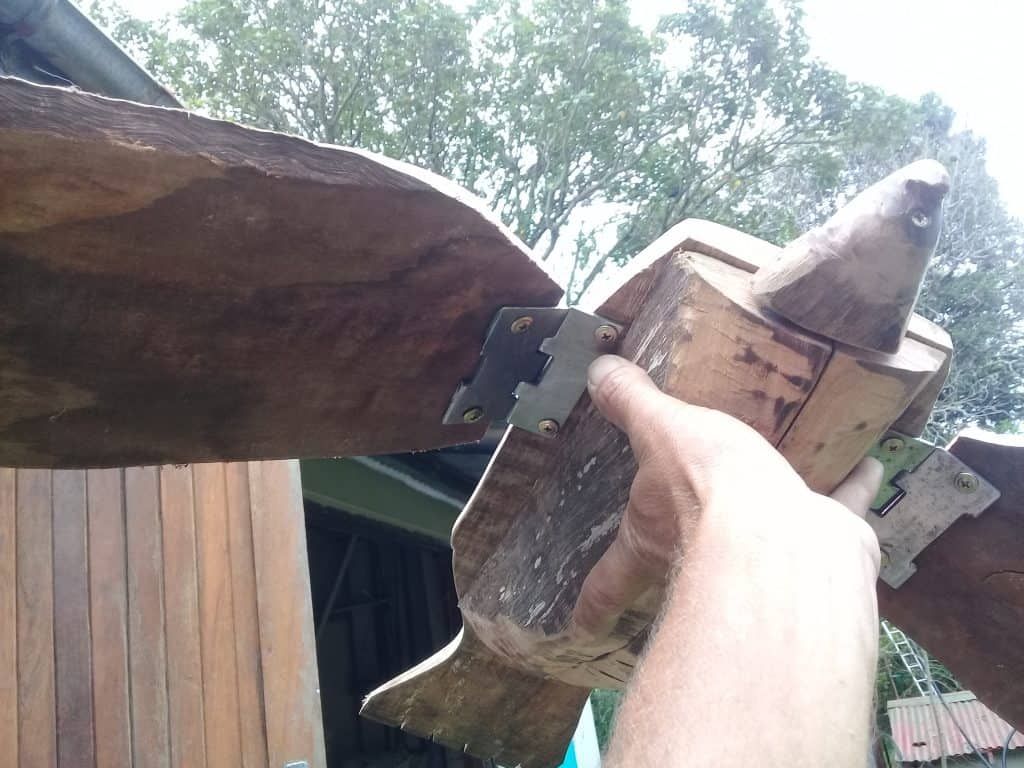
Attach the wings to the body using stainless steel door hinges (like these).
While you don’t have to use hinges to attach the wings to the body, it does allow for more movement which is essential if the decoy is to be successful.
“Birds often acclimate to the same visual stimulus in the same exact place every single day (source),” so a motionless decoy will be less effective than one that flaps and sways in the wind.
If you’re making a large bird of prey, it’s advisable to use a plank to make the structure more secure. Attach the body and tail to the bottom of a center plank, and then screw the wings to the top.
With a smaller decoy, including the tail as part of the body is resilient enough.
Step 8
Attach the head to the completed structure using a wooden dowel or screw.
Step 9

Complete the model by adding screws or drill small holes to replicate the raptor’s piercing eyes.
Step 10
Drill holes through the body where you want to attach your strings. This should be done using a tripod concept, with either two strings at the front and one at the back, or vice versa.
On the smaller bird, no strings were added to the wings, but on the larger one they were and it seems to be more stable as a result. The smaller one tends to invert in a strong wind, while the larger one just keeps on flying.
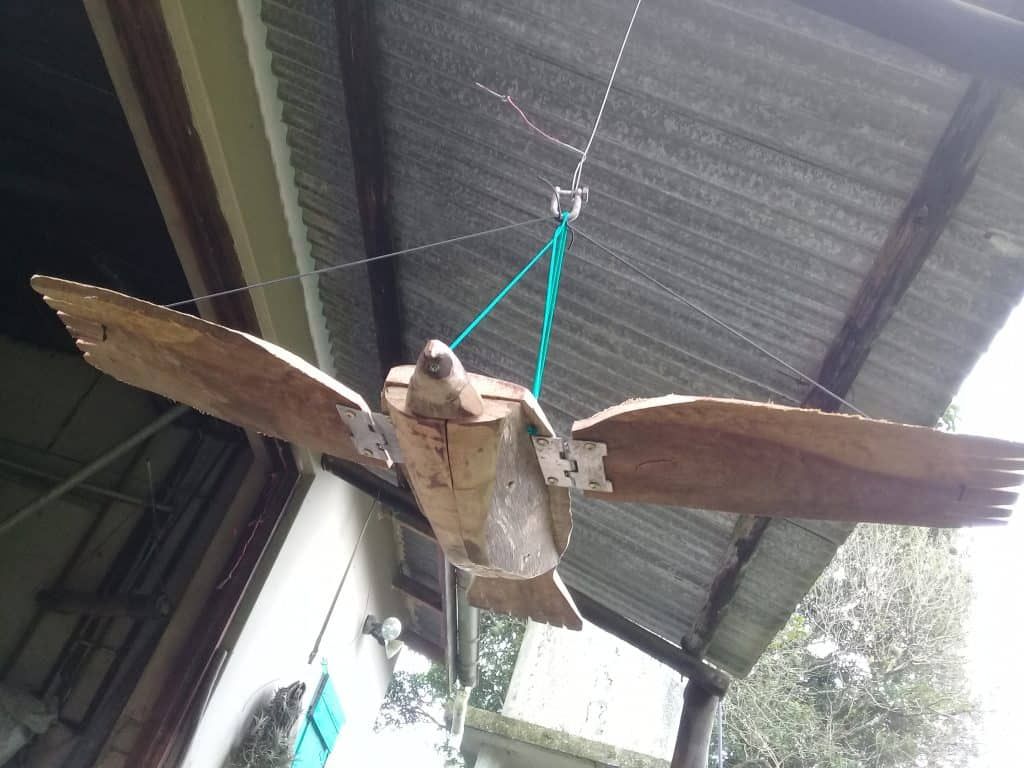
If you decide to put two strings at the back, you can also pull them through the holes, letting the ends dangle so they replicate the bird’s legs and feet.
If you don’t want to spend a lot of money on a good drill, have a read of our reviews of the best drills under 50 and best cordless drill under 100!
Step 11
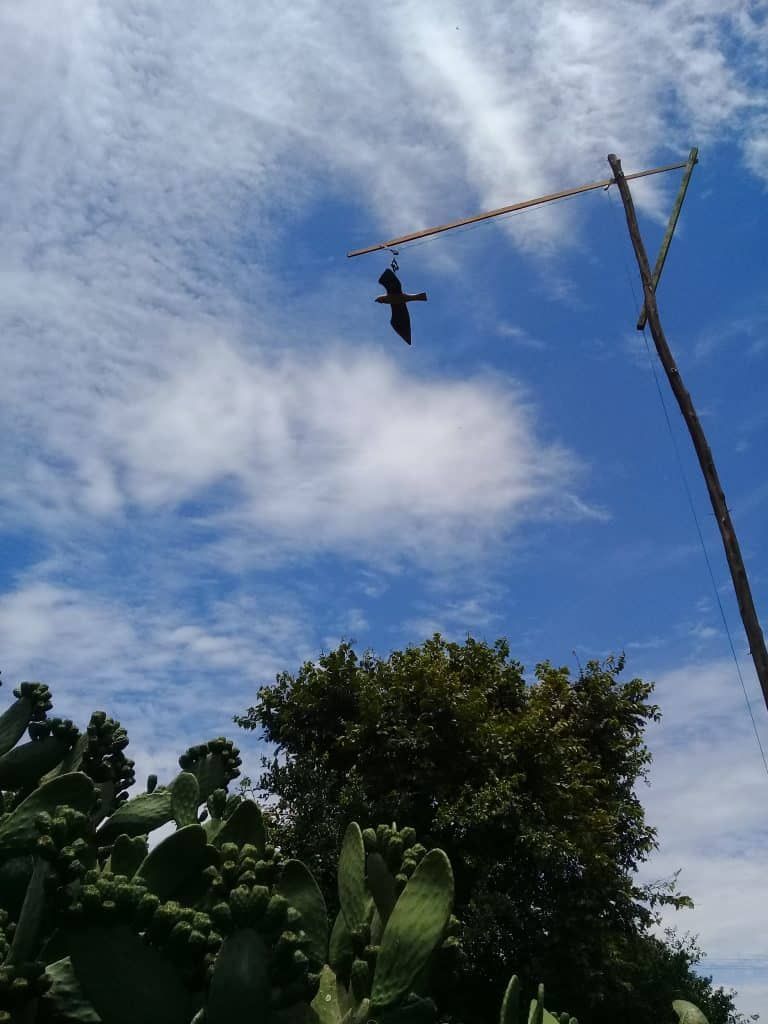
Let them fly!
We planted tall poles and used a pulley system (like this) to launch our wooden decoy birds into the sky.
This DIY Project Might Give You Wings
I take back everything I said about my husband wasting his time building wooden decoy birds. They’re highly effective and mean that at least some of our strawberries and figs are making it to the kitchen table now.
The birds have, by no means, disappeared, and we’re delighted to hear and see the same abundance of birdlife as we’ve always enjoyed on the small-holding.
The only difference is, they no longer feel comfortable enough to sit, exposed, on the top of a fig tree or out in the open where the tomatoes are flourishing.
If you want a humane way to protect your fruit from birds, mice, and other little fruit-munchers, why not give making a wooden decoy bird a whirl? You never know, it might just give you wings.
- Editor’s note – Many thanks to both Nicky and Colin Hoseck for sharing some of their experiences in South Africa with us! We love your articles Nicky and would like to thank Colin for the wonderful images to illustrate this tutorial! Colin has provided many amazing photos to go with articles published on OH, some of which you can see in these articles: How to Tell If a Goat is Pregnant and How to Make Comfrey Ointment. You can read all Nicky’s articles here.
- If this DIY project sparked your creativity, have a look at some of our other DIY projects, like the Wine Barrel Serving Tray, Easy Cheese to Make at Home, Super Simple Tallow Soap, and Building a Backyard Cabin Kit.


