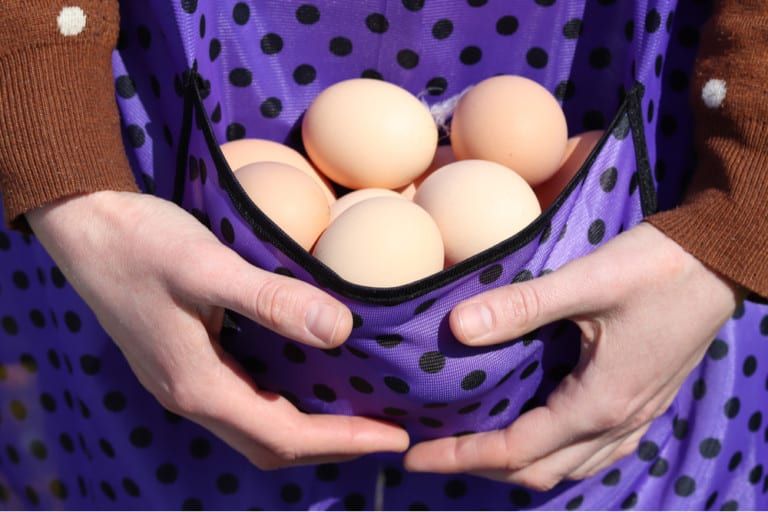
7 Homemade Cheese Recipes That Are Super Easy to Make Yourself
Welcome! This article contains affiliate links, meaning I get a commission if you decide to make a purchase through my links, at no extra cost to you.
If you want to level-up your make-it-from-scratch game, why not try an easy homemade cheese recipe? Making things from scratch can be fun and rewarding, and making your own cheese is no exception. Plus, you get delicious cheese that’s often tastier than any store-bought cheese.
But isn’t making cheese kind of complicated?
While cheesemaking does have a low barrier for entry, it can get complex – it involves a bit of culinary chemistry, after all. Some cheese is quite finicky in terms of the temperature, pH, and ingredients used to make it. Some cheeses can take days to make and need expensive gadgets to press and store.
The good news is: not all cheesemaking is difficult!
There are many kinds of cheese, such as cream cheese, ricotta, feta, farmer’s cheese, and others, that you can make at home with just a few ingredients, no uncommon equipment, and no prior experience! It’s also a great activity to do with kids.
We’ll first dive into some background information about cheese ingredients and the cheesemaking process. Then, we move onto the main event – 6 super easy homemade cheese recipes that’ll make you look like a pro cheesemaker, even if you’ve never made cheese before!
- The Ingredients Used to Make Cheese
- The Basic Steps of Making Cheese
- Cheesemaking Equipment
- Choosing Homemade Cheese Ingredients
- 1. How to Make Homemade Cream Cheese
- 2. How to Make Homemade Ricotta and Cottage Cheese
- 3. How to Make Homemade Feta cheese
- 4. How to Make Homemade Farmer’s cheese
- 5. How to Make Homemade Mozzarella Cheese
- 6. How To Make Homemade Halloumi Cheese
- Cheese Made Even Easier With Cheesemaking Kits
- Ingredients You'll Need to Make No-Culture Cheese
- How to Make No-Culture Homemade Cheese
- Bonus Tips for Using Leftover Whey
The Ingredients Used to Make Cheese

Cheesemaking is ultimately a simple process using four primary ingredients:
- Milk
- Starter culture (i.e., bacteria – the good kind)
- Coagulant
- Salt
When you combine these ingredients, a sort of chemical reaction occurs, causing the milk to clump up into curds.
This reaction happens when you lower the pH and make milk more acidic. This change in pH causes the casein proteins in the milk to condense and form curds, separating from the liquid whey. The whey is eventually strained off while the curds are (sometimes) pressed into bricks.
The type of milk, starter cultures, and any added ingredients will ultimately determine the variety and flavor of cheese you make.
The Basic Steps of Making Cheese
The cheesemaking process boils down to just four simple steps.
While the actual procedure can vary from one cheese to another, the basic cheesemaking procedure is the same:
- Add starter culture to milk, which will begin to ferment the cheese.
- Add a coagulant to solidify the milk.
- Drain off the liquid whey.
- Add salt.
And, that’s it! After that, you can choose to age the cheese or brine it, but the most basic cheeses are ready to eat right after cooking.
Cheesemaking Equipment

In this article, you’ll find homemade cheese recipes that don’t require any special equipment. However, some cheeses require more elaborate tools and implements. So, that’s just something to keep in mind for when you master basic cheeses and branch out to new recipes.
To make cheese using these simple beginner cheesemaking recipes, you’ll only need:
- Large, non-reactive pot (stainless steel, avoid copper, aluminum, and cast iron)
- Cheesecloth/butter muslin (in a pinch, you can use a tea towel or clean cotton pillowcase)
- A good thermometer
Choosing Homemade Cheese Ingredients
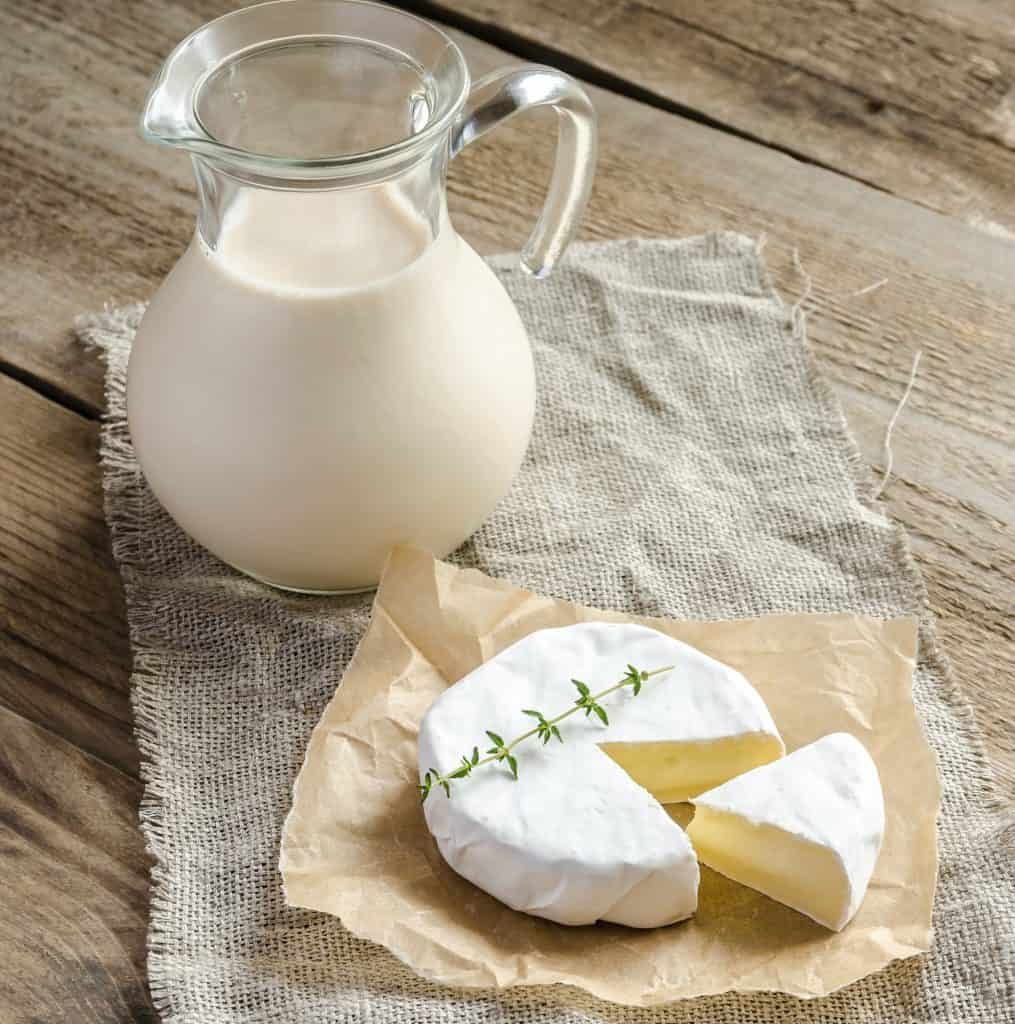
There’s chemistry at play here, so you need to be careful about your ingredients when you’re making homemade cheese.
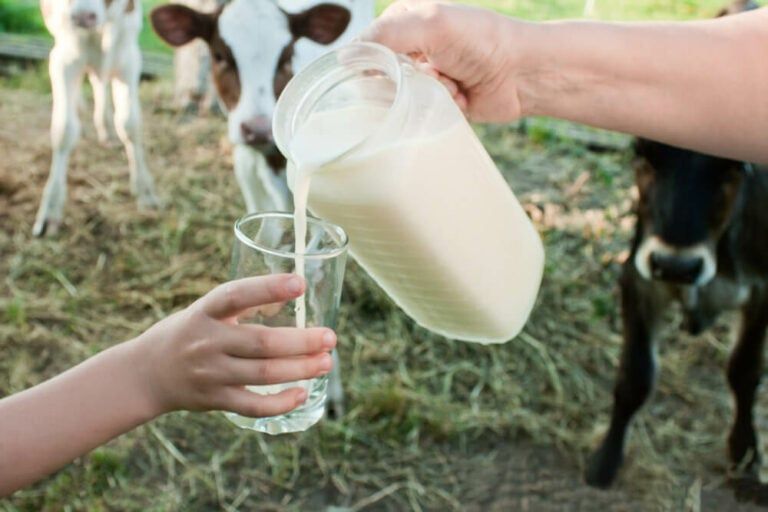
Use Raw or Pasteurized Milk
Use raw or pasteurized milk, not UTH or ultra-pasteurized milk, to make your homemade cheese. It doesn’t matter whether it’s goat, sheep, or cow milk. The less pasteurization, the better.
Ultrapasteurized milk has been heat-shocked to kill bacteria, a process that, unfortunately, breaks down the milk proteins and makes them less sticky. If you use pasteurized milk to make cheese, the resulting cheese will probably be too soft.
Raw Milk for Homemade Cheese
Raw milk is pretty amazing. It’s fresh, which means you’ll get a stronger curd and more cheese. Raw milk can also give your cheese character and flavor.
Some states do not allow the sale of raw milk. Otherwise, you may only be allowed to buy it straight from the farm. If you are near a farm that sells fresh milk, I highly recommend you choose raw milk – it gives your cheese an amazing flavor.
Raw milk may be hard to find and it can also be much more expensive to buy than pasteurized milk. Another problem with raw milk is its bacteria. Most of the time, these bacteria are very beneficial, but if the milk is old or not cooled properly, you do run the risk of those bacteria turning “bad” on you.
You’ll either get a funny-tasting cheese or, in the worst case, you can get very ill.
Pasteurized Milk for Homemade Cheese
Pasteurized milk is a lot easier to get, but be mindful of the fact that a lot of milk you buy these days is ultra-pasteurized. You don’t want those for homemade cheese.
Pasteurized milk, however, is often much cheaper and more available than raw milk, which might make it more attractive for you. It also tends to give you a more consistent cheese because it doesn’t contain anywhere near as many bacteria as raw milk.
If you’re planning on selling cheese as a side hustle or homestead income, this is a big benefit. Your cheese will have the same flavor every time. The flavor won’t be as intense as cheese made with raw milk, though, and you still run a risk of bd bacterial growth.
Cultures for Health says that in the 80s, 20,000 people became ill from improperly pasteurized milk… The pasteurization methods are probably better these days, but still. Something to keep in mind.
Iodized Salt
Don’t use iodized salt for cheesemaking. For different reasons, iodine interferes with milk’s ability to coagulate and form proper cheese.
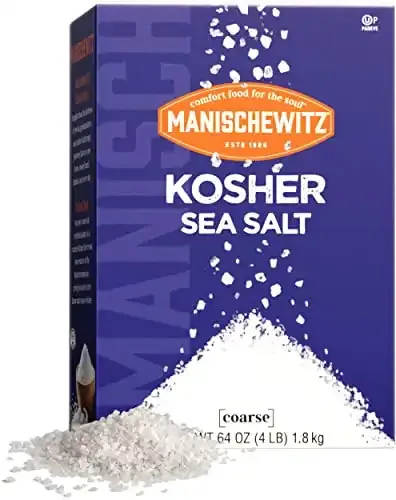
Instead, opt for sea salt, kosher salt, or raw, un-iodized salt.
Salt like this one that does not contain iodine is perfect for making cheese. Iodine and other additives can interfere with the cheesemaking process, resulting in a cheese with a strange consistency.
Calcium Chloride
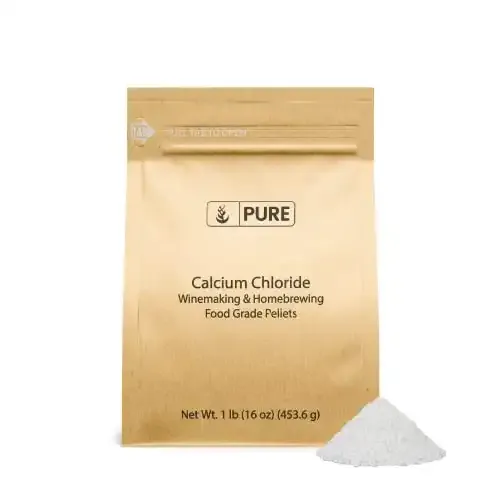
Many cheese recipes contain calcium chloride. Calcium helps glue together the milk proteins to create cheese curds. If your cheese forms weak curds, it might benefit from a little bit of calcium chloride.
The formation of the cheese, as well as the flavor of the final product, depends on the specifics of the ingredients used – right down to the diet of the animal that produced the milk or cream!
Calcium chloride, commonly used in brewing and cheesemaking, can help your cheese solidify.
Coagulants
When it comes to coagulants, the most traditional choice is rennet. Rennet is a chemical compound that people historically harvested from the stomachs of unweaned calves. The cultures in their stomachs could pre-digest the milk, turning it into a solid cheese.
Nowadays, we have more options. There are plenty of vegan and vegetable rennets out there. One of my favorite vegan rennets to use is Rickis Vegetable Rennet, which is made from GMO-free, organic veggies.
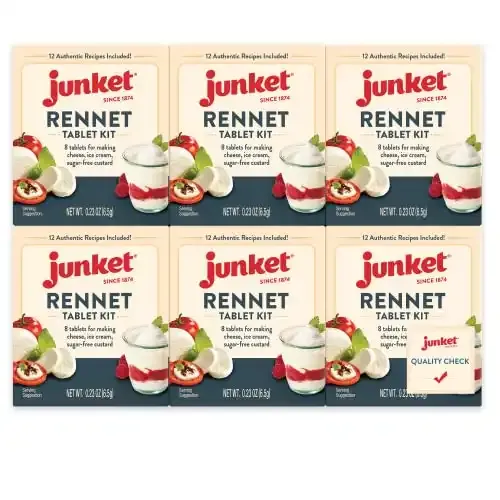
These rennet tablets are pretty much every cheesemaker's favorite. They are easy to use, reliable, and are also what most cheesemaking recipes call for.
6 Super Easy Homemade Cheese Recipes
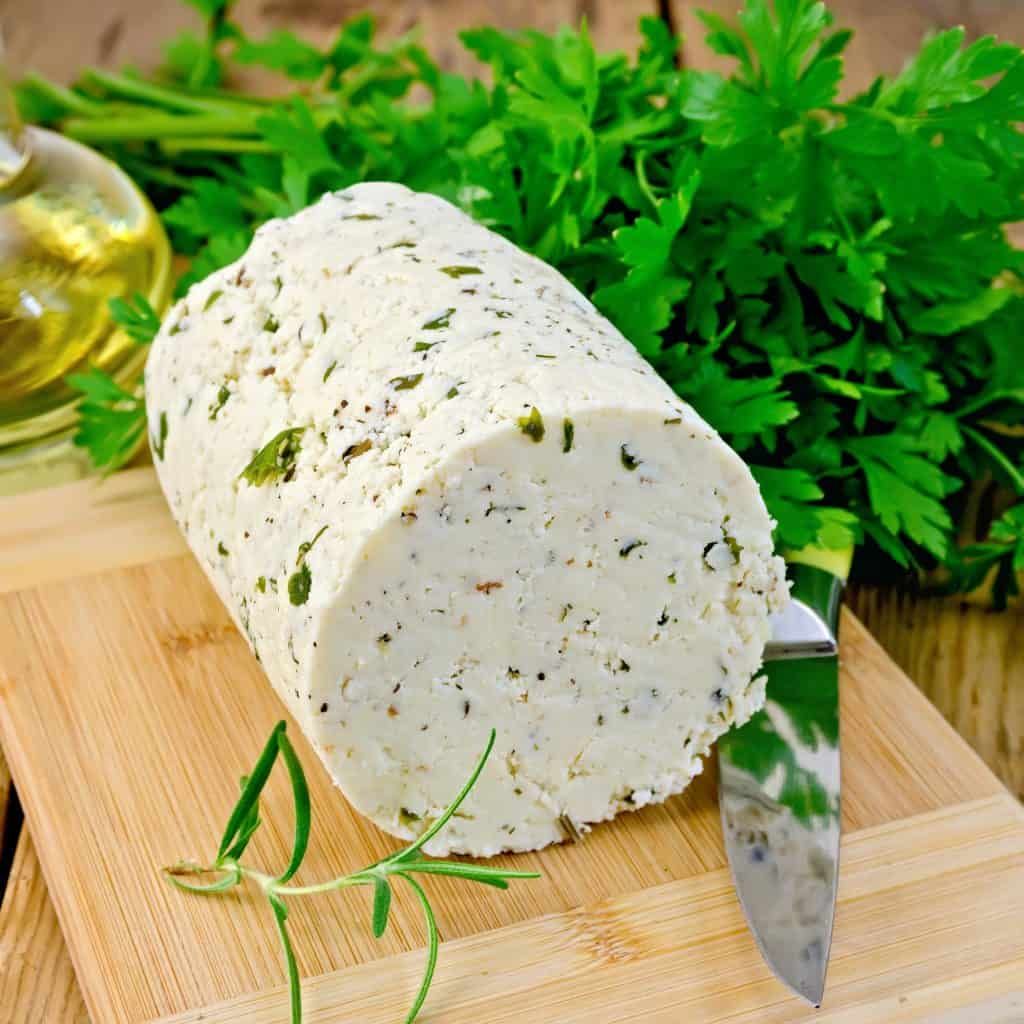
Now that we have our ingredients and equipment, let’s dive into the easiest beginner homemade cheese recipes.
From cream cheese to feta, there’s sure to be something here to get your creative juices flowing and your stomach ready to eat some delicious cheese!
1. How to Make Homemade Cream Cheese

One of the easiest cheeses to make is homemade cream cheese.
For this homemade cream cheese recipe, you heat milk, cream, and buttermilk on the stove, after which you add the cheese culture (rennet).
After sitting for 12 hours at room temperature, the resulting yogurt-like mixture can be strained through cheese cloth and salted.
- Recipe: Cream Cheese from New Mexico State University
Want to take that cream cheese a step further? Chef Mike Keuler, the cheese-lover behind So Damn Gouda, recommends a Fresh Herb Goat Cheese Ball. “The beauty is,” Chef Mike says, “it’s nearly impossible to mess up and requires no special equipment!”
- Recipe: Fresh Herb Goat Cheese Ball from So Damn Gouda
2. How to Make Homemade Ricotta and Cottage Cheese
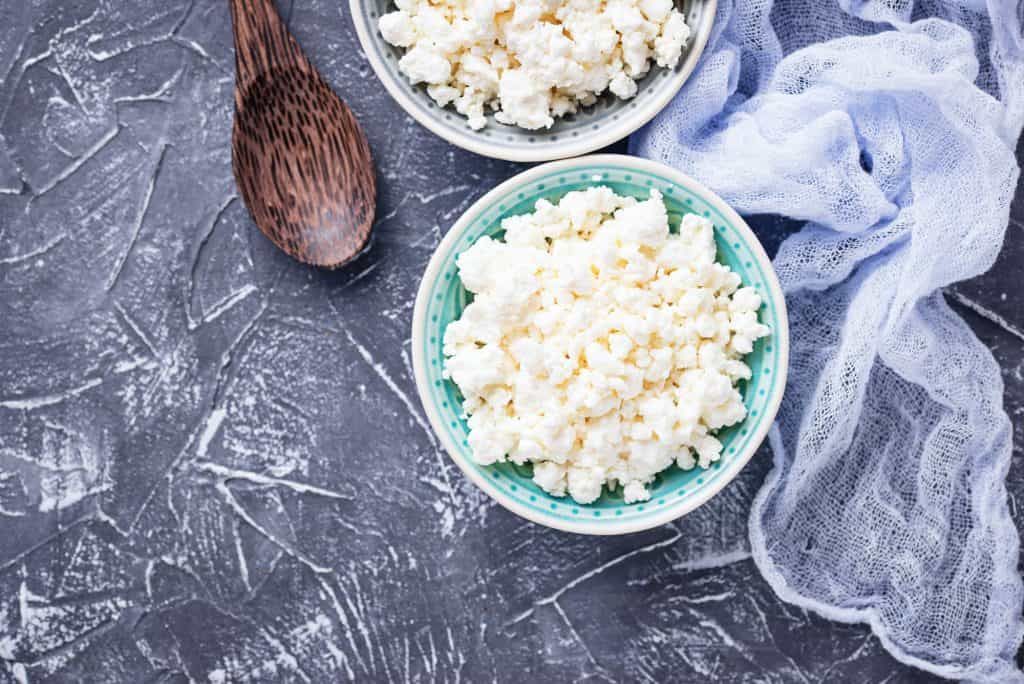
Cheese purists may call for my head on a platter for putting these two homemade cheese recipes in the same subheading, but the truth is they have similarities. They’re both white, soft, mild, and fresh types of cheese, and they’re even used interchangeably some of the time.
Remember Little Miss Muffet with her “curds and whey?” Traditionally, when cheesemakers would separate milk into curds and whey, they’d make cottage cheese from the curds and ricotta from the whey.
How to Make Ricotta Cheese
Finding fresh whey could be a challenge, but if you have some, the recipe below for fresh ricotta couldn’t be much easier. Put the whey in a pot, heat it, wait 5 minutes, skim, and strain. No whey? Try the recipe for goat milk ricotta.
- Recipe: Homemade Ricotta Cheese from She Loves Biscotti
- Recipe: Goat’s Milk Ricotta Cheese from Honest Cooking
How to Make Cottage Cheese
If you’re after cottage cheese instead, try this simple recipe:
- Heat some milk, then add mesophilic cultures, followed by rennet.
- The mixture forms a firm curd in about two hours.
- Cut the curd into pieces, then cook the mixture on low heat for 15 minutes before straining and salting.
This homemade cheese recipe should result in drier curds, but you can also add cream to the final product for a creamy cheese.
- Recipe: Quick Cottage Cheese from The Food Network
How to Make Paneer Cheese
Can’t decide between ricotta and cottage? Try this paneer recipe, courtesy of Summer Yule, a Connecticut-based dietician and recipe developer at SummerYule.com.
Paneer is an Indian cheese similar to ricotta, except that it’s often pressed into firm bricks to hold up in sauces like curries.
“I use crumbled paneer like ricotta in recipes,” Yule notes, “If you add a little cream, you get cottage cheese. So this recipe gets you several easy cheeses!”
- Recipe: Paneer from SummerYule.com
3. How to Make Homemade Feta cheese
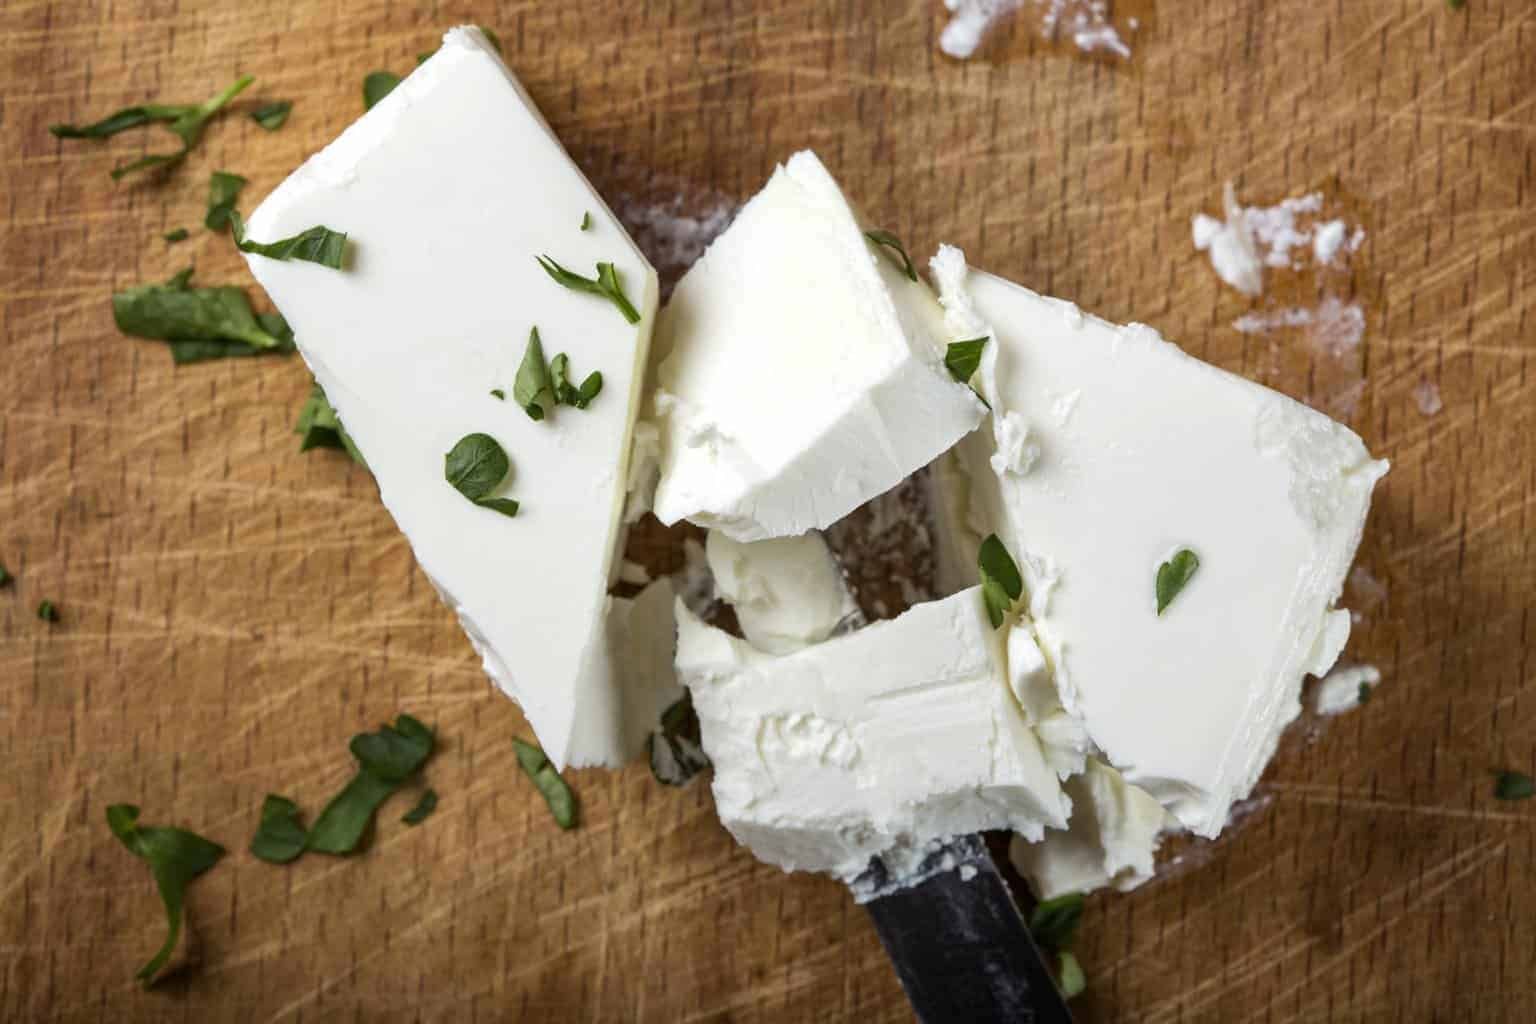
Homemade feta is a crumbly, salty, white, soft cheese traditionally made from goat’s milk. However, you can also use cow’s milk.
Other ingredients include feta starter culture and rennet. For this type of cheese, it is best to add the salt by brining the curds in salt water for 4-5 days. This one, in particular, might benefit from calcium chloride to firm it up.
- Recipe: Feta cheese from New England Cheesemaking
4. How to Make Homemade Farmer’s cheese
Farmer’s cheese is a mild white cheese with a crumbly texture similar to cottage cheese or ricotta. You can use it as a substitute for either of those or mix it with herbs and use it as a spread.
Farmer’s cheese can be trickier to make than the previous cheeses we’ve discussed since it requires diligent temperature-taking.
To make this simple cheese, you heat the milk and mix it with a starter culture. After the curd forms, you cut it into ¼” cubes and heat it slowly. Then, cook it at 112 F until the curds firm up. Finally, you can drain the curds and salt your cheese.
You can also add heavy cream to this homemade farmer’s cheese recipe for a creamier, softer cheese.
- Recipe: Super Easy Farmer’s Cheese Recipe from Valya’s Taste of Home
5. How to Make Homemade Mozzarella Cheese
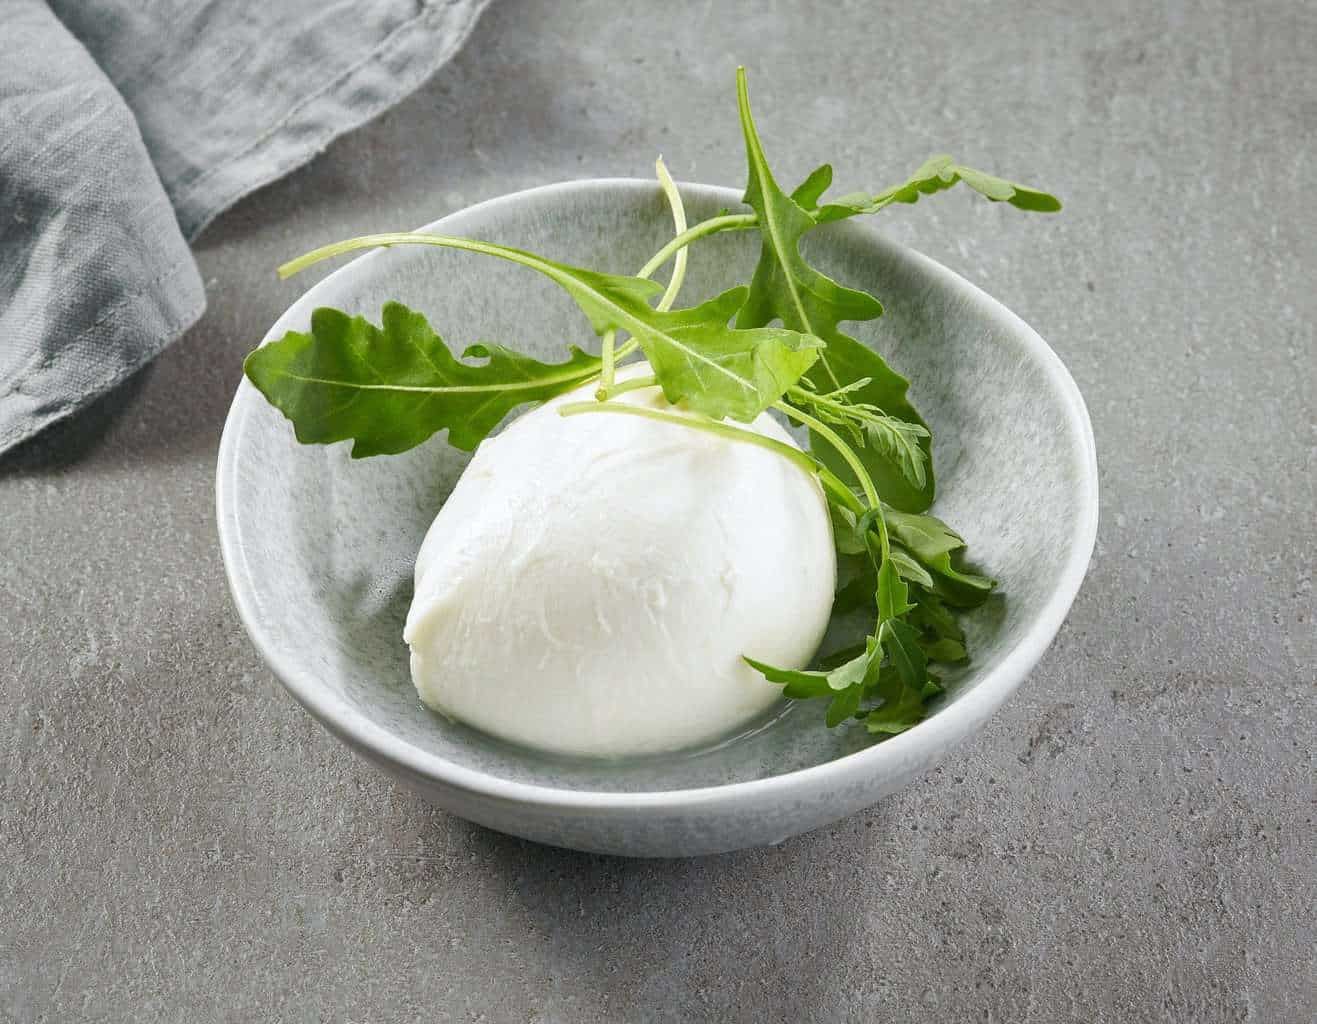
Mozzarella cheese takes a little more effort in that it needs to be stretched and pulled, but this 30-minute recipe is a great choice for beginners.
The recipe uses cow’s or goat’s milk, liquid rennet, and citric acid. After the curd is formed and cut into pieces, the curds need to be stretched using either the microwave or a stove-top water bath. “Stretch the curd by pulling it like taffy until it is soft and shiny,” the recipe notes, “the more you work the cheese, the firmer it will be.”
- Recipe: 30-Minute Mozzarella from Cultures for Health
Jessica Randhawa, the head chef, recipe creator, photographer, and writer behind The Forked Spoon, offers some pro tips for making a great mozzarella: “make sure to use whole milk that is not ultra-pasteurized for the smoothest experience,” she says.
“Temperature is key to a good mozzarella! The curd’s internal temperature should be 135 degrees Fahrenheit when starting the stretching phase. If it gets much hotter, the curds will fall apart and eventually dissolve, so make sure you have an accurate digital thermometer before starting.”
6. How To Make Homemade Halloumi Cheese
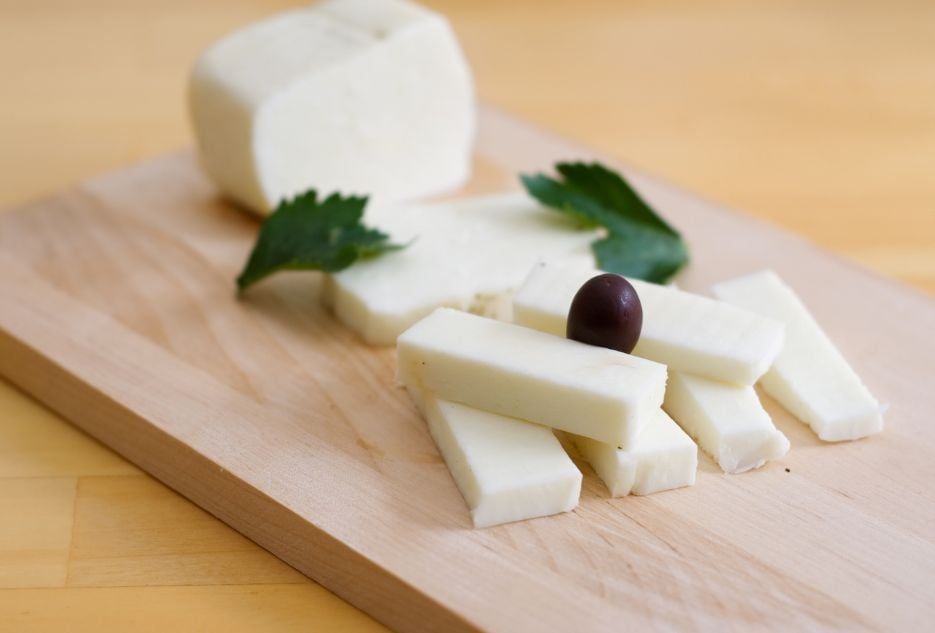
Halloumi is a semi-hard, salty cheese that only takes an afternoon to put together. Plus, it just requires some milk, rennet, salt, and calcium chloride.
Halloumi cheese is usually served grilled or on sandwiches, which hardens the outside to make a sort of fried cheese. It doesn’t readily melt, but it chars really nicely.
- Recipe: Homemade Halloumi Cheese from Almost Off Grid
One of the best things about halloumi is that it lasts quite a while since you store it in brine. The salt naturally preserves it, so if you don’t finish it within a week or so, don’t fret!
Cheese Made Even Easier With Cheesemaking Kits
If you’re looking for the fastest way to get into cheesemaking, consider a cheese making kit. These kits contain almost everything you need: starter cultures, rennet, calcium chloride, cheese salt, even a thermometer, and butter muslin.
All you need is milk or cream and you’re ready to make cheese!
-
 $36.99Get More Info
This 5-piece DIY kit includes everything you'll need to get started with cheese making. Inside, you'll find:
- Cheesecloth
- Vegetable Rennet
- Citric Acid
- Cheese Salt
- Cooking Thermometer
PAID LINK - We may earn a commission if you make a purchase, at no additional cost to you.
04/18/2024 01:56 am GMT -
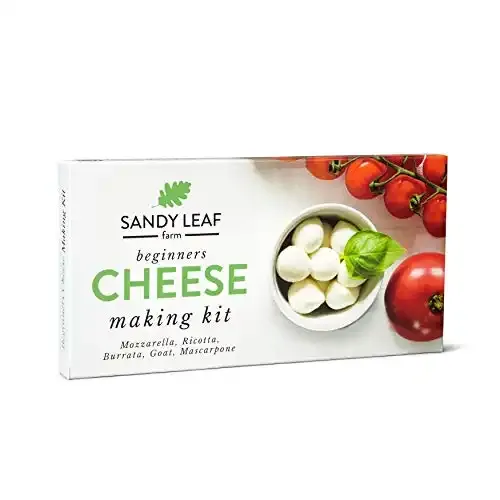
$11.75$10.25Get More InfoThis kit is the perfect introduction to making your own cheese at home. You can make five types of cheese; Mozzarella, Burrata, Ricotta, Mascarpone, and Goat Cheese.
The kit comes with cheese cloth, vegetarian rennet, and instructions.
PAID LINK - We may earn a commission if you make a purchase, at no additional cost to you.
04/18/2024 01:50 am GMT -
 Get More Info
This complete kit includes a thermometer, vegetarian rennet, cheese salt, measuring spoons, cheesecloth, citric acid, cheese molds, and an awesome instruction book.
With this kit, you'll learn to make Mozzarella, Halloumi, Burrata, Paneer, Queso Blanco, Ricotta, Mascarpone, Cheese Curds, Cottage and Goat Cheese. That's a lot of cheese!
PAID LINK - We may earn a commission if you make a purchase, at no additional cost to you.
-
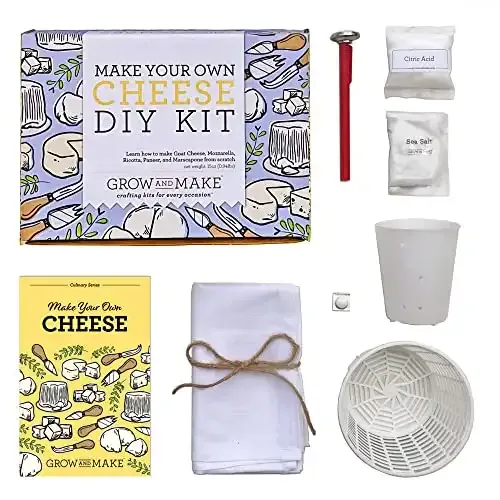 $44.95Get More Info
Want to prepare for a future full of cheesemaking? This kit has everything you'll need to get started and keep on cooking. Inside, you'll find:
- A basket mold
- A chevre mold
- Cheesecloth
- Citric acid
- Flake sea salt
- A rennet tablet
- A thermometer
- An instruction booklet with mozzarella and ricotta recipes
PAID LINK - We may earn a commission if you make a purchase, at no additional cost to you.
04/18/2024 02:10 am GMT -
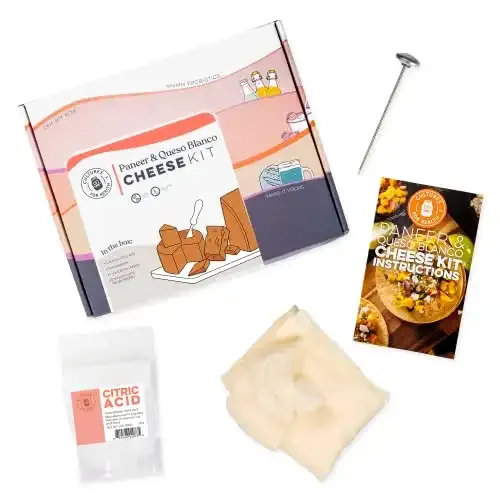 $26.99 ($2.81 / Ounce)Get More Info
This kit is a perfect introduction to making cheese at home.Make mild traditional Indian paneer and crumbly Mexican queso blanco with this kit, which includes citric acid, a thermometer, butter muslin, and a recipe book.
PAID LINK - We may earn a commission if you make a purchase, at no additional cost to you.
04/18/2024 02:20 am GMT
How to Make Easy, No-Culture Cheese From Scratch
Making your own cheese is a rewarding and cost-effective pastime, and best of all, it is easy and fun. This section will outline how anyone can make their own batch of no-culture cheese.
Ingredients You’ll Need to Make No-Culture Cheese

The ingredients for making a homemade no-culture cheese are simple.
1. Milk
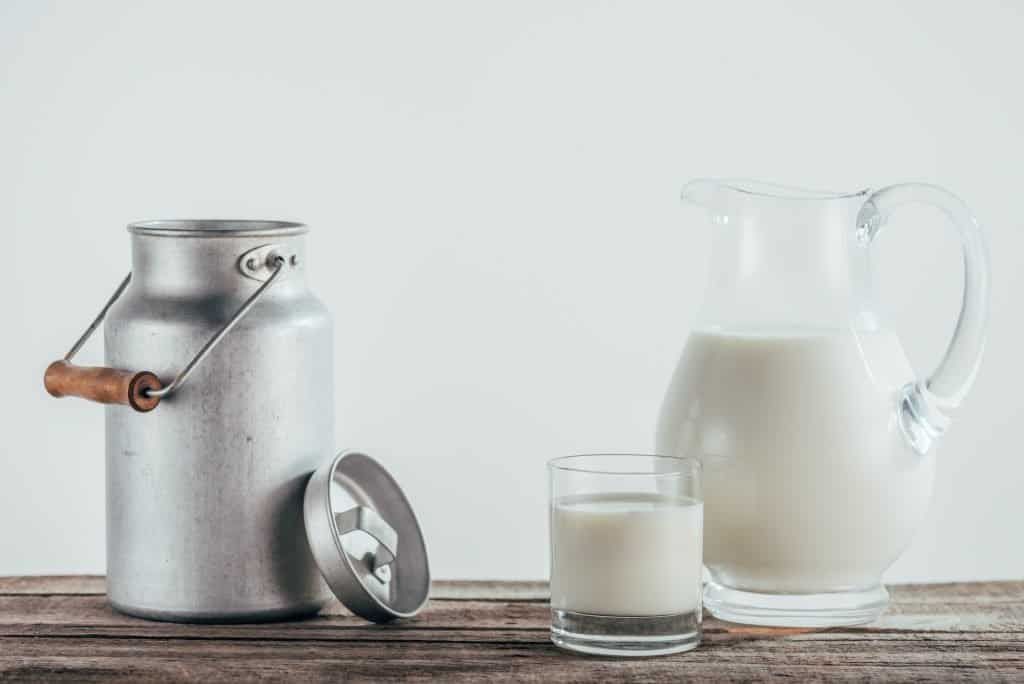
The most important ingredient in this homemade cheese recipe is milk. You will need 4 liters (8.5 pints) of unhomogenized, pasteurized cow’s milk.
This will give you a yield of between 500 and 700 grams (1-1.5 pounds) of cheese.
Milk is typically homogenized before it hits the shelves. Homogenization involves shaking the milk in a machine to get rid of fat concentrations.
While this makes it more pleasant to drink, the process can severely impact the end quality of the cheese in terms of texture and yield.
Farmer’s milk is normally unhomogenized, and while you can buy it at markets, it is becoming increasingly more available on supermarket shelves.
The better the quality of milk, the better the result.
Investing in good quality milk will give you creamy and tasty cheese to enjoy with your friends and family.
2. Rennet
The next thing you want to look for is rennet. You can easily find it online in liquid or tablet form. Rennet is an enzyme found in non-weaned cow, sheep, and goat guts.
That might be off-putting for some, but luckily, you can also find junket, which is a vegetarian version. This can also be found in liquid and tablet form.
The only other thing you are going to need for the base cheese is salt.
You will also need a cheese basket or some small cheese molds to allow the cheese to drain off the whey and a slotted spoon.
How to Make No-Culture Homemade Cheese
Here are the instructions for making your no-culture cheese:
- The first thing you want to do is allow the milk to come up to room temperature naturally.
- While that is happening, you should prepare your rennet or junket solution. For 4 liters of milk, add a teaspoon of rennet to a quarter of a cup of mineral water at room temperature. If using tablet form, use 1 tablet, stirring it into the water to dissolve it. If using junket, you may need around 4 tablets/teaspoons. This is because it is not as strong as rennet.
- Once you have stirred in the rennet, find a large pot and pour the milk in.
- Add a decent pinch of salt and very slowly heat it up on a low heat setting.
- Use a wooden spoon to stir the milk to prevent it from catching on the bottom. This is very important. If the milk catches on the bottom, it will affect the taste of the cheese when it sets. The scientific method for this is to put a thermometer in the milk and take it off the heat at 102 degrees Fahrenheit (39 degrees Celsius), the body temperature of a cow. In days gone by, no-culture cheese was made straight after the cow had been milked. As you continue to practice, you will learn how to tell the temperature by dipping your finger in the milk or touching the side of the pot. It should feel warm.
- When the milk reaches the right temperature, it is important to move it to a room temperature surface. If you leave it on the stove, and especially an electric element, it will continue to rise in temperature, ruining the separation process.
- Now it is time to add the rennet or junket water solution. Simply pour it in and stir gently and then put the lid on the pot.
- If you are making the cheese in winter, you should wrap it in a blanket. On the other hand, if you are making it in summer, you should let it rest in a well-ventilated area.
- Next, go make yourself a cup of tea and go read the newspaper or watch the news for an hour or so.
The Separation Process for No-Culture Cheese
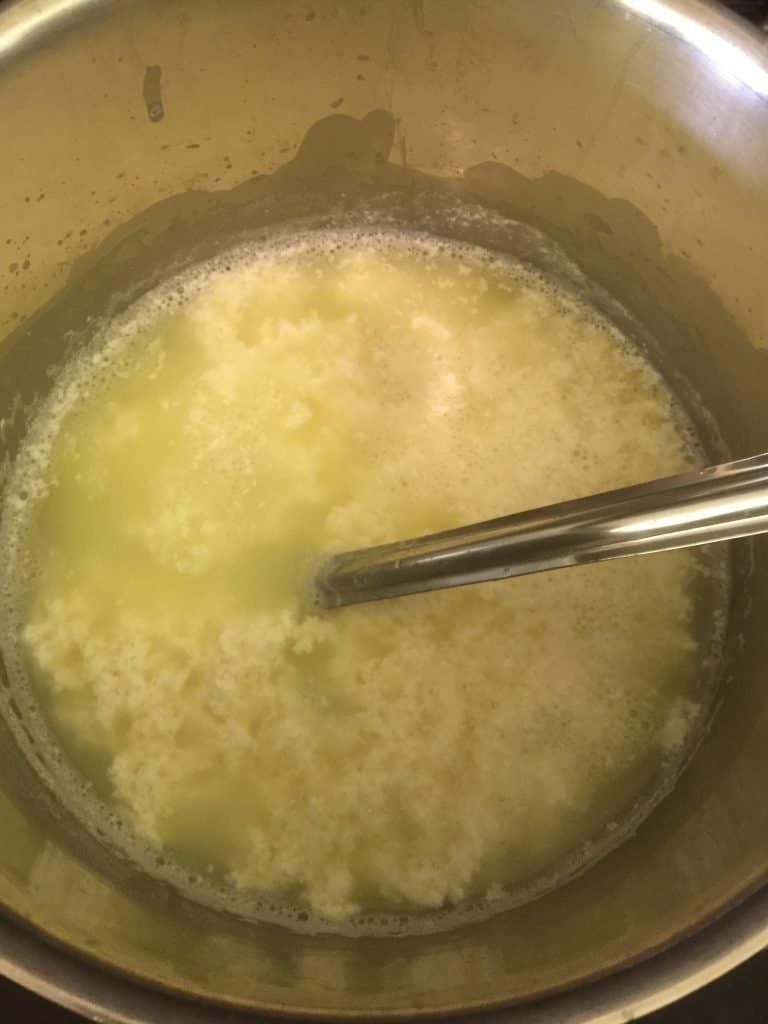
If you have done things correctly, when you lift the pot lid, you should see that the milk has separated into curds and whey.
You can tell if you have a good batch by lightly prodding it with a wooden spoon.
A good batch will hold together and sink under the yellowish whey without breaking apart when you prod it. If that’s the case, here’s what to do:
- Grab a kitchen knife and score the curds about six times parallel in any direction.
- Put the lid back on and let the curds rest for another 8-12 hours.
- Once that time is up, get a kitchen knife and score the curds horizontally, vertically, and diagonally.
- Set up a mesh grate over the sink and sit the cheese molds on the top of it, and you are now ready to start spooning the curds into the molds.
Filling or No Filling?

These cheeses can be enjoyed with or without a filling. The plain option is easy to do, but if you want to get fancy, here’s how to layer it up:
- All you need to do is use your slotted spoon to scoop curds into the molds.
- Fill them right up to the top and give them a gentle tap or two to drain off the whey.
- Once you have filled a mold, sprinkle liberally with salt. Give them a good dose as most of the salt will drain off with the whey.
- You can opt for any inclusions. Capers work very well, as do chopped olives, anchovies, fresh chilies, and pretty much any filling you can think of.
- The secret is to do it in layers and not put too much inside them, as it can cause them to break.
- Set aside a little bit of curd and let the cheeses drain for an hour or so.
- When you come back to them, you will see that they may have reduced in size.
- Use the curds set aside earlier to fill up the mold and let them drain again.
- Once they are drained, put the grate over a baking tray and pop them in the fridge for at least 24 hours.
Flipping Your Cheeses
You can enjoy your cheeses after 24 hours, but they do take a better shape if you flip them inside the baskets.
To do so, simply turn them upside down in your hand and give them a gentle tap. The cheese should fall out, and now you need to pop it back into the mold upside down.
Do not worry too much about them losing shape, as they should still have a soft enough consistency to take the shape of the mold.
Leave them for 12 hours, and they should now have an equal shape all around. Simply put them on a plate, drizzle with tasty olive oil and eat with tomatoes and basil, or just spread on crusty bread!
Drying and Pickling Your Cheeses
You can also dry these cheeses and store them in a jar for future consumption, but this only works with the plain ones.
Here’s how to dry and pickle your homemade cheese:
- You need to leave them in the fridge for a total of 10 days.
- After a couple of days, pop them out of their baskets and place them on top of the mold. Keep turning them over every day so they dry evenly and keep them in the fridge.
- After 10 days, take them out of the fridge. They should look yellowish.
- Next, soak your cheese in white vinegar. You should let them soak for at least 24 hours.
- When they are ready, roll them in crushed black pepper. The vinegar will have softened the outside of the cheese, which will allow the pepper to bind with it.
- Let the cheese dry for 24 hours, then store it in a glass jar. They will keep for at least three months.
- If you want to take the pickling up an extra notch, you can preserve them in red wine vinegar and olive oil mixture. This will lift the pickling levels to new heights, but it is a very strong flavor, so beware.
Other Options To Preserve Your Soft Cheeses
If you want to preserve your cheeses in their soft form, you can make up a saline solution. Be careful here; these soft cheeses take on salt very easily, so make a very weak brine and put it in an airtight jar.
Pop your cheeses in, and they will keep for months.
You can also put them in olive oil and flavor them with garlic, herbs, or peppercorns.
Bonus Tips for Using Leftover Whey
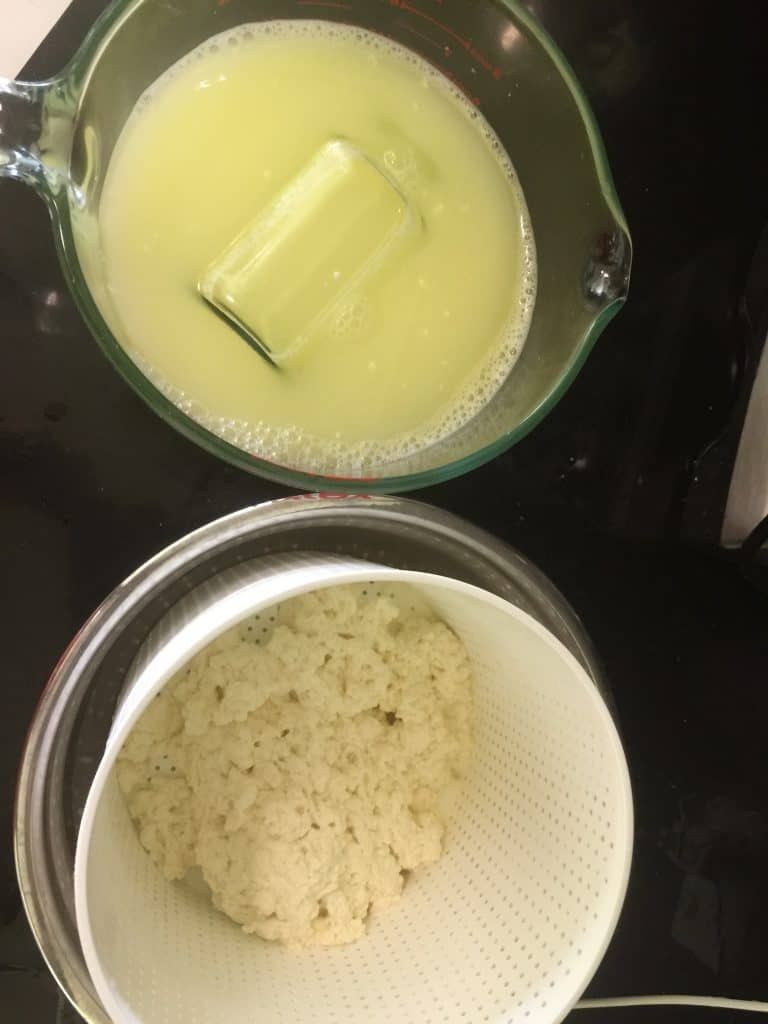
Got excess whey? Most people pour the whey used in the cheesemaking process down the drain. You can use it for all sorts of things!
You can use it to make ricotta the Sicilian way. Very simply, bring a pot of milk to the cusp of a boil and then take it off the heat. Pour in the whey, and it will instantly separate into ricotta curds.
You can also boil potatoes in it, use it in soups or sauces, and you can also use it as fertilizer for your plants.
Happy Cheesemaking!
Whether you’re using a DIY kit or milk from your own dairy farm, I hope these easy cheese recipes inspire you to try your hand at homemade cheese.
Do you have any other favorite easy homemade cheese recipes or cheesemaking tips? Let us know!
Keep reading:


![How to Make a Burn Barrel [a Backyard Incinerator Tutorial]](https://69be7209.flyingcdn.com/wp-content/uploads/2022/05/How-to-Make-a-Burn-Barrel_0013-768x576.jpeg)
