Don’t Stop Composting Over Winter! Use These 7 Easy Methods For Cold Weather Instead.
Welcome! This article contains affiliate links, meaning I get a commission if you decide to make a purchase through my links, at no extra cost to you.
Winter composting sounds intimidating, right? Most people think their compost pile goes into hibernation the second temperatures drop. But here’s the secret. Your pile doesn’t stop working in winter. It only slows down. And honestly, that’s perfectly fine. Keeping your compost going through the cold months means you’re not stockpiling smelly kitchen scraps in your freezer. Rather, you’re building incredible soil for spring. And you’re staying self-reliant even when everything outside is frozen. Let’s break down how to keep that compost pile productive all winter long.
Sound good?
Then let’s build some epic winter soil together!
How To Start Winter Composting In 7 Easy Steps
Winter composting is more about smart strategy than generating heat. These seven steps will help you keep decomposition happening (even if it’s slow) and set you up for amazing compost come spring. The key is working with winter’s limitations instead of fighting against them.
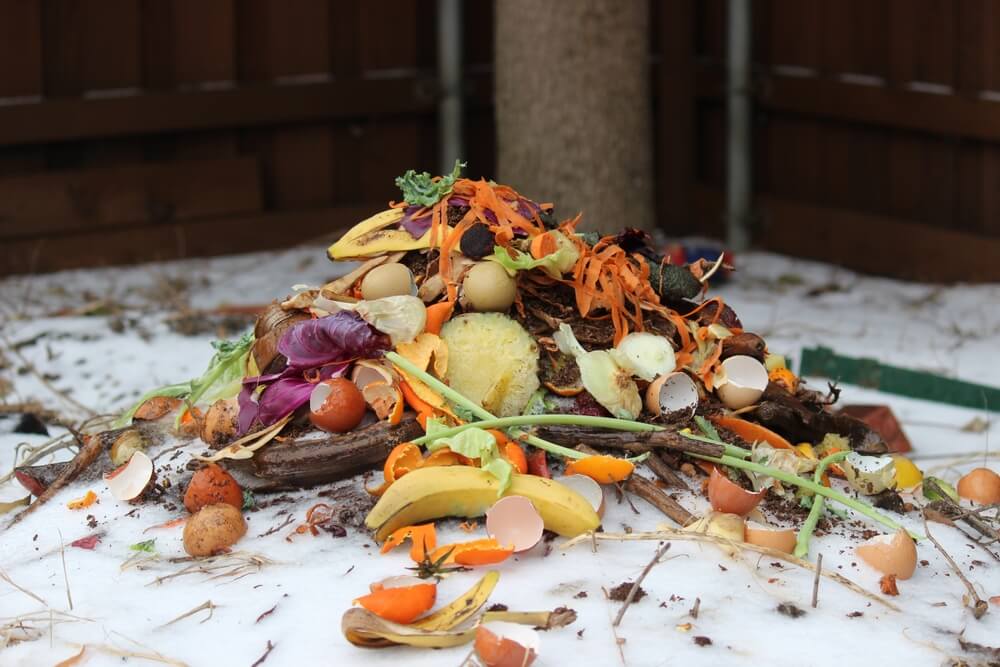
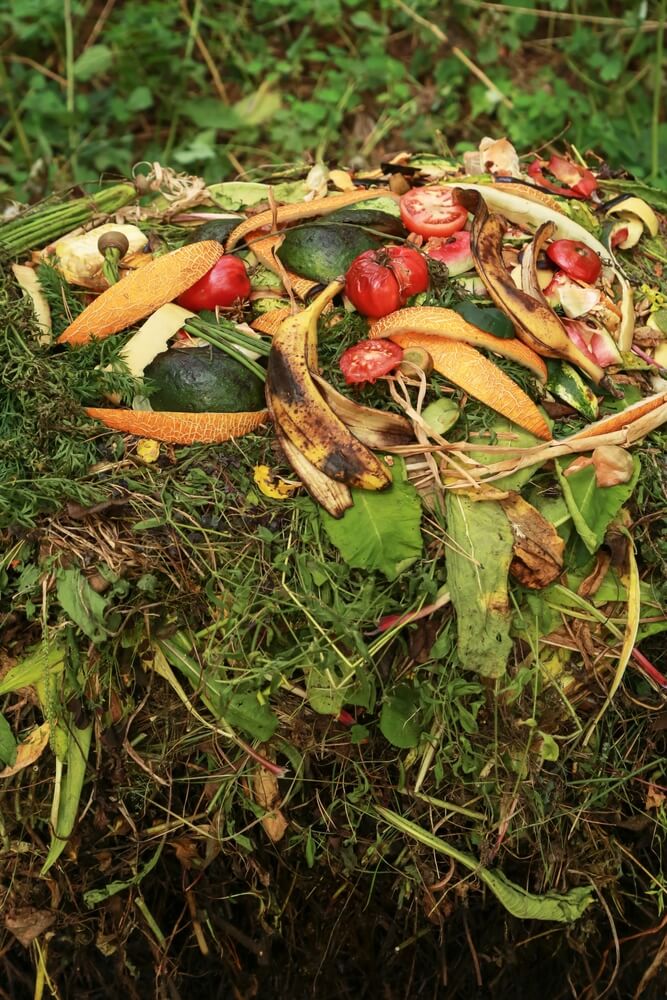
1. Build A “High-Carbon Core” Pile
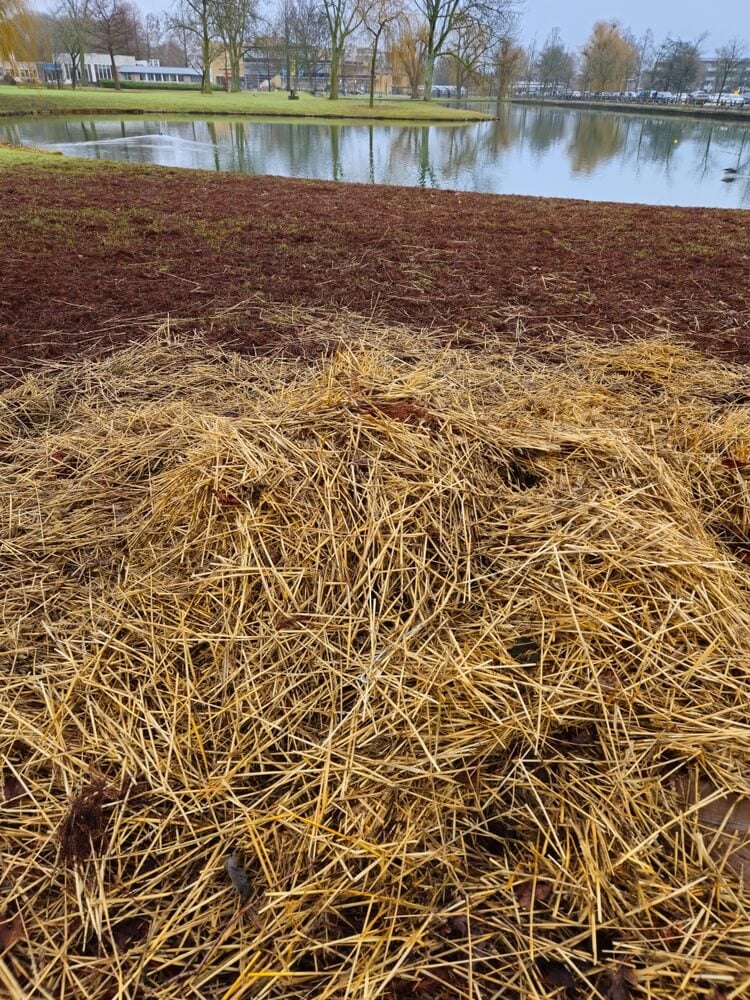
Winter compost needs insulation. Carbon-rich materials are nature’s perfect blanket. Think of it like building a cozy nest for all those hardworking microbes. The more brown material you pile on, the more heat gets trapped inside, even when temperatures plummet outside.
- Lay down a thick base layer. Start with 6-8 inches of leaves, straw, or shredded cardboard to create insulation from the frozen ground.
- Bury kitchen scraps in the center. Place greens in the warmest part of the pile where microbial activity is highest.
- Cover additions with more carbon. Add at least 3-4 inches of browns on top after each feeding to maintain insulation and deter pests.
Even if the outer edges freeze solid, that carbon core keeps working during every little warm spell.
2. Use The “Trench Composting” Method
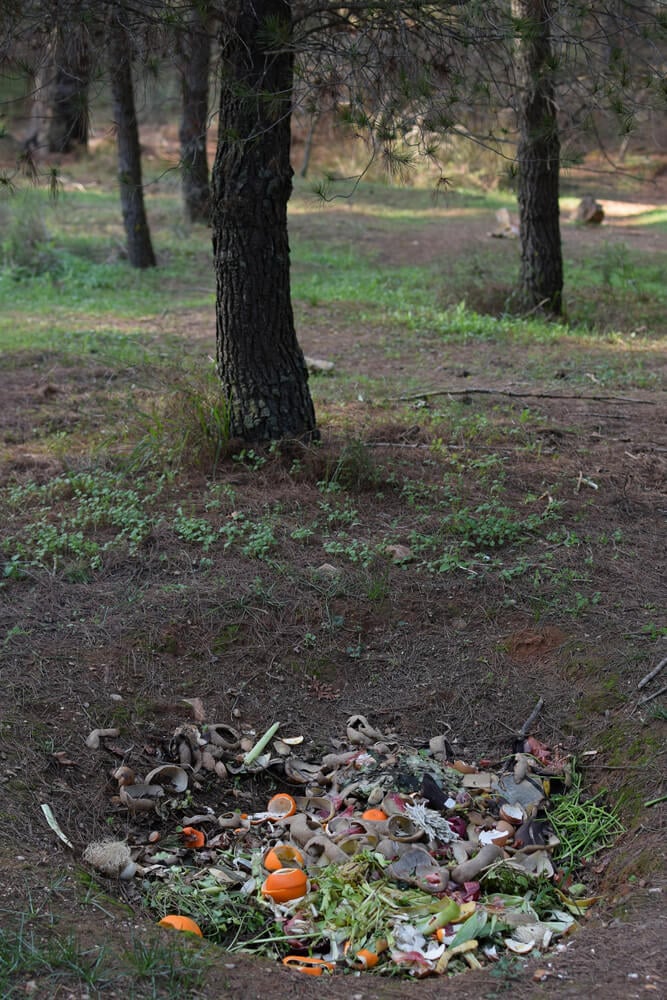
This is honestly the laziest (in the best way) winter composting method out there. You’re basically letting the earth do all the work while you dump and cover. No bins, no turning, no fuss. Just dig before the ground turns into concrete, and you’re set for the whole season. (Kind of like core gardening or hugelkultur.)
- Dig trenches or holes before freeze-up. Create multiple spots 12-18 inches deep while the ground is still workable in late fall.
- Add kitchen scraps throughout winter. Fill trenches gradually, moving to the next spot once one fills up.
- Cover each addition immediately. Use soil, leaves, or straw to prevent odors and prevent animals from digging it up.
By spring, those scraps will be mostly broken down and ready to plant right over.
Read More – The 10 Best Winter Cover Crops For Building Garden Soil!
3. Insulate Your Compost Bin
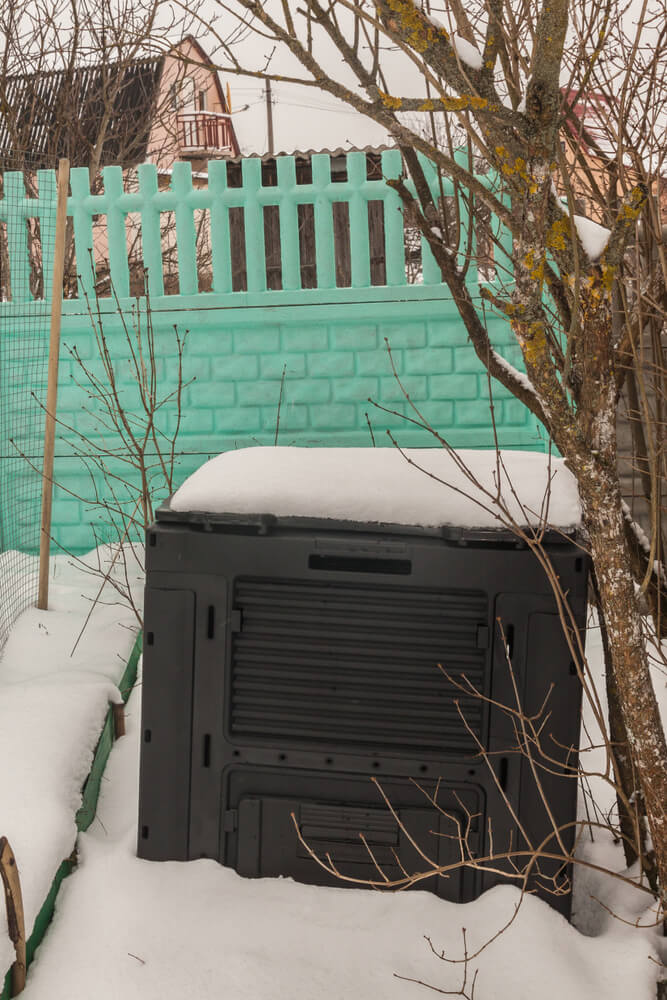
A little extra insulation is like putting a winter coat on your compost pile. Those microbes are still trying to work in there. And anything you can do to keep temperatures above freezing keeps the decomposition process moving. Plus, insulated piles thaw way faster during warm spells.
- Wrap bins with straw bales or leaf bags. Create a barrier around all sides to block wind and retain any heat generated inside.
- Use tarps or old blankets on top. Cover the pile to prevent heat loss and keep moisture levels consistent.
- Position in a sunny location. Place bins where they’ll catch maximum winter sun for passive solar heating.
You’ll be amazed at how much longer an insulated pile stays active compared to one exposed to harsh winter winds.
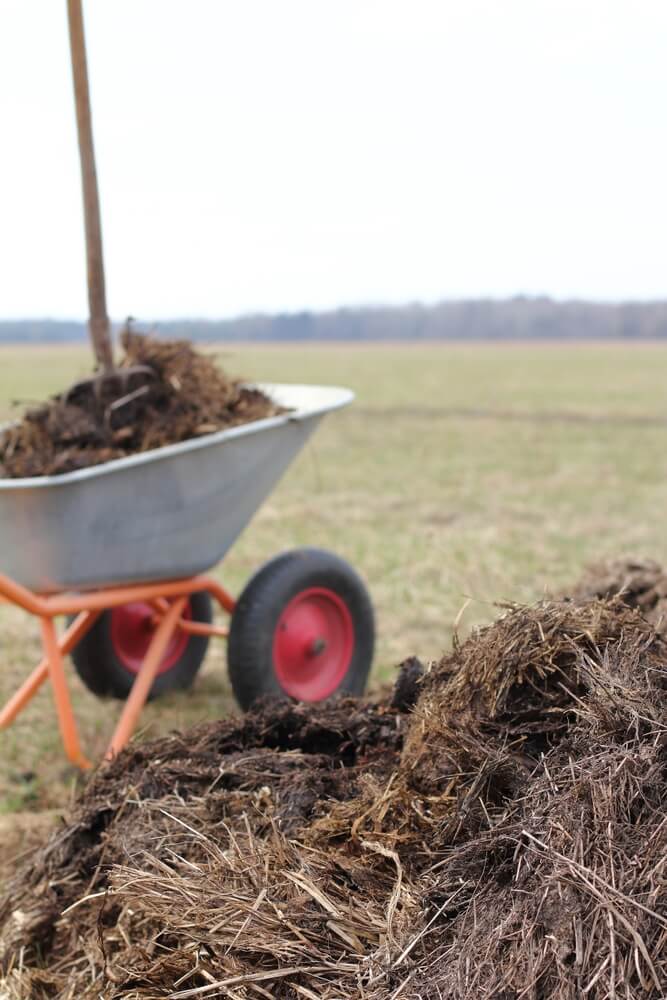
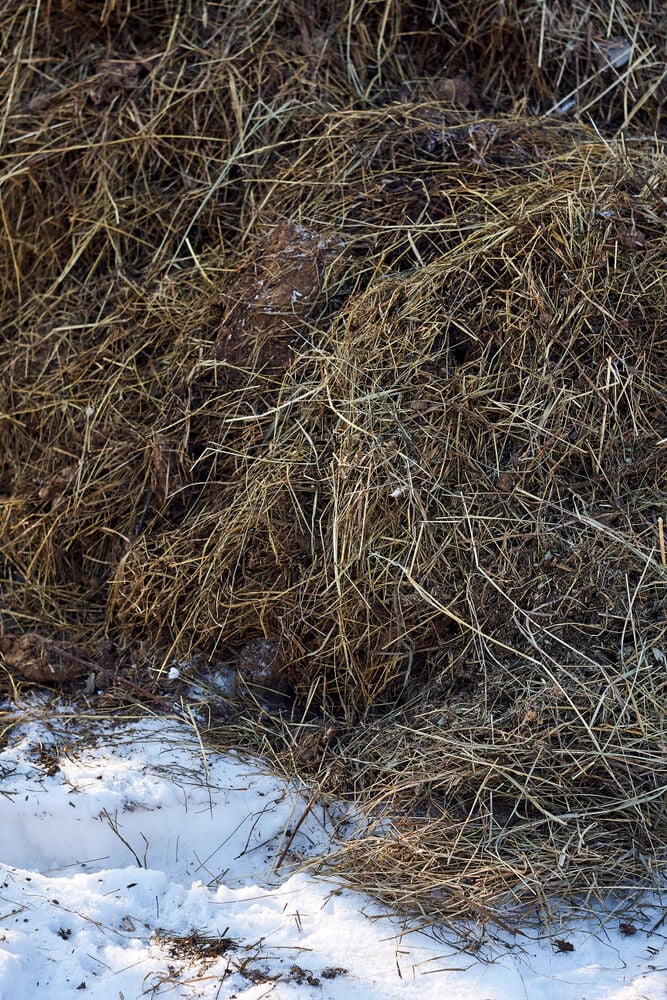
4. Stockpile Browns for Winter

Running out of brown material in January is a composting blunder you don’t want to experience. Winter gives you tons of kitchen scraps but almost zero fresh brown material unless you plan ahead. Stock up in the fall, and your winter composting life gets infinitely easier.
- Collect fall leaves by the bagful. Grab as many as possible in autumn and store them dry in garbage bags or bins.
- Save cardboard and shredded paper. Stockpile boxes, newspaper, and office paper in a dry spot for winter use.
- Store straw or wood shavings. Keep a bale or two on hand if you have the space for high-quality carbon additions.
Having browns ready to go means you can maintain that crucial carbon-to-nitrogen balance all winter.
Read More – How to Improve Garden Soil Naturally [Over Winter and Year-Round]
5. Chop Everything Smaller
Cold temperatures slow decomposition to a crawl. So you need to give those microbes every advantage possible. Smaller pieces mean more surface area for microbes to attack, which translates to faster breakdown even in winter conditions. It’s worth the extra minute with a knife.
- Cut kitchen scraps into small pieces. Chop scraps into 1-2 inch chunks before adding them to maximize surface area.
- Shred paper and cardboard thoroughly. Tear or shred browns into small strips rather than adding whole sheets or boxes.
- Break down sticks and stems. Cut or snap woody materials into short pieces so they’ll decompose before summer.
Those extra few minutes of prep work can literally cut your composting time in half.
6. Use A Bokashi Bucket Indoors
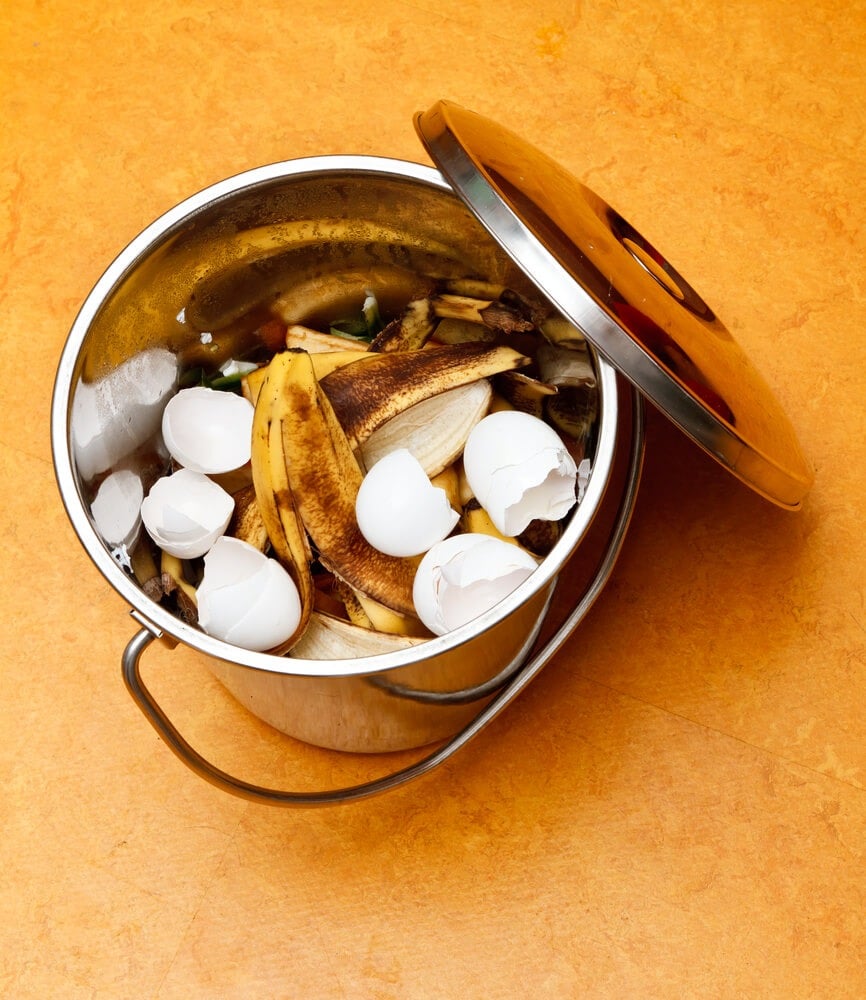
When your outdoor pile is frozen solid, and you’re still generating kitchen scraps daily, Bokashi becomes your best friend. It’s a completely different process from traditional composting (it ferments instead of decomposing). The best thing about Bokashi buckets is that they keep you composting year-round without trudging through snow.
- Ferment scraps indoors. Layer kitchen waste with Bokashi bran in an airtight bucket right in your kitchen.
- Drain liquid regularly. Remove the nutrient-rich “tea” every few days to use as fertilizer or drain cleaner.
- Bury the finished material in the spring. The fermented scraps break down quickly once added to soil or outdoor compost piles.
This method also handles meat, dairy, and oils that regular compost can’t. (Even a simple kitchen scraps bucket works if you don’t want the fancy Bokashi setup.)
Read More – 14 Best Winter Berry Shrubs For Gardeners And Homesteaders!
7. Accept That Winter Composting Is Slower
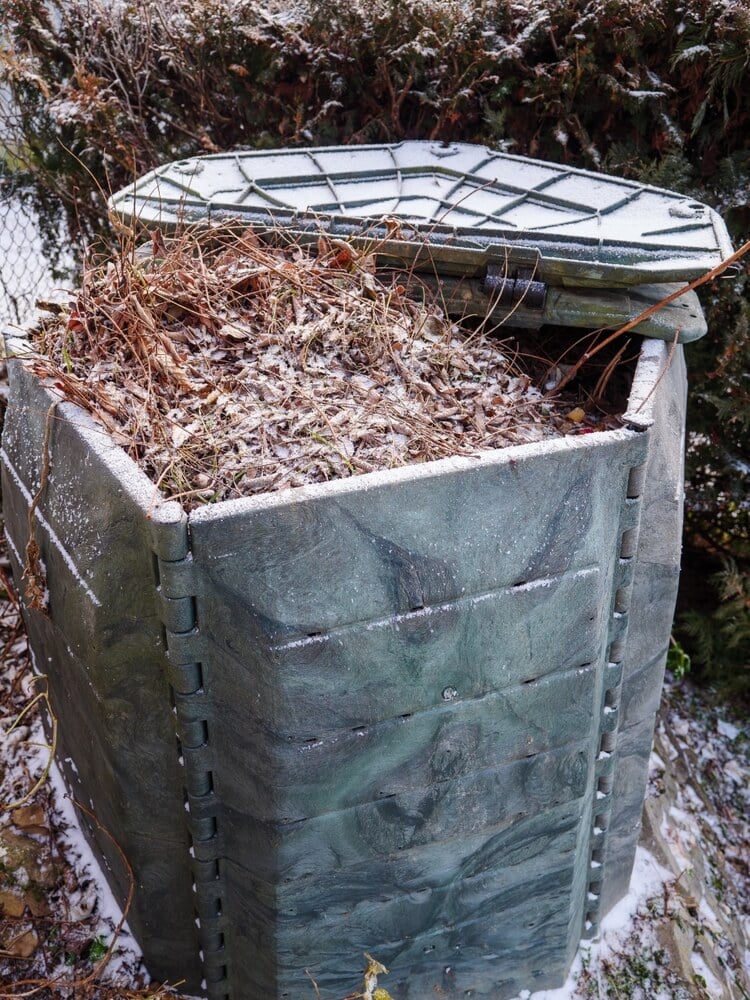
Here’s the truth. Your winter pile won’t steam and shrink as a summer pile does. And that’s completely fine. Those microbes aren’t dead. They’re just taking it slow until conditions improve. Understanding this saves you from thinking you’re doing something wrong.
- Expect frozen outer layers. The pile’s exterior will freeze while the insulated core continues working at a reduced pace.
- Watch for thaw-time activity. Decomposition speeds up significantly during every warm spell or sunny day.
- Plan for spring collapse. Once temperatures rise consistently, winter piles often shrink dramatically as everything catches up.
Winter composting is about continuity and waste reduction. Not speed records!
Read More – 10 Low-Light Houseplants That Grow Even In The Darkest Days Of Winter!
Conclusion
Winter composting is about working with the cold. Sure, things slow down. But you’re still building amazing soil, keeping waste out of landfills, and maintaining your self-reliant lifestyle even when it’s freezing outside. Come spring, you’ll have rich compost ready to go while everyone else is just starting their piles. Plus, there’s something pretty satisfying about tossing scraps on the pile in January, knowing you’re still making progress while the rest of the world thinks composting season is over.
Thanks for reading.
Have a great day!