Got Extra Pumpkins? Turn Them Into Epic Pumpkin Planters In 7 Easy Steps. Here’s How!
Welcome! This article contains affiliate links, meaning I get a commission if you decide to make a purchase through my links, at no extra cost to you.
Fall is here. And your pumpkins are everywhere! If you have any extra, don’t let them go to waste. With a bit of creativity and about twenty minutes of work, you can transform those gourds into stunning planters that will make your neighbors stop mid-walk. They are biodegradable, seasonally perfect, and surprisingly functional. Plus, when you are done with them, they compost themselves.
Sound interesting?
Then let’s turn those pumpkins into something worth photographing!
What Is a Pumpkin Planter?

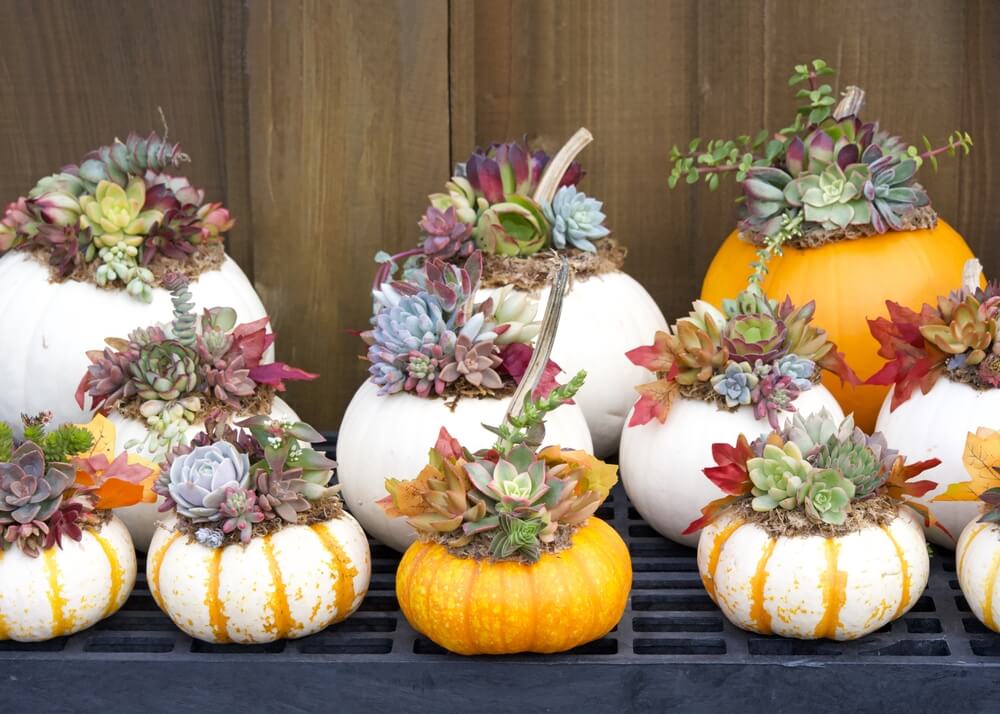
A pumpkin planter is exactly what it sounds like. It’s a lovely, hollowed-out pumpkin filled with soil and plants. Think of it as nature’s ready-made pot with a built-in autumn aesthetic.
The pumpkin acts as a temporary container that holds moisture well and looks incredible on porches, tables, or garden beds. You end up with a natural, textured vessel that costs pennies and degrades gracefully at the end of the season.
Three best benefits of pumpkin planters:
- A functional container that holds moisture naturally.
- Biodegradable and compost-friendly.
- Adds instant autumn charm to your homestead.
Pumpkin planters are like functional folk art. Only it actually grows things.
Read More – The Ultimate Pumpkin Stash – How To Store, Cure, And Preserve Your Epic Pumpkin Harvest!
Materials Needed
Before you dive in, gather everything you need so the process is smooth and stress-free. Having your materials ready will save time and make your pumpkin planter look polished and professional.
- Pumpkin(s): Firm, unblemished pumpkins with flat bottoms.
- Plants: Succulents, mums, ornamental grasses, herbs, or cut flowers.
- Potting soil: Use a lightweight, peat or coco coir-based potting mix with perlite/vermiculite for drainage and aeration. Avoid heavy garden soil or compost-only blends.
- Spoon or scoop: To easily hollow out your pumpkin.
- Serrated knife: For cutting the top or sides.
- Gloves (optional): To protect hands from pumpkin juice.
- Sheet moss or decorative accents: Moss, pinecones, twigs, or miniature figurines.
- Watering can or spray bottle: To carefully and gently water plants.
- Optional: Paint, markers, or carving tools for decoration.
Having all these materials on hand before you start keeps the process simple and enjoyable. You’ll be able to focus on arranging your plants and decorating your pumpkin. That’s the fun part!
How To Make Epic Pumpkin Planters In 7 Easy Steps
Making pumpkin planters is one of the easiest fall decor ideas. Even if you mess up, it doesn’t really matter. The pumpkin is super forgiving. But these seven steps make it so easy that it’s impossible to miss!
Step 1. Choose The Best Plants For Pumpkin Planters
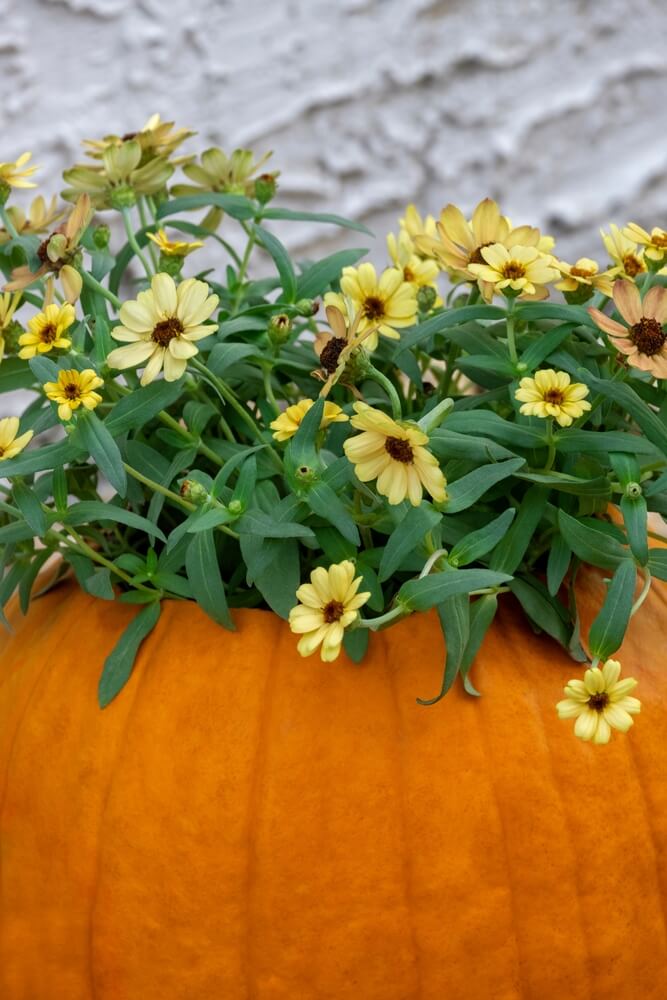
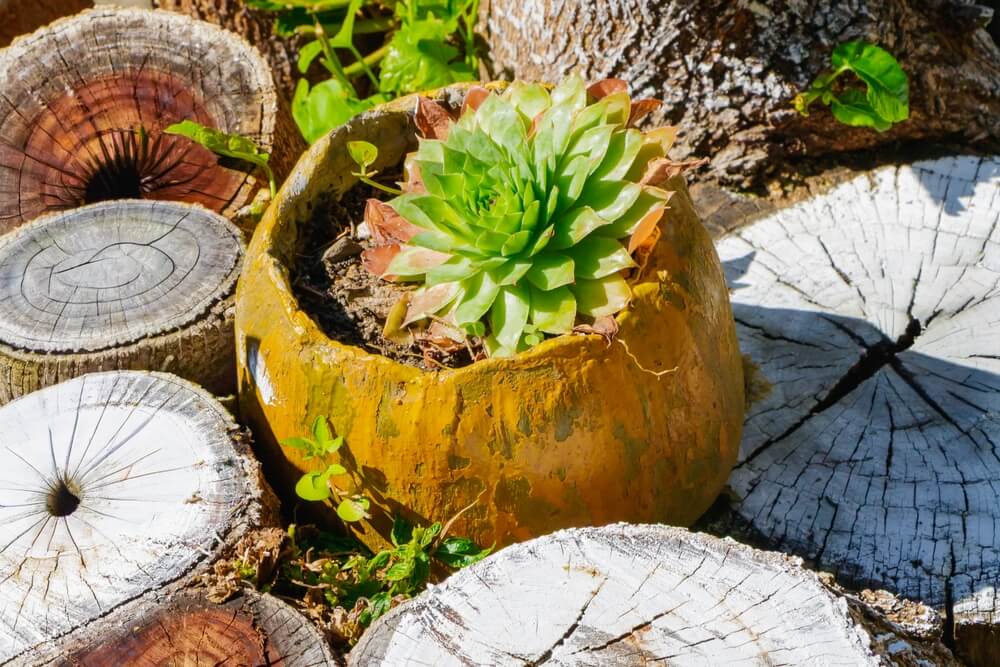
Choose plants that match your timeline and climate. Succulents are excellent low-maintenance options because they tolerate the pumpkin’s moisture-retention and withstand multiple frosts. Mums and asters deliver classic fall colors and thrive in cooler temps.
Ornamental grasses add dramatic height and texture without demanding much water. For short-term showstoppers, cut flowers work beautifully. Just keep the stems in water-soaked florist foam. Herbs like sage, thyme, and parsley also thrive here and give you a harvestable bonus.
- Match the plant root size to the pumpkin cavity.
- Use moisture-tolerant varieties for longevity.
- Combine colors and textures for visual interest.
The key is choosing plants that tolerate slightly damp conditions.
Read More – 23 Best Pumpkin Cultivars For Growing In Your Home Garden | From Decorative To Delicious!
Step 2. Pick The Perfect Pumpkin
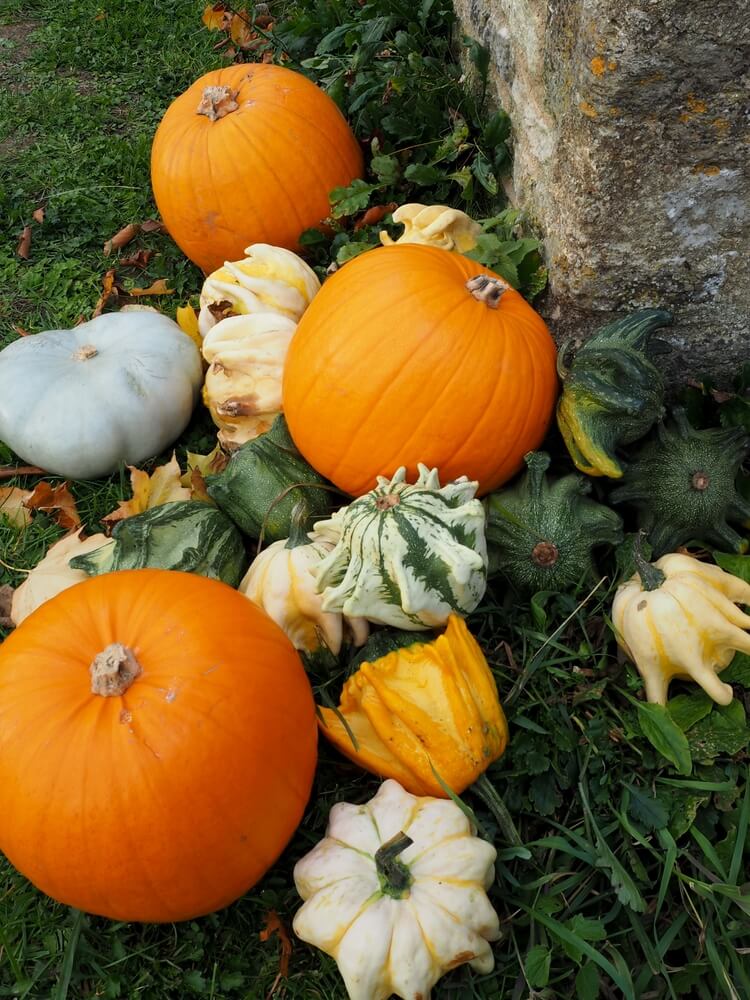
Start with firm, unblemished pumpkins that have flat bottoms. Soft spots mean faster rot, and wobbly pumpkins are more likely to tip over. Medium pumpkins, 8 to 12 inches, are easier to work with and more stable. Mix sizes for visual interest when creating a grouping.
- Look for firm, blemish-free pumpkins.
- Choose medium size for stability and manageability.
- Check the stem for freshness.
A solid, attached stem is one of the best indicators of a healthy, fresh, firm pumpkin, even though you’ll be cutting it off in the next step.
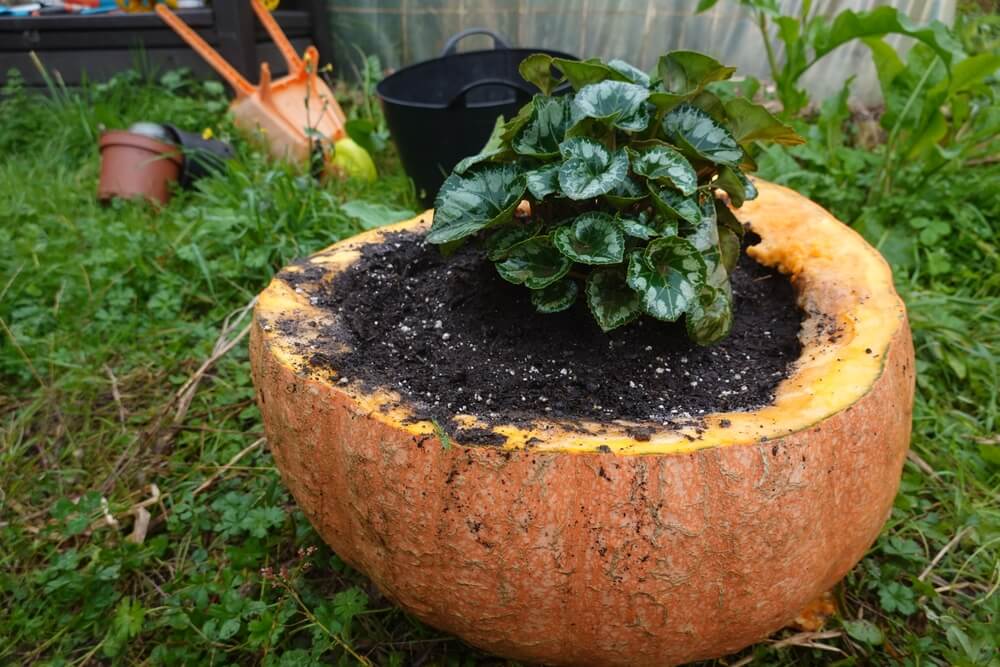
Step 3. Cut And Hollow
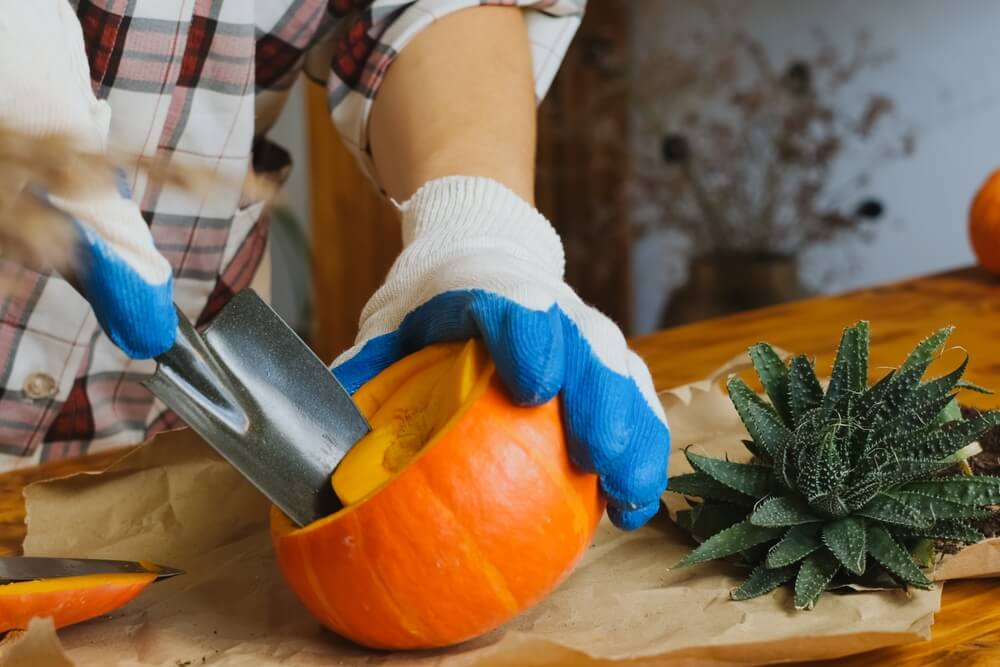
Cut a wide opening at the top, wider than you think you need. A serrated knife or sturdy spoon works best for scooping. Remove all pumpkin seeds and stringy pulp. Scrape the interior walls until they are relatively smooth. Save that lid for your compost pile, or chop it up and toss it in your raised garden bed as a snack for the crows (or your chickens). Wear gloves if you have sensitive skin. Pumpkin juice can be surprisingly irritating.
- Cut a wide opening for easier planting.
- Remove all seeds and pulp to slow rot.
- To extend the life by a few days, coat the cut parts with vegetable oil to help them retain moisture.
You can also bake your pumpkin seeds in the oven. Cook your seeds at around 350 degrees Fahrenheit for 12 to 15 minutes, with a dash of salt and olive oil, for a yummy snack. Or, clean, dry, and save them for next year.
Read More – 10 Creative And Delicious Ways To Use Leftover Pumpkins – Soup, Bread, And Dog Treats!
Step 4. Choose And Prepare Your Plants
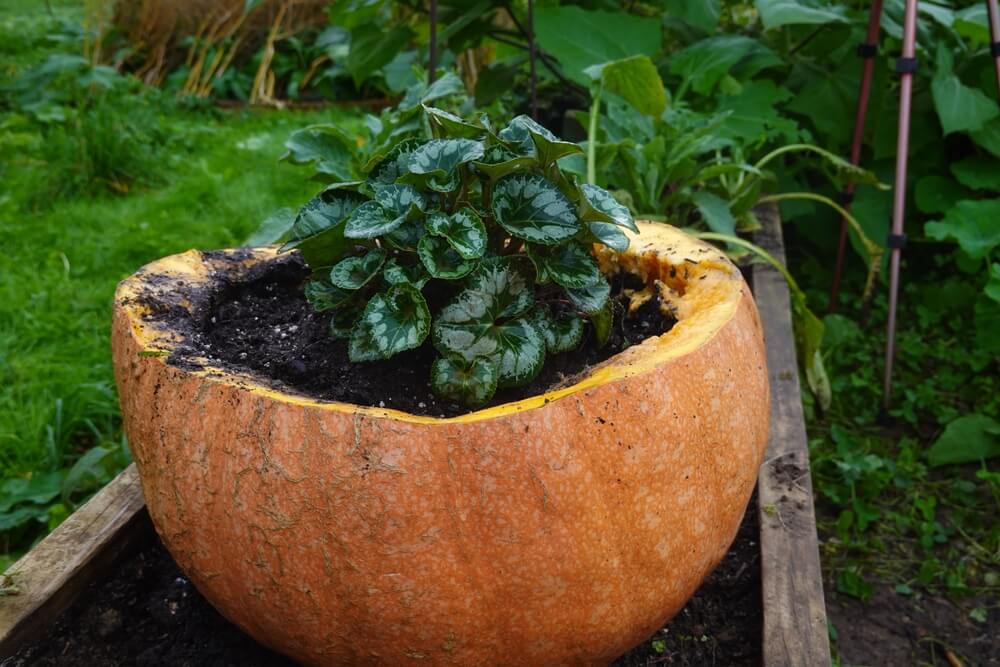
Select plants with root balls that fit comfortably inside your pumpkin cavity. Trim roots slightly if needed, but keep feeder roots intact. If using nursery containers, you can keep plants potted and nestle them inside to extend display life. Moisten the soil before planting so roots settle in immediately. Check that the mature height and spread will not overwhelm the pumpkin’s scale.
- Choose plants that fit comfortably inside the pumpkin.
- Trim roots carefully without harming feeder roots.
- Moisten the soil (slightly) for better root establishment.
You can also tuck the nursery pot right in the pumpkin if space allows. That way, when the pumpkin begins to die, you can transplant your potted plant into a larger, more permanent home.
Read More – 27 Free Pumpkin Stencils For A Funny (Or Scary) Halloween Jack-O-Lantern!
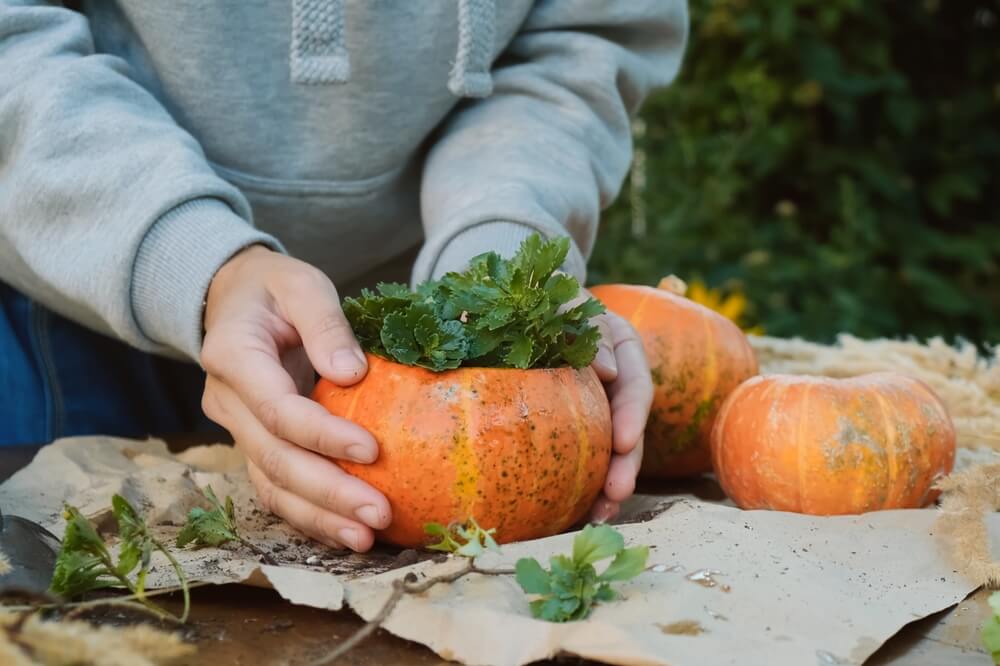
Step 5. Plant & Arrange
Fill with quality (fluffy, light, and well-aerated) potting soil, not garden dirt, for proper drainage and aeration. Place taller plants toward the back or center, shorter ones at the edges. Think about texture contrasts! You can use fuzzy sage against glossy sedums or spiky grasses beside rounded mums. Pack soil firmly but not densely so roots can breathe. Leave about half an inch of space at the top for easy watering.
Don’t forget to:
- Use quality potting soil for proper drainage.
- Arrange plants by height and texture for visual impact.
- Leave a tiny space at the top for watering.
Lightweight, porous material works best here. A combination of loamy soil, peat moss, and coconut coir is perfect.
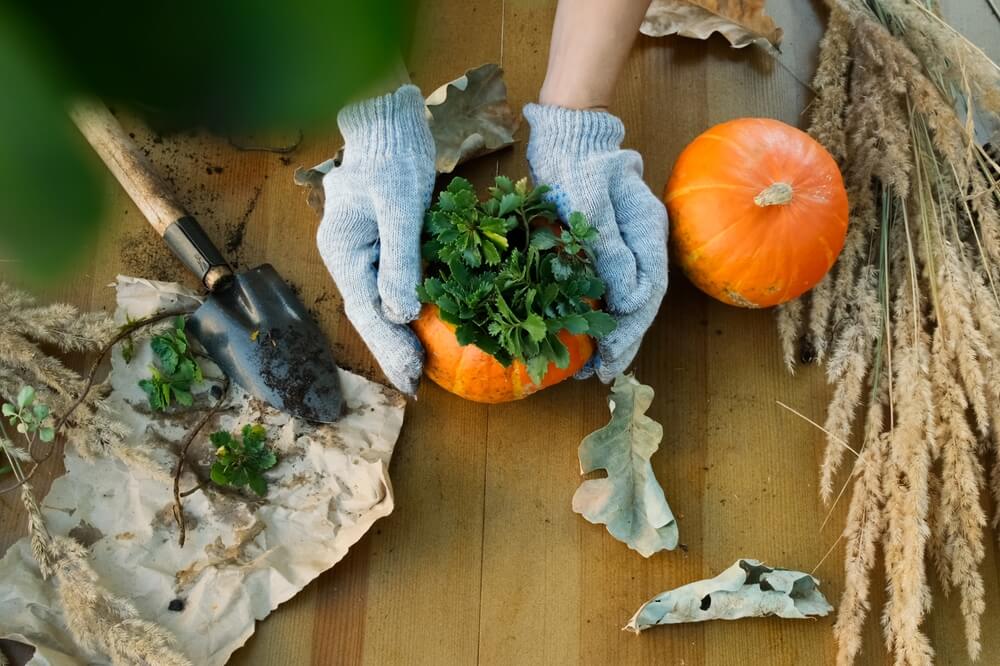
Step 6. Add Decorative Touches
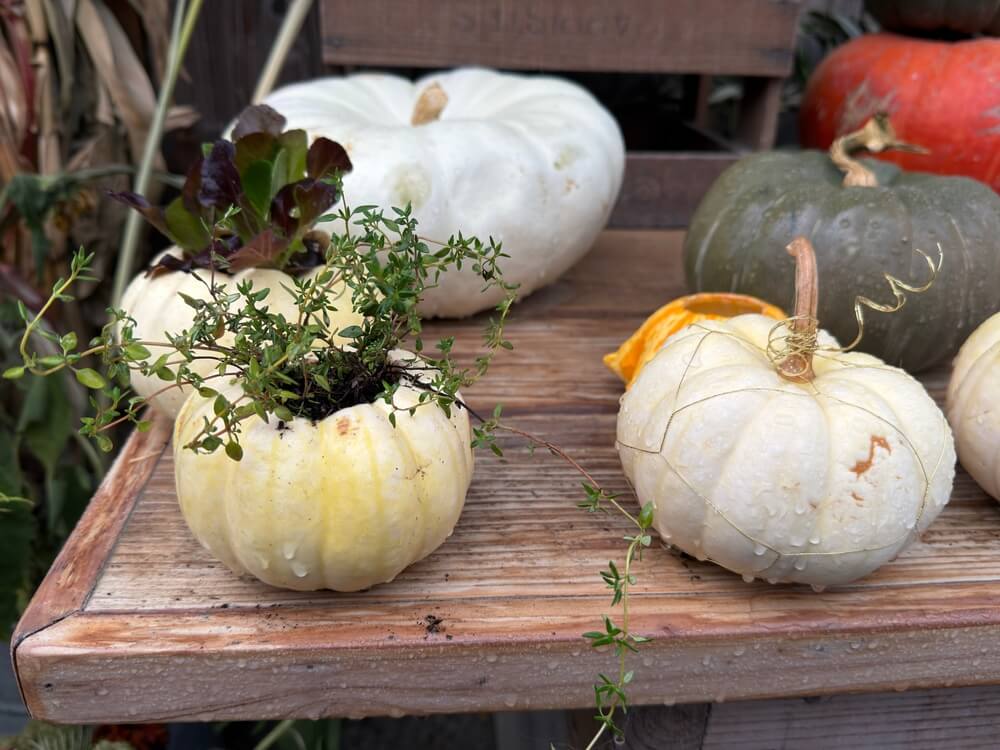
Tuck sheet moss around plant bases to cover soil and add a finished look. It can be tempting to carve additional designs into your pumpkin planter. But, we don’t recommend it! The more you carve the pumpkin planter, the more it wants to decompose. Instead, consider painting designs, adding miniature fall figurines, pinecones, or twigs for whimsy without overwhelming the composition. A raffia bow around the side brings instant harvest charm.
- Cover the pumpkin planter soil with moss for a polished look.
- Add small decorations without overpowering plants.
- Paint designs to enhance visual appeal.
A few added accents from pinecones, twigs from your herb garden, or some fun fall foliage go a long way. Less is more.
Step 7. Care & Longevity Tips
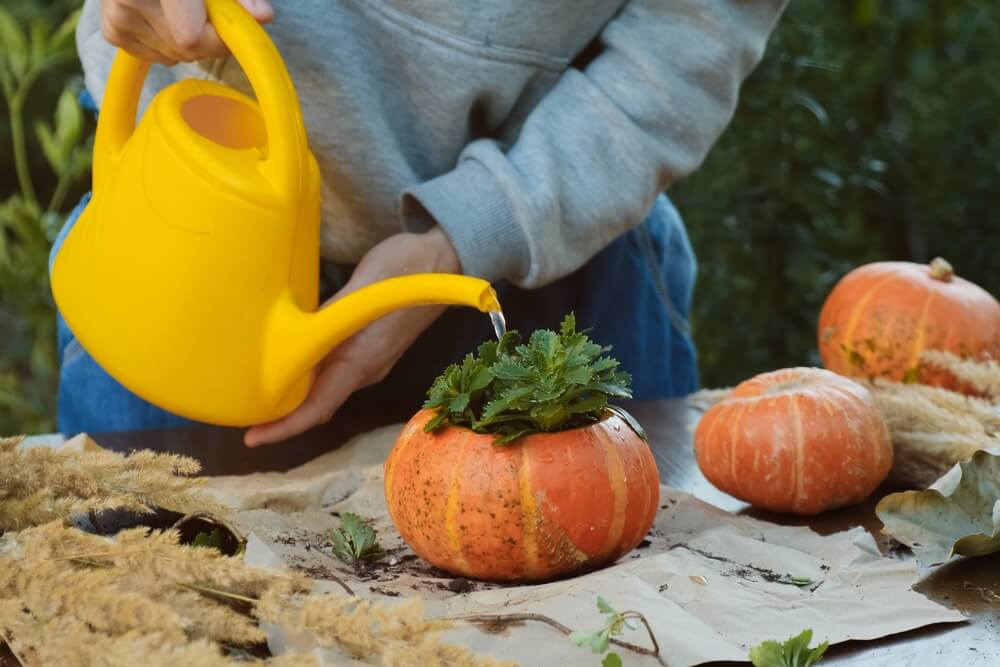
Water sparingly because pumpkins retain moisture. Extra moisture will also cause the pumpkin to rot faster. Check soil dryness by touch. Water only when the top inch feels dry. Keep planters in partial shade because direct sun accelerates breakdown. Expect 2 to 4 weeks of prime display time, depending on temperature and pumpkin thickness.
- Water only when the top inch of soil is dry.
- Keep in partial shade to slow decay.
- Remember that excess moisture can expedite pumpkin rot.
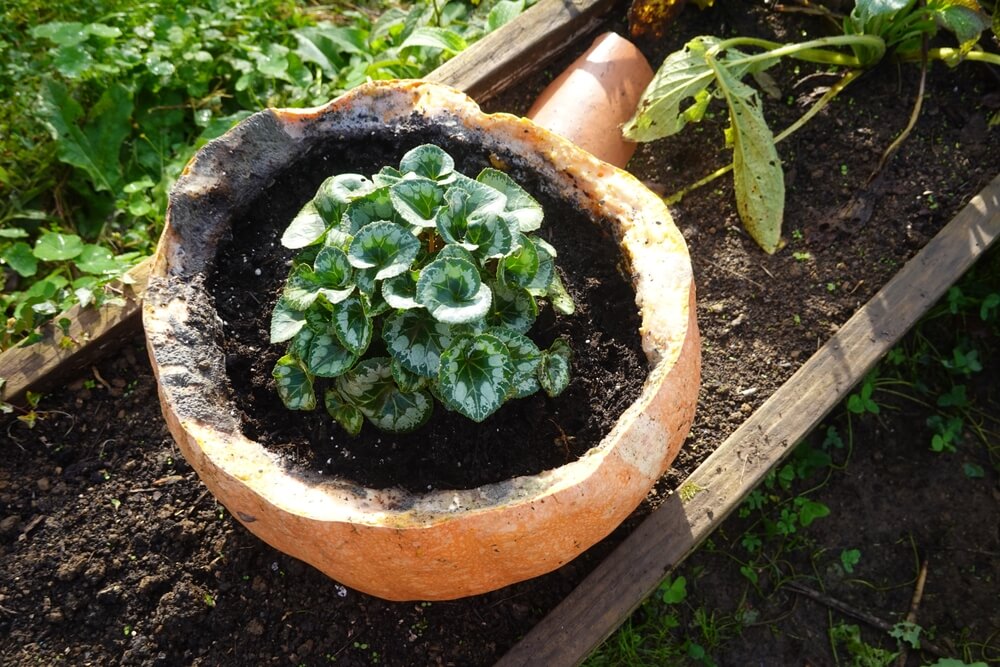
When your pumpkin begins to decompose, you have two options. You can throw the entire pumpkin (plant included) into the compost. Or, if it looks healthy, repot your plant into a permanent home first, then chuck the pumpkin in compost.
Read More – How To Easily Grow Pumpkins From Seed | The Ultimate Pumpkin Garden Guide!
Pumpkin Planter FAQs
I have a ton of experience planting herbs, flowers, and plants in pumpkin planters. I’ve also had a few readers ask questions about it over the years. Here are the most common issues you might encounter.
1. How long do pumpkin planters last?
Not very long. That’s the only downside. Pumpkin planters typically last 2 to 4 weeks, depending on pumpkin size, thickness, plant type, and weather. Cooler temperatures slow decay. But direct sun speeds it up. For extra longevity, consider partial shade and minimal watering.
2. Can I use any pumpkin?
Yes. Well, sort of! You can use almost any pumpkin. But firm, blemish-free pumpkins work best. Medium-sized pumpkins, around 8 to 12 inches, are easiest to handle and most stable. Avoid soft or overly large pumpkins! They tend to rot faster.
3. What plants are best for pumpkin planters?
Choose plants that tolerate moist, slightly damp conditions. Good options include succulents, mums and asters, ornamental grasses, sage, thyme, parsley, or cut flowers.
4. Do I need to add rocks for drainage?
Nope. Skip the rocks. Rocks don’t help drainage in a pumpkin planter (they actually make rot worse). As the base softens, rocks press in, trap water, and turn your planter into a soggy mess. Instead of adding rocks, fill your pumpkin planter with light, fluffy potting mix that drains quickly and keeps roots happy. No rocks required.
5. Can I reuse the pumpkin next year?
Unfortunately not. Pumpkin planters cannot be reused because pumpkins naturally decay. However, you can compost it along with your plants to enrich your garden soil for next year.
6. How do I keep my pumpkin planter looking fresh longer?
Keep your pumpkin planter in a spot with some shade so it doesn’t get too hot. Only give your pumpkin planter a drink when the top inch of soil feels dry. These pumpkins hold moisture really well. If you want to get a few extra days of life out of it, you can lightly coat the cut edges with vegetable oil to help lock in moisture.
7. Can I decorate my pumpkin planter?
Absolutely! Decorating your pumpkin planter is half the fun. You can paint patterns or add moss, twigs, pinecones, or miniature figurines. Just make sure the plants remain the star. You only need one or two accents. The pumpkin planter itself and the plants inside should be the main show!
Read More – Will Pumpkins Ripen Off The Vine? Pumpkin Maturity And Harvesting Tips!
Conclusion
Now you have the blueprint for turning ordinary pumpkins into functional garden art. It’s actually easy and fun. Mix plant textures, experiment with pumpkin sizes, and don’t overthink the design. Nature is doing half the work for you!
What about you?
- Do you have any leftover pumpkins this year?
- Will you make some fun pumpkin planters?
- Will you put the pumpkins in a window, on your porch, or on your Thanksgiving table?
Thanks for reading.
Have a great day!


