Essential Checklist For Raising Baby Chicks Safely And Humanely | Even During Winter!
Welcome! This article contains affiliate links, meaning I get a commission if you decide to make a purchase through my links, at no extra cost to you.
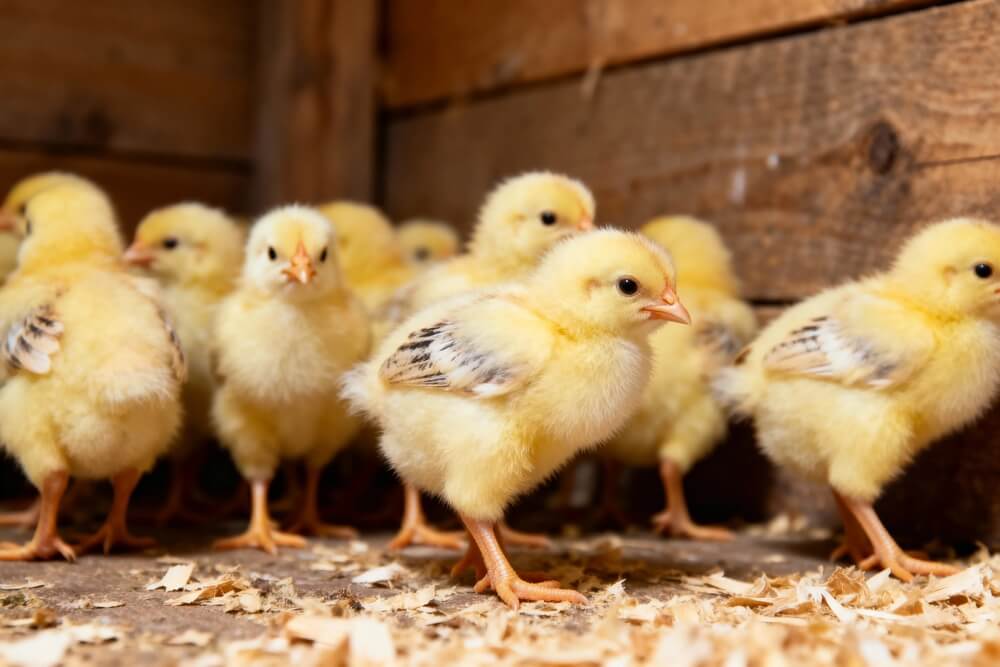
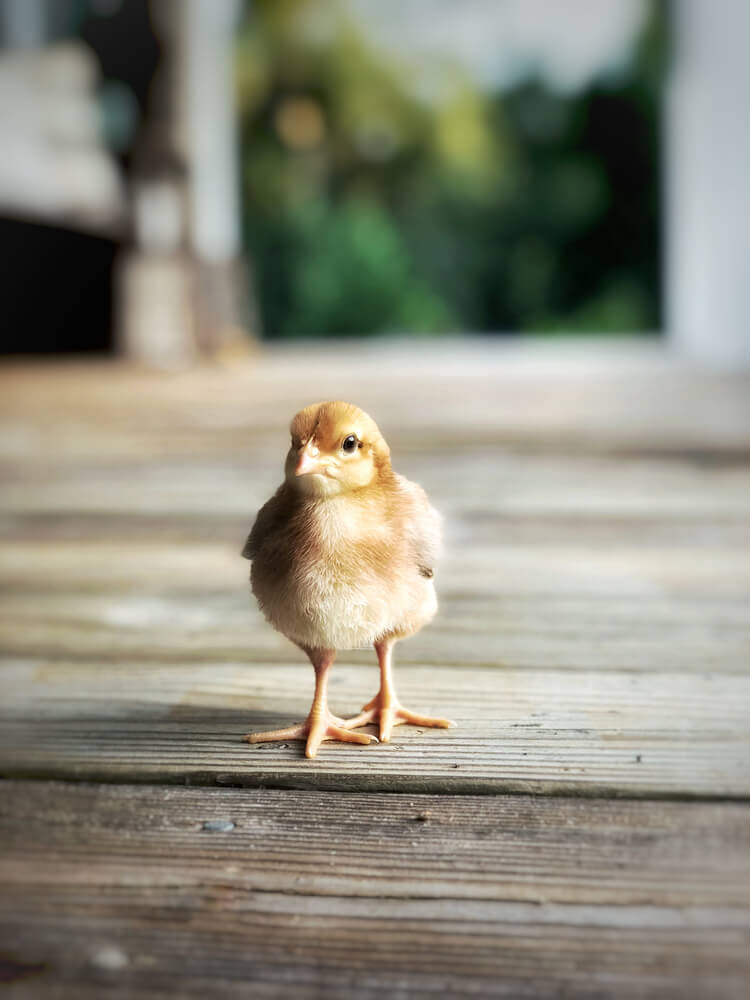
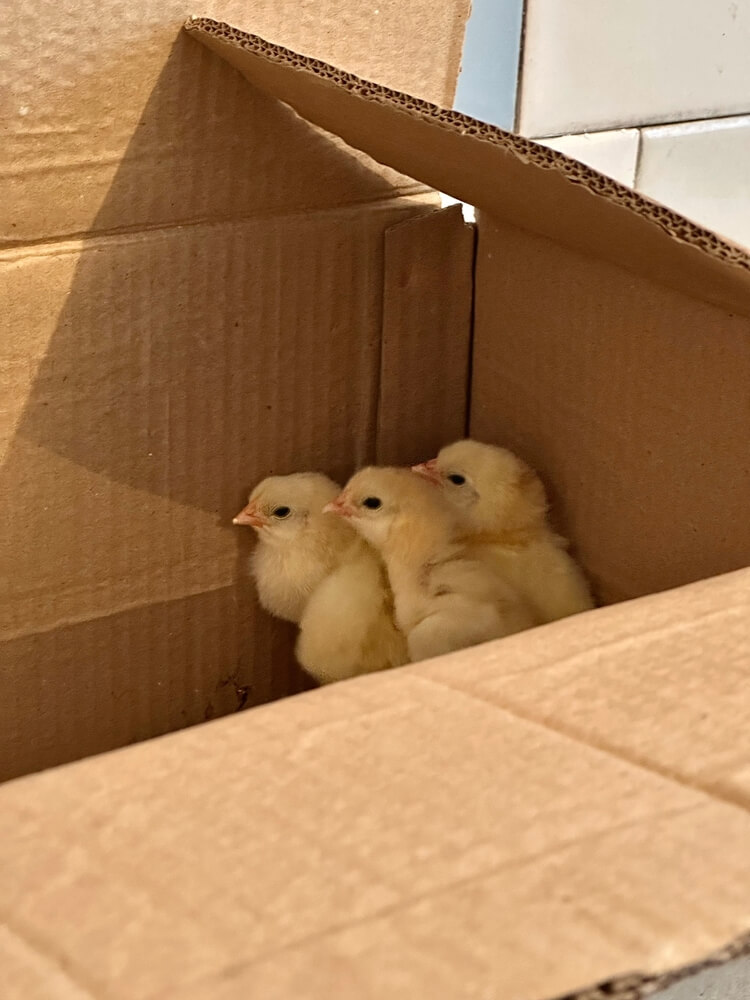
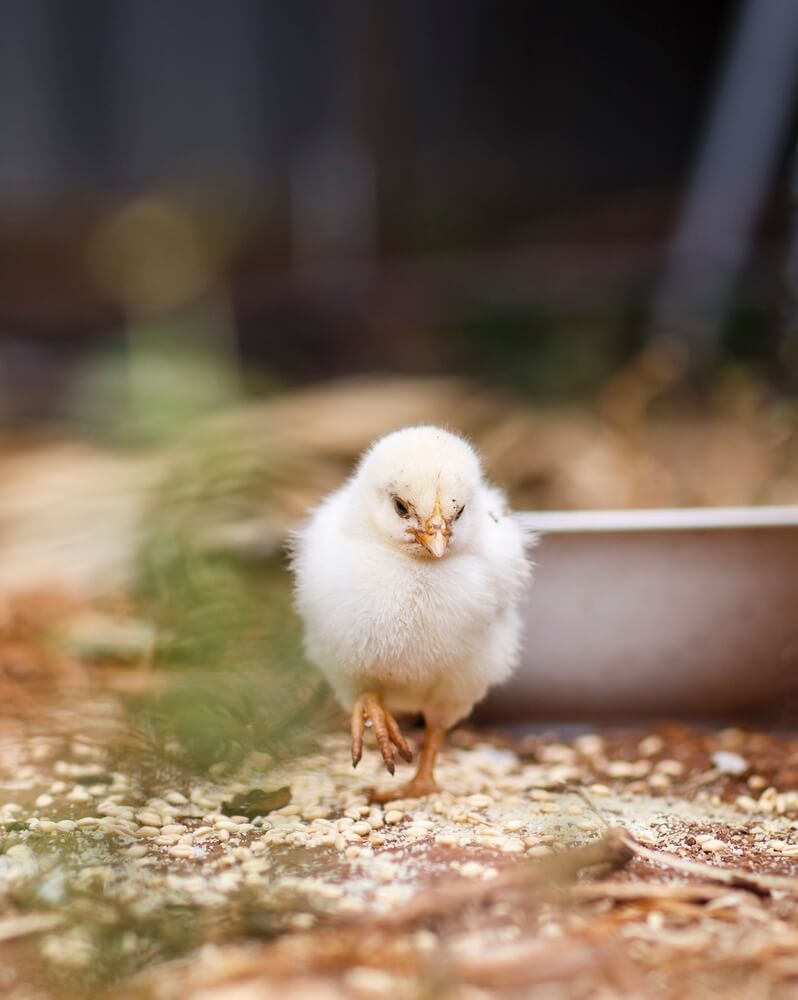
Watching baby chicks explore their first weeks is an exceptional experience on any homestead. Whether you’re getting your first chicks by mail or hatching them under a hen, these little birds bring hope and new life to your flock. Keeping them warm, healthy, and safe in their early days can feel overwhelming, especially in different seasons. With proper setup and some basic knowledge, raising chicks can be a rewarding part of farming. Here’s what you need to know to help your chicks get off to a great start.
Sound good?
Then let’s raise some baby chicks!
Essential Checklist for Raising Baby Chickens At Home!
These tips will help you set up your brooder and move your chicks to the coop, so they grow into healthy, productive birds.
1. Prepare Your Brooder Before Arrival
Setting up your brooder before the chicks arrive is your first responsibility. When everything is ready, your chicks can settle in right away without being exposed to drafts or temperature changes. It’s like getting a nursery ready before bringing home a baby. Make sure the space is warm, clean, and well-equipped with essentials so the first hours of chick chaos go smoothly.
- Please set up your heat source 24 hours early to ensure it’s working correctly and holding temperature.
- Place feeders and waterers away from the heat lamp to prevent water from warming and feed from spoiling.
- Test the setup with a thermometer at chick height.
This simple step makes raising baby chicks at home ten times easier. When your brooder is ready, you can focus on watching your new chicks instead of fixing problems on the first day.
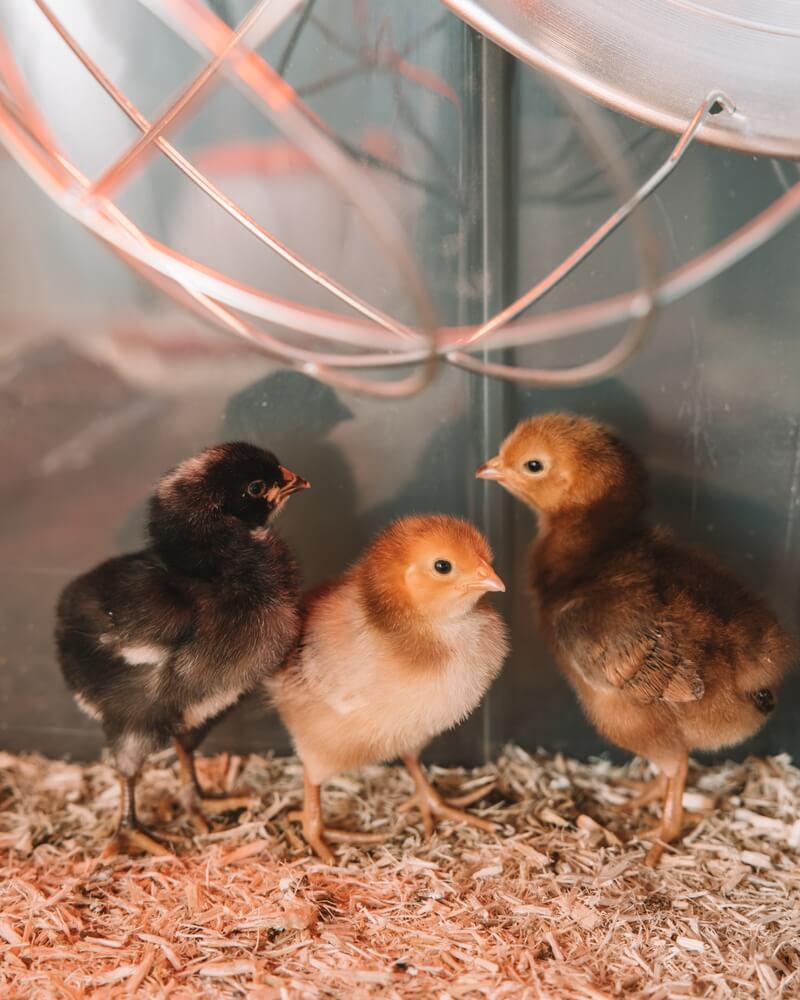
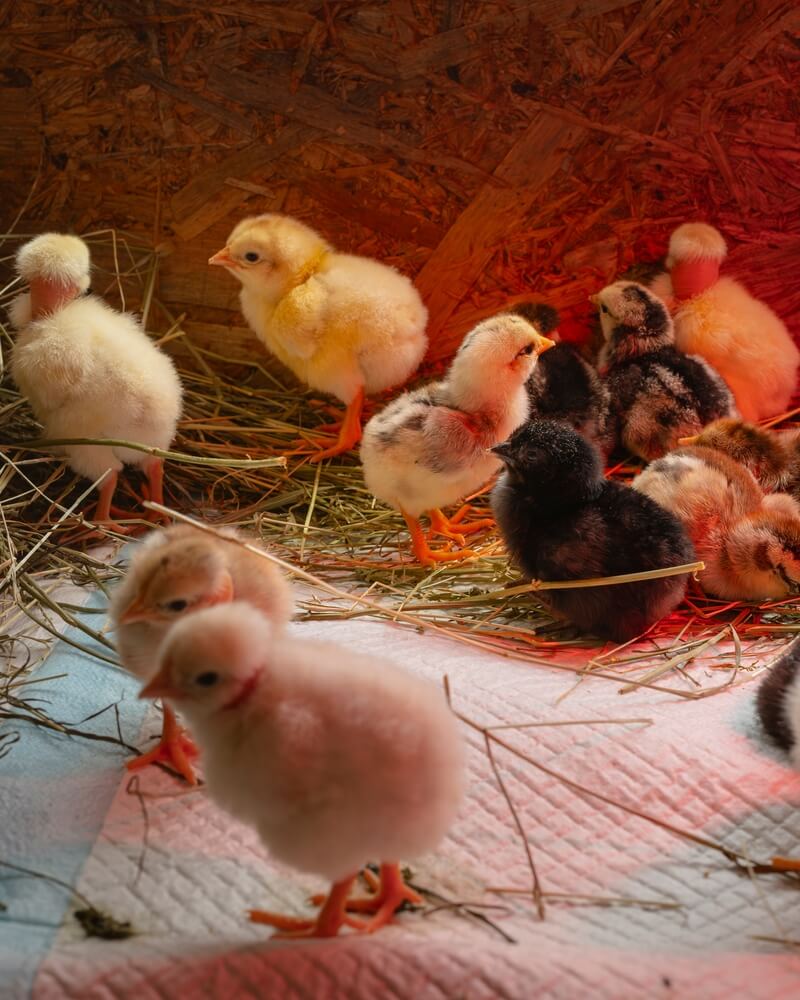
2. Maintain the Correct Temperature
Baby chicks can’t keep themselves warm! So controlling the temperature is very important. Start at 95°F for the first week, then lower it by 5 degrees each week to match what a mother hen would provide. Use a reliable thermometer at chick level to check the temperature.
- Start at 95°F for week one, then reduce by 5°F each week until they’re fully feathered.
- Use a thermometer at chick level about 2 inches off the bedding for accurate readings.
- Have a backup heat source ready in case your primary lamp fails during cold nights.
Temperature errors are among the leading causes of chick losses, so investing in a quality thermometer and regularly monitoring is time well spent. In winter, avoid square corners in your brooder where chicks can pile up and suffocate if they get cold. Use a cardboard ‘draft guard’ ring to keep them contained near the heat!
⚠️ Safety Warning: If using a heat lamp, secure it twice (once with the clamp, once with a chain or zip tie). Clamps can fail, and hot bulbs falling into bedding cause fires. Better yet, use a brooder plate. They are safer and use less electricity!
Read More – Do Chickens And Chicks Need Light At Night?
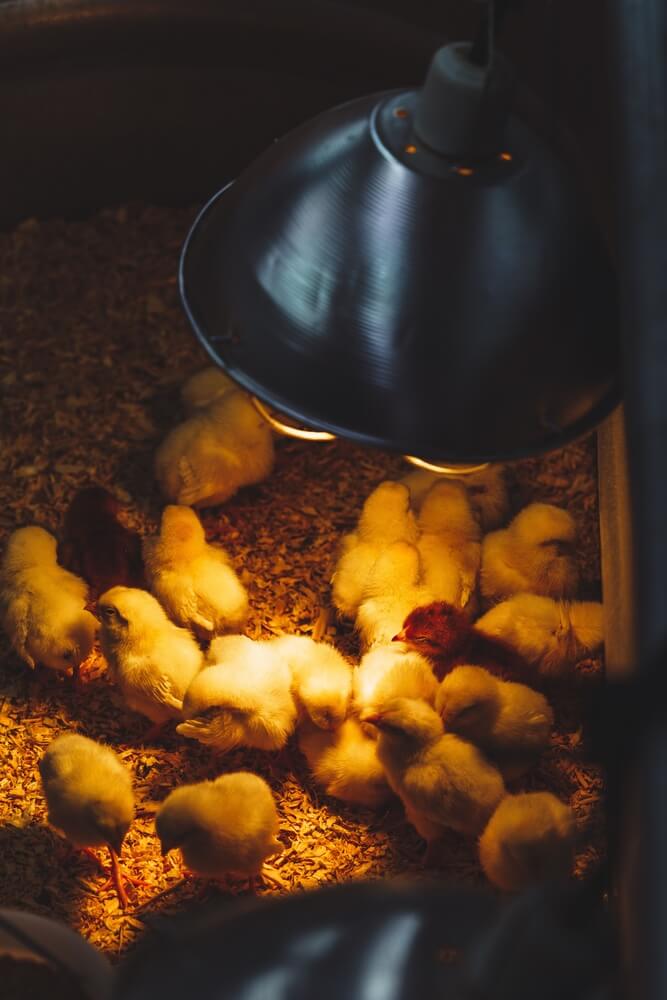
3. Observe Chick Behavior for Temperature Clues
You can learn a lot by watching your chicks for a few minutes. If they huddle under the light and make loud noises, they are too cold. If they stay far from the heat, they are too hot. If they move around, eat, drink, and rest, the temperature is just right. Watching their behavior helps you adjust the setup as needed.
- Chicks huddled directly under the heat, peeping loudly and needing more warmth immediately.
- Chicks panting or staying far from the heat source need the lamp raised or the temperature reduced.
- Content chicks move freely around the brooder, eating, drinking, and resting in various spots.
Your chicks’ behavior is the best way to check if conditions are right, so watch them. Several times a day.
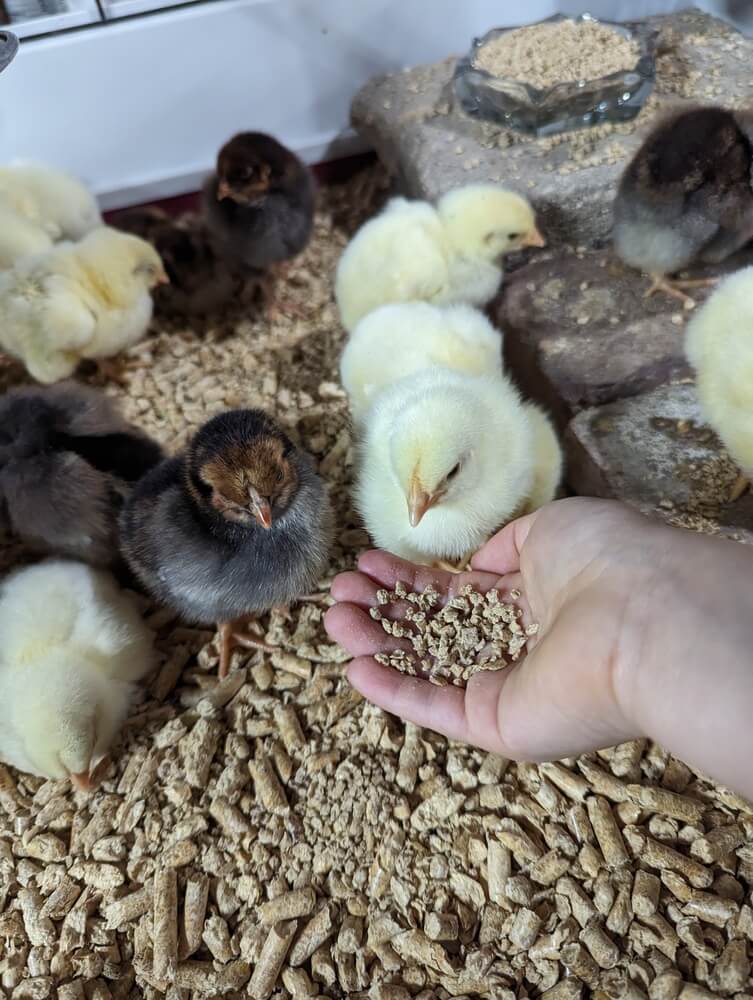
4. Provide Immediate Access to Water and Feed
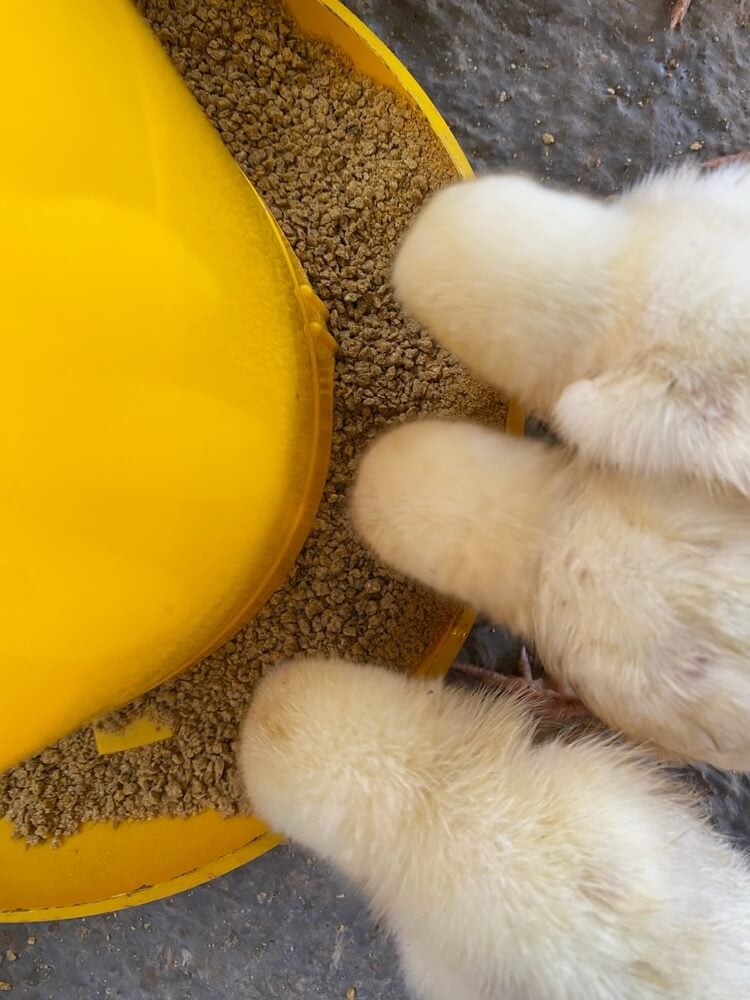
Those first 48 hours are when chicks absorb the remaining nutrients from their yolk sacs. But they still need to start eating and drinking right away to keep their systems going. Chick starter feed has the protein and nutrients they need for explosive early growth. And clean water keeps them hydrated and helps regulate their body temperature. Delays here can weaken their immune systems and stunt development before they even get started.
- Use chick starter feed with 18-20% protein, not adult layer feed or scratch grains.
- Dip each chick’s beak gently in the water upon arrival to show them where it is.
- Keep feeders full and check water levels twice daily since chicks consume surprising amounts.
The first meals and drinks are essential, so make sure every chick can find them easily.
Read More – The 21 Mightiest Chicken Breeds for Free-Range and Foraging Life!
5. Prevent Drowning/Wetness
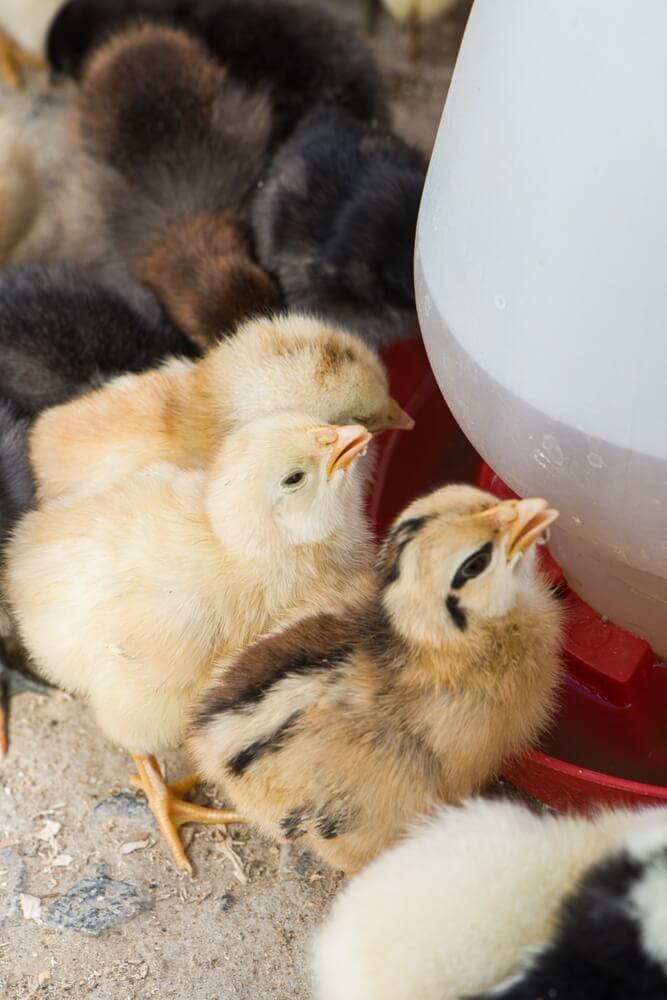
It may seem unlikely, but chicks can drown in regular water dishes. They are curious and unsteady, so they’re easy to get wet or stuck. Wet chicks get cold fast. And damp bedding can grow bacteria and mold. Use shallow dishes with marbles or special chick waterers to keep them safe and dry.
- Use shallow waterers with narrow openings or add clean marbles to open dishes for safety.
- Check waterers multiple times daily and refill before they run dry to prevent spills from desperate chicks.
- Place waterers on slightly raised platforms or wire. Doing so helps to keep bedding from getting soaked!
Dry bedding keeps your chicks happy and clean. A little prevention saves heartbreak. It also keeps your brooder environment safe for the entire flock.
6. Use Appropriate Bedding
Pine shavings work best. They absorb moisture, are safe if chicks eat them, and give good traction for their legs. Cedar shavings can irritate their breathing. Newspapers are too slippery and can cause leg problems. The first weeks are essential for healthy growth, so good bedding is important.
- Start with pine shavings at least 2-3 inches deep for proper absorption and traction.
- Avoid cedar shavings, treated wood products, and newspaper or slippery surfaces entirely.
- Add fresh bedding to soiled areas daily rather than waiting for a complete change.
Choosing the right bedding helps your chicks grow strong and stay comfortable.
Read More – The Ultimate Buff Orpington Chicken Breed Guide – England’s Golden Gift To Chicken Keepers!
7. Ensure Good Ventilation
A warm brooder is essential. But it should not be stuffy. Ammonia from droppings can build up fast and harm the chicks’ breathing. Good airflow without cold drafts is best. Let fresh air move above the chicks while keeping the warmth at their level, usually by adding ventilation holes near the top of the brooder.
- Never fully enclose a brooder with solid walls and no air exchange.
- Smell test your brooder daily. If ammonia stings your nose, ventilation is insufficient.
Fresh air is essential for healthy chicks. This helps set the foundation for their entire life.
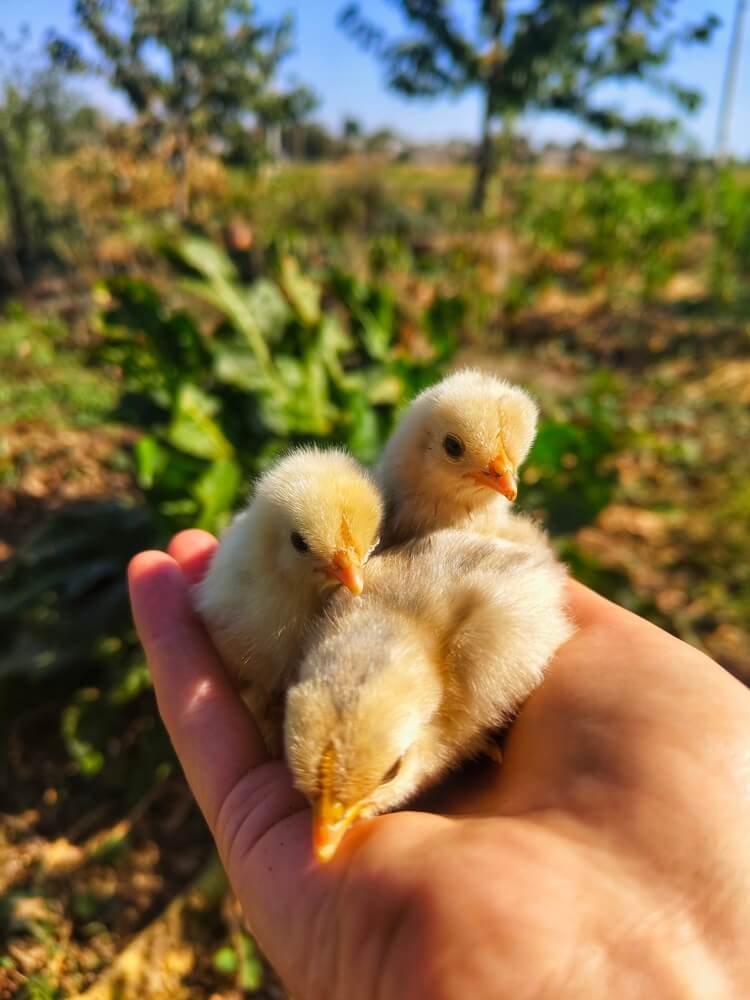
8. Handle Chicks Gently And Sparingly
Everyone knows your baby chickens are adorable! And you want to hold them all the time. But chicks are also fragile. Too much handling in those early days can stress them out and suppress their immune systems. Gentle, brief interactions help them get used to human presence without wearing them out. Save the extended cuddle sessions for when they’re a bit bigger and sturdier. That’s usually after the first week or two.
- Limit handling to health checks and necessary moves during the first week when they’re most fragile.
- Always fully support their bodies and never grab their wings, legs, or neck.
- Wash your hands before and after handling to prevent the transmission of disease in both directions.
Patience now creates friendly, calm birds without compromising their health during the most vulnerable stage.
Read More – 18 Friendliest Chicken Breeds For Mixed Flocks – No More Coop Drama Or Farmyard Brawls!
9. Keep the Brooder Clean and Sanitary

Chicks are efficient little poop machines! A dirty brooder can go from manageable to hazardous surprisingly fast. Wet, soiled bedding harbors coccidia, bacteria, and mold. All of these can make your whole flock sick. Spot cleaning daily and doing full bedding changes weekly. (Or more often for larger groups.) Doing so keeps disease pressure low and your chicks thriving. It’s unglamorous work, but it’s the foundation of a healthy flock.
- Remove wet or heavily soiled bedding daily, especially around waterers and high-traffic areas.
- Do complete bedding changes weekly for small flocks, more often for larger groups.
- Disinfect feeders and the waterers weekly with diluted vinegar or poultry-safe sanitizer.
A clean brooder is your first line of defense against the diseases that can devastate young chicks before they have a chance to grow.
⚠️ Critical Health Check – Watch for ‘Pasty Butt’! – Stress can cause droppings to stick to a chick’s vent, sealing it shut. This phenomenon is unpleasant. And potentially fatal if not fixed! Check every chick’s bottom daily. If you see a dried ‘plug’ of poop, gently clean it off with a warm, wet paper towel and apply a dab of olive oil.
10. Plan The Transition To The Chicken Coop
Moving chicks from the brooder to the coop isn’t just about them being fully feathered. (Which usually takes around 6-8 weeks). They need gradual temperature adjustment. This includes taking time to learn where food and water are in a bigger space, and a careful introduction to any existing flock members. Rushing this transition can result in bullying, chilled birds, or chicks that can’t find resources! A week or two of supervised “field trips” to the coop during warm days helps bridge the gap and sets everyone up for success.
- Wait until chicks are fully feathered (usually 6-8 weeks) before permanent coop moves.
- Introduce them to the coop during warm afternoons for short visits before the big move.
- Keep them confined to the coop for 3-5 days initially. This time helps them learn it’s home before free-ranging.
A thoughtful transition protects your time and care investment. It also helps ensure those sweet chicks become confident members of your backyard flock.
Note: If your chicks go outside and eat grass or bugs, provide a small bowl of chick grit to help them digest their new snacks safely!
Read More – 10 Things All Homesteaders Need To Know Before Buying Or Raising Chickens!
Conclusion
Raising baby chicks requires lots of preparation, observation, and care. The effort you put in now pays dividends in healthy, productive birds. They will continue to reward you with eggs, pest control, and companionship. Watch them closely. And don’t be afraid to adjust as you learn what works best for your setup. Before long, those adorable tiny peeping fluffballs will strut around your yard as fully-fledged members of your homestead.
Thanks for reading.
Have a great day!


