The Ultimate Pumpkin Stash – How To Store, Cure, And Preserve Your Epic Pumpkin Harvest!
Welcome! This article contains affiliate links, meaning I get a commission if you decide to make a purchase through my links, at no extra cost to you.
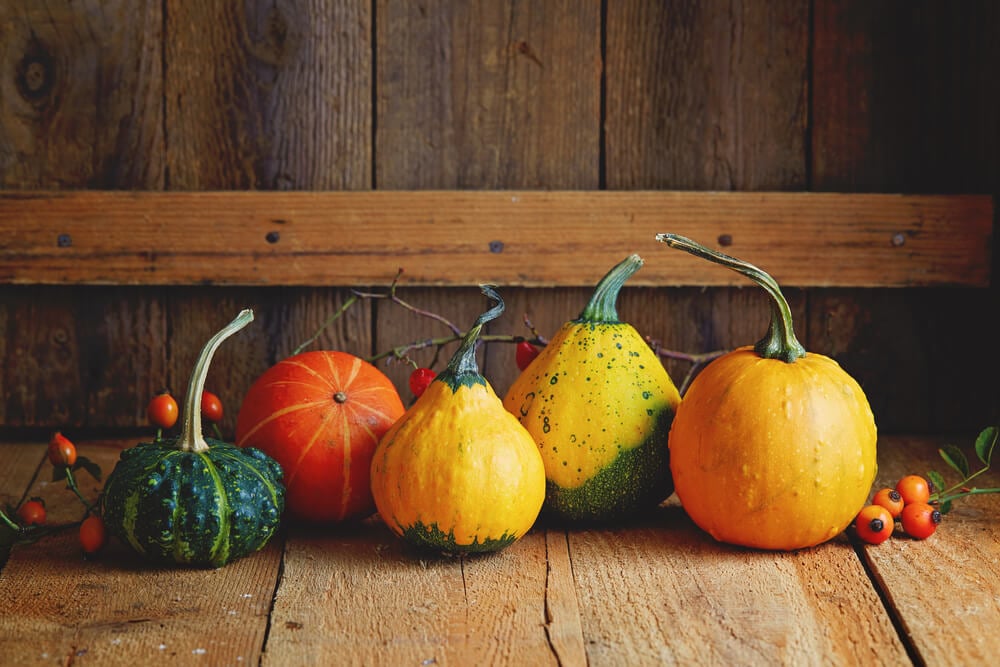
After nurturing those vines all summer and watching flowers turn to fruit, you’re now staring at a bumper crop that would make any homesteader proud. But nothing kills the joy of a pumpkin harvest faster than watching your hard-won beauties turn to mush before Thanksgiving even arrives! In this guide, we’ll explore nine real-world tips and tricks for storing, curing, and preserving your pumpkins without fuss. They work whether you’re growing heirlooms for pie, carving varieties for Halloween, or keeping a stash to feed your family through winter.
Sound good?
Then let’s preserve, cure, and store those pumpkins.
9 Best Ways To Store, Cure, And Preserve Pumpkins
Here are our nine best tips for preserving, storing, and curing your gourds perfectly – the first time around!
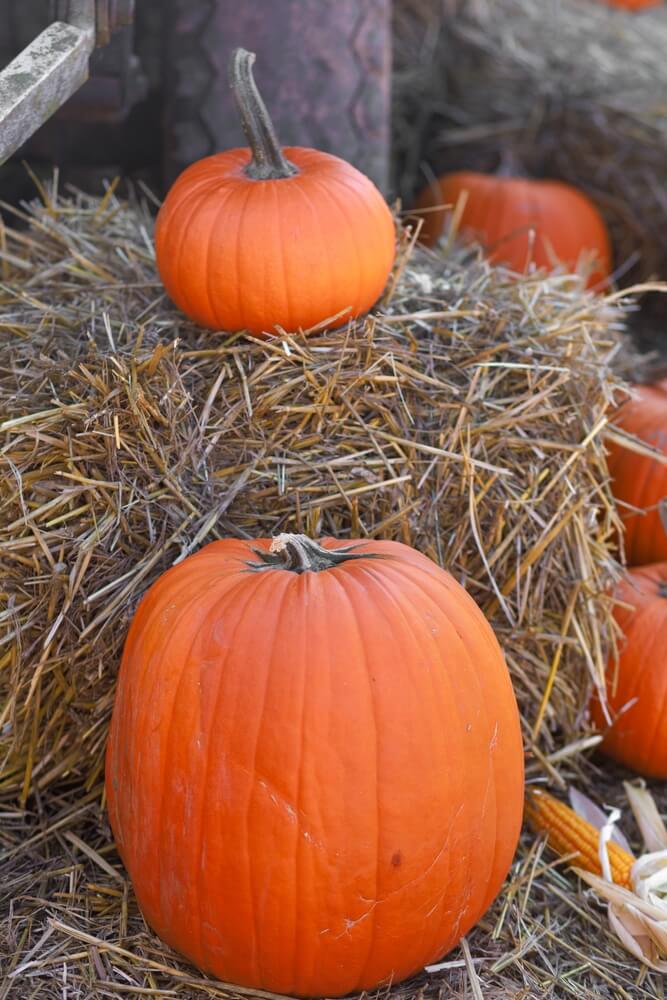
1. Harvest At Peak Ripeness (Timing Is Everything!)
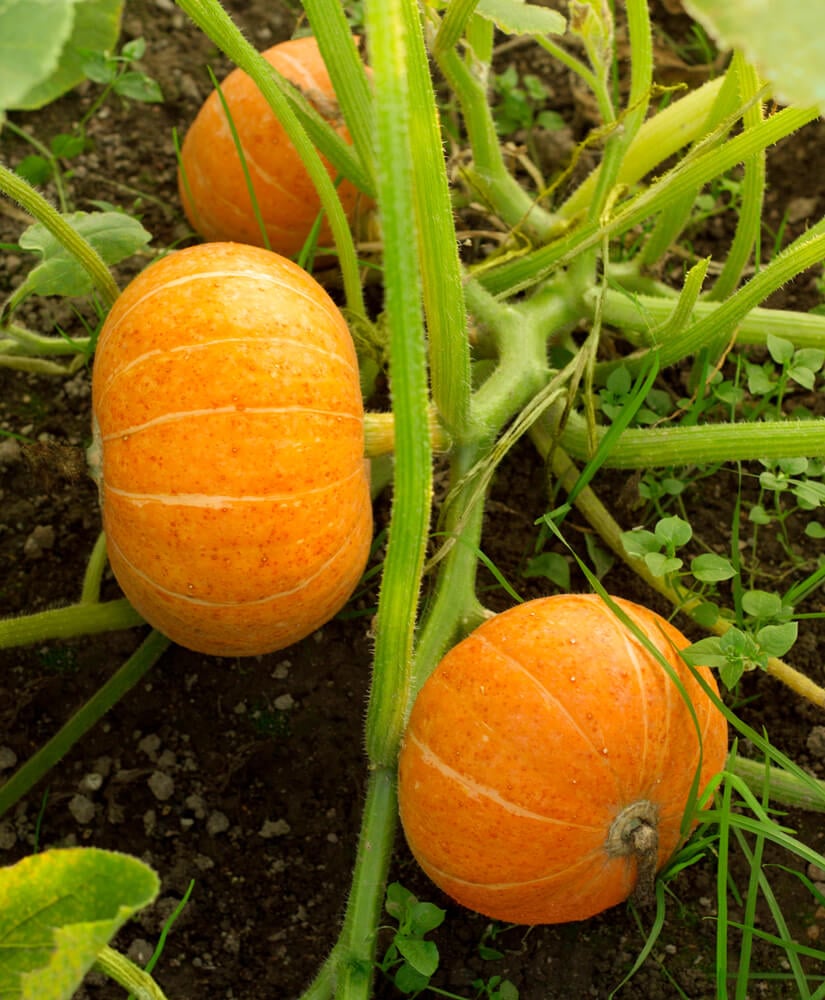
The harvest moment is make-or-break for storage success. Too early, and your pumpkins won’t have developed the thick, protective rind they need for long-term keeping. If it’s too late, frost damage or field rot can set in, compromising your entire crop. You want to catch them at that sweet spot when they’ve reached full maturity but before Mother Nature throws you a curveball.
Look for pumpkins with deep, uniform color throughout (no green patches or pale spots). The rind should be hard enough that you can’t easily dent it with your fingernail. This hardness is your first line of defense against bacteria and fungi.
The stem is another key indicator. It should be dry, corky, and naturally start to pull away from the vine. A green, fleshy stem indicates that the pumpkin is still absorbing nutrients and isn’t quite ready.
- Hard rind + dry stem = harvest ready. If the skin can be dented with your nail, it needs more time.
- Leave 3-4 inches of stem attached. This is your pumpkin’s protective seal. Never harvest without it.
- Handle gently and never carry by the stem. Every scratch or bruise reduces storage life dramatically.
When you’re ready to harvest, use sharp pruning shears or a bushcraft knife and cut the pumpkin stem cleanly. Leave roughly 3-4 inches attached to the fruit. That stem acts like a cork, protecting the pumpkin from moisture loss and bacterial entry. Never carry a pumpkin by its stem (tempting as it is, stems break easily, and a broken stem is an open invitation for rot). Instead, cradle the fruit from below with both hands.
2. Cure For Longevity (Your Secret Weapon)

Curing is a step many gardeners skip. They harvest their pumpkins and immediately toss them into storage. Big mistake. Curing is the most critical step for long-term pumpkin preservation. Skipping it can halve your storage time.
Find a warm, dry, well-ventilated space for your curing station. A sunny porch, greenhouse, or even a south-facing wall outdoors works beautifully. You’re aiming for temperatures between 80°F and 85°F with good air circulation. This warmth triggers the pumpkin’s natural defenses.
The skin thickens and hardens, minor wounds seal over, and excess moisture evaporates from the surface. Leave your pumpkins here for 10-14 days, turning them occasionally so all sides get exposure.
- Temperature matters: aim for 80-85°F for 10-14 days. Cooler temps won’t cure properly. Hotter temps can damage the flesh.
- Air circulation is non-negotiable. Space pumpkins apart and turn them every few days.
- Curing doubles or triples storage life. This step is worth every minute. Please don’t skip it.
During curing, avoid stacking pumpkins or letting them touch. Air needs to flow around every surface. If rain threatens outdoor curing, move them under cover. Properly cured pumpkins can last 3 to 6 months in storage, while uncured ones might only make it a few weeks. It’s the difference between having fresh pumpkin for Thanksgiving and having to buy canned.
Read More – 10 Creative And Delicious Ways To Use Leftover Pumpkins – Soup, Bread, And Dog Treats!
3. Clean And Inspect (Quality Control Time)
Now it’s time for quality inspection. This step separates the keepers from the composters. Being ruthless here saves your entire storage stash. One rotting pumpkin releases ethylene gas and spreads decay to its neighbors. (It’s the bad apple principle, but with 20-pound fruits that can take down your whole winter supply).
First, get a soft, dry cloth. Use it to remove any debris, dried vines, or dirt from your gourds. Don’t wash with water, though. If you must clean a dry pumpkin, dry it thoroughly afterward. And then, you’ll probably want to cure it for a few more days.
When you clean them, keep an eye open for any soft spots that feel squishy. Also check for cracks, cuts, and abrasions. Scrutinize the stem region! This is often the first place where bruises and rot appear.
- One rotten pumpkin ruins the bunch. Rot spreads fast. Be merciless in your sorting.
- The stem attachment is the most vulnerable spot. Check it carefully for any softness or mold.
- Damaged doesn’t mean wasted. Use imperfect pumpkins immediately for cooking and preservation.
Bruised pumpkins aren’t necessarily trash. They’re perfect for cooking. Roast them, puree them, freeze the flesh, or bake an epic pumpkin pie. The “perfect” pumpkins (those with hard, unblemished skin, solid stems, and no soft spots) are the ones reserved for long-term storage. They will last for months.
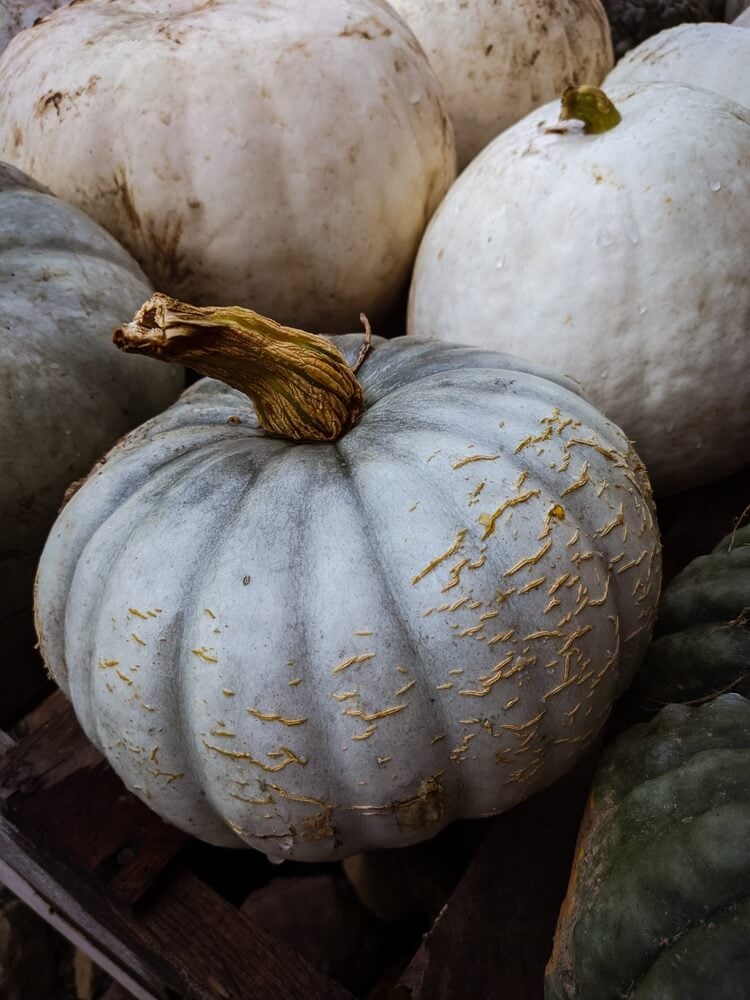
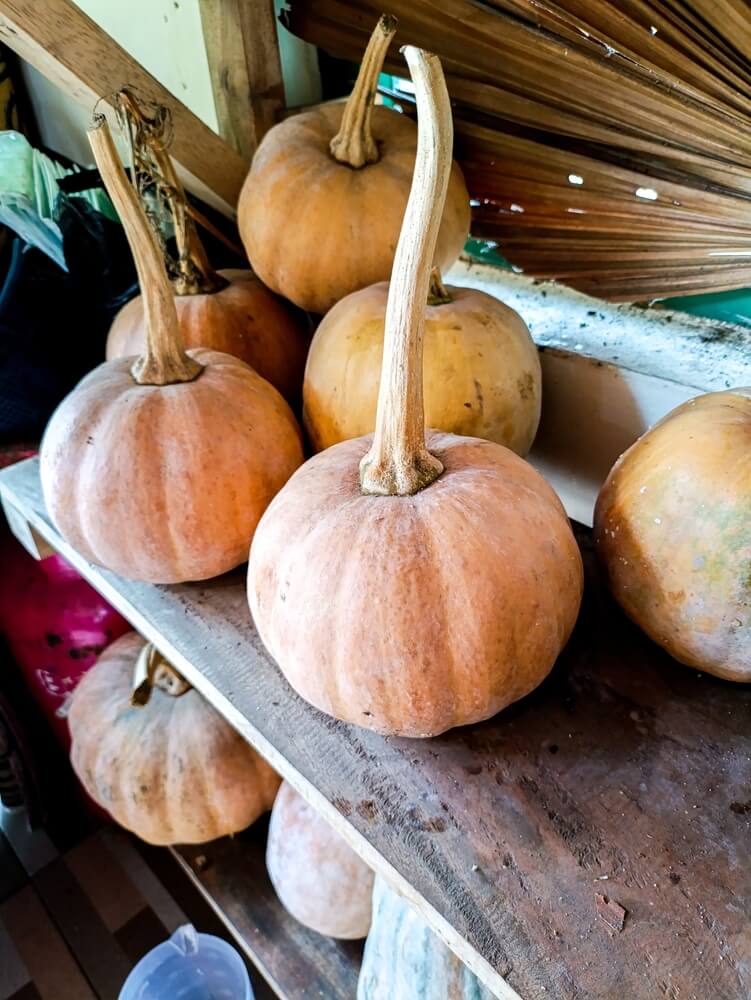
4. Choose The Right Storage Spot (Location, Location, Location)
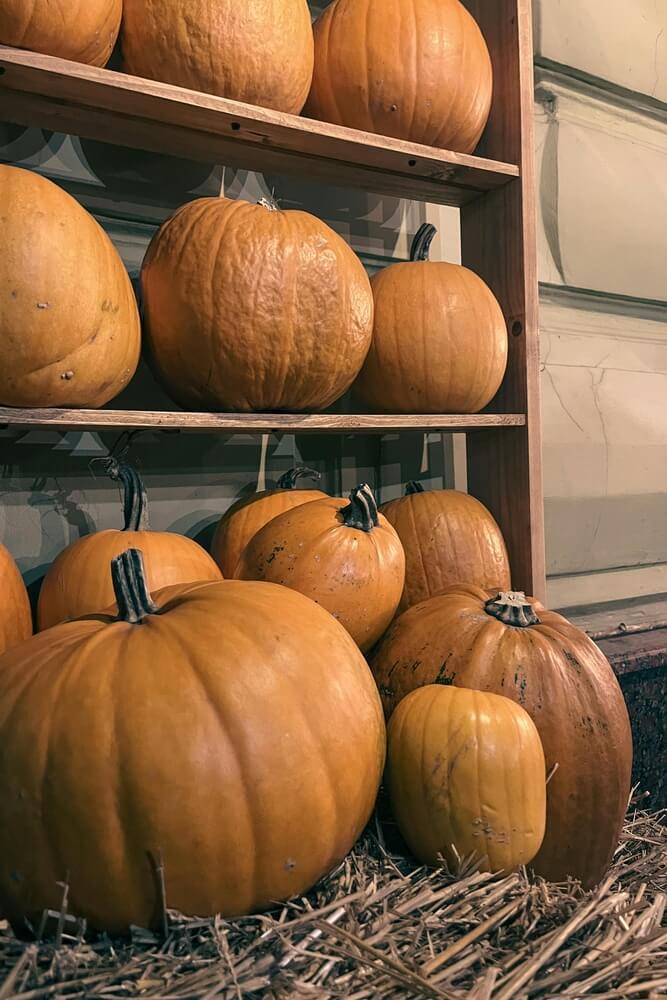
Storage environment is everything. Get this wrong, and even perfectly cured pumpkins won’t last. You’re looking for conditions that keep your pumpkins dormant (not so warm that they start to break down, not so cold that they freeze, and not so humid that mold takes hold). Think of it as creating a pumpkin hibernation cave.
The ideal pumpkin storage temperature range is 50 to 60°F. Basements, root cellars, pantries, cupboards, garages, and chilly closets can work. The space should be dark or dimly lit. Humidity is tricky. Too dry and pumpkins shrivel, too moist and they rot. Aim for 50-70% relative humidity.
- 50-60°F is the magic range. Warmer speeds decay. Colder temperatures risk causing frost damage and texture breakdown.
- Darkness preserves. Light destroys. Even indirect sunlight shortens storage life significantly.
- Monitor temperature weekly in the fall. The weather changes fast. Frozen pumpkins can’t be saved.
Check the temperature regularly, especially if you’re storing it in a garage or shed. A few nights below freezing can destroy your entire stash (frozen pumpkins turn to mush when they thaw). If temperatures threaten to drop, move your pumpkins indoors temporarily or insulate them with blankets and straw. Think of your storage spot as a living system that needs monitoring, not a “set it and forget it” situation.
Read More – 27 Free Pumpkin Stencils For A Funny (Or Scary) Halloween Jack-O-Lantern!
5. Layer And Arrange Strategically (Give Them Space)
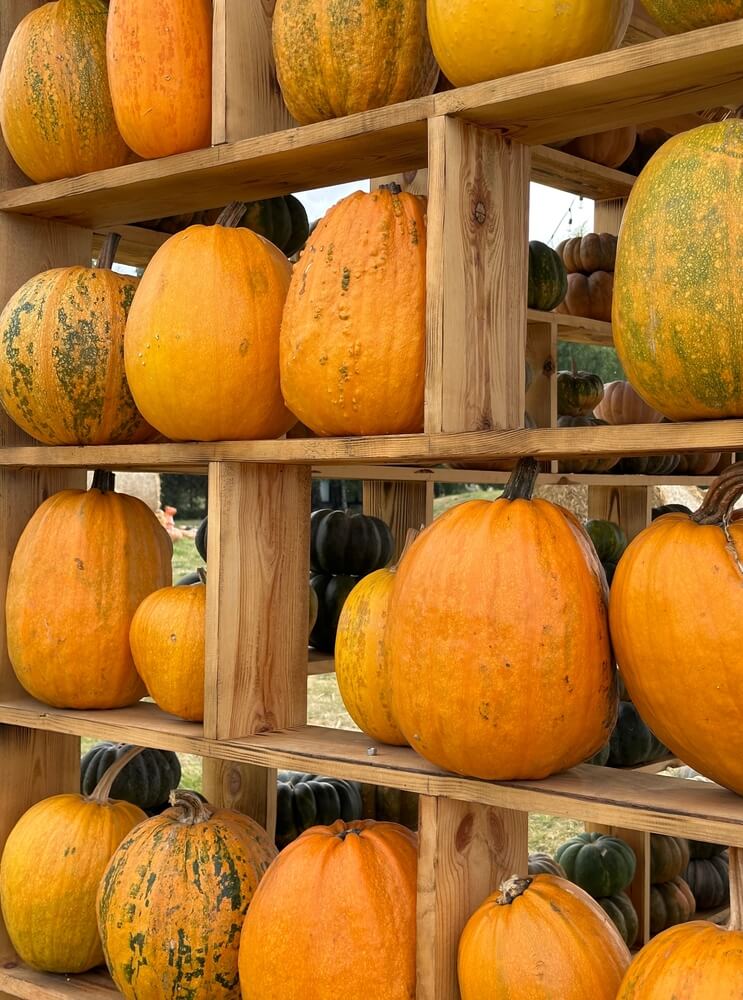
How you arrange your pumpkins matters almost as much as where you store them. Pumpkins are living things even after harvest (they’re still respiring, giving off moisture, and slowly aging). Your job is to slow this process by maximizing airflow and minimizing pressure points that can lead to bruising and rot.
Never stack pumpkins directly on concrete floors or against cold walls (both draw heat away from the fruits and can create condensation). Instead, create a protective layer first. Wooden pallets are ideal, but straw, cardboard, or even layers of newspaper work well.
Elevating pumpkins allows air to circulate underneath and prevents bottom rot. Arrange pumpkins so they don’t touch each other (even an inch of space between them helps). If you’re tight on space, place crumpled newspaper or straw between fruits to create separation.
- Never let pumpkins touch concrete or each other. Use straw, cardboard, or pallets as buffers.
- Air circulation prevents 90% of storage problems. To ensure proper airflow, space items apart and elevate them off the ground.
- Rotate every 2-3 weeks. This prevents flat spots and catches early signs of decay.
Position pumpkins stem-up or on their sides, but be consistent and check them regularly.
6. Preserve Your Jack-o’-Lanterns (Extend The Halloween Magic)
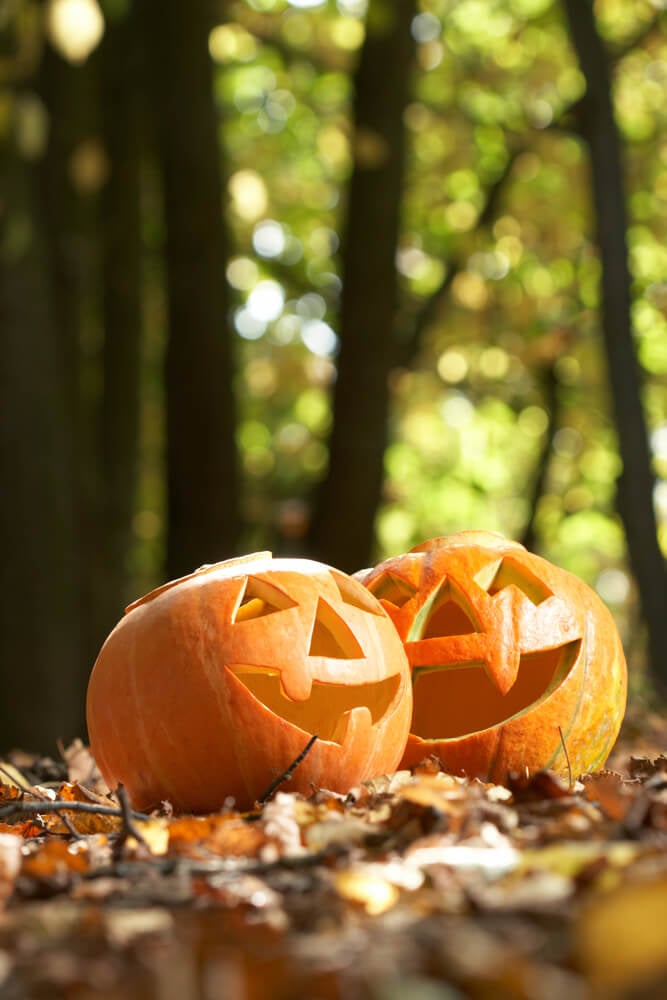
Carved jack-o’-lanterns are a different beast entirely (once you cut into a pumpkin, you’re working against the clock). Those beautiful faces you’ve carved expose the moist interior flesh to air, bacteria, and mold, which is why most jack-o’-lanterns turn slimy within a week. But with a few tricks, you can keep your carved creations looking fresh for two or even three weeks.
Immediately after carving, the cut edges start to dry out and shrink. Your first line of defense is creating a moisture seal. Rub petroleum jelly, vegetable oil, or a commercial pumpkin preservative spray along all cut edges, inside and out.
Reapply every few days, especially if you’re keeping your jack-o’-lantern outdoors.
- Seal all cut surfaces with petroleum jelly or oil. Reapply every 2-3 days to maintain the protective barrier.
- Keep cool and out of direct sun. Heat is carved pumpkin’s enemy number one.
- Location is the most critical thing. Cool, shaded spots are ideal (hot sun and warm temperatures accelerate decomposition).
If you’re displaying outdoors, a covered porch beats a sunny doorstep every time. Bring jack-o’-lanterns inside overnight if frost threatens. Freezing damages the cell structure and leads to collapse when temperatures rise again.
Read More – How To Grow Pumpkins From Seed Easily | The Ultimate Pumpkin Garden Guide!
7. Preservation Beyond Storage (Bank That Harvest)
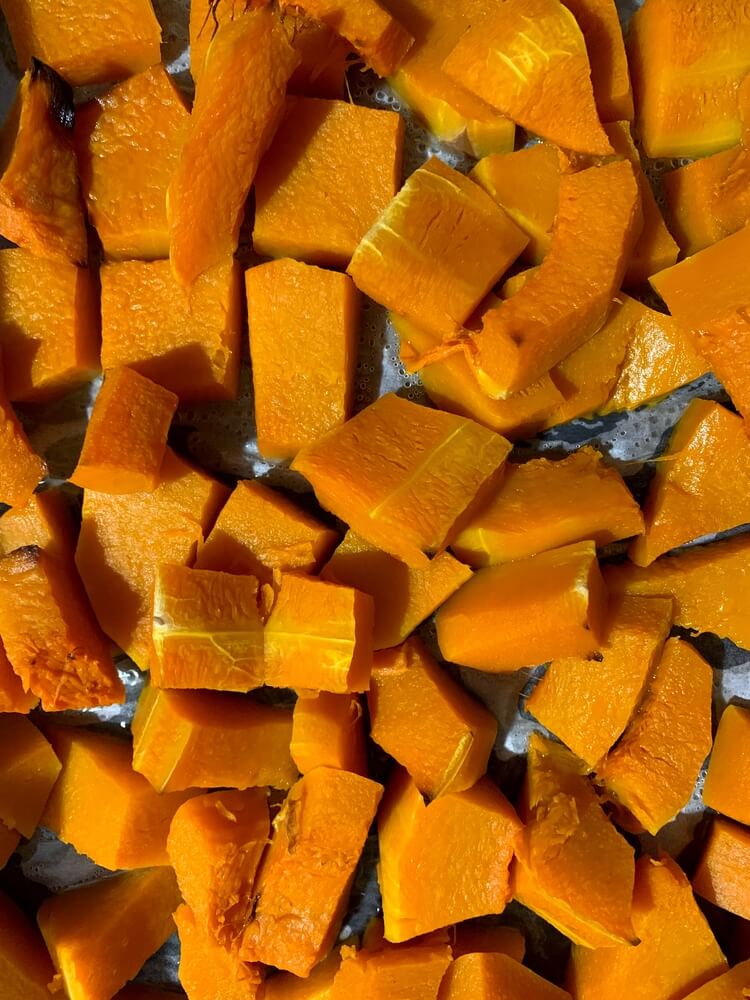
Even with perfect storage, whole pumpkins eventually decline. That’s when it’s time to think beyond the root cellar and consider preservation methods that can keep pumpkin on your menu year-round. Processing your harvest not only multiplies its value but also ensures that nothing goes to waste.
Freezing is the easiest method for preserving pumpkin flesh. Cut pumpkins in half, scoop out the seeds, and roast cut-side down at 350°F until tender. Let cool, scoop out the flesh, and puree it smooth. Pack measured portions (2 cups is perfect for most recipes) into freezer bags, squeeze out air, and freeze flat for easy stacking.
Frozen pumpkin puree lasts 10-12 months and works beautifully in pies, breads, soups, and smoothies. You’ll be shocked at how much better homegrown tastes than canned.
- Freezing is the easiest method – roast, puree, portion, and freeze. This approach lasts a year and tastes better than store-bought.
- Pressure canning only. Water bath canning isn’t safe for pumpkin! Follow tested recipes exactly.
- Seeds are valuable too. You can roast them for snacks or save them for planting next year.
Pressure canning is required for pumpkin. Just a reminder, water bath canning is NOT safe for low-acid foods like pumpkin. Cube your cooked pumpkin and process in sterilized jars according to tested recipes (check the National Center for Home Food Preservation for safe guidelines).
Dehydrating pumpkin creates chips perfect for snacking or grinding into powder for soups and baking. Slice thin, season if desired, and dry at 135°F until crispy. Store in airtight containers with a moisture absorber packet.
Don’t forget about those seeds! Rinse them clean, toss with oil and salt, and roast for a protein-rich snack.
Even the strings and scraps can go into your compost or chicken feed if you keep poultry. When you process your harvest, you’re preserving food, maintaining your hard work, and maximizing the return on every seed you planted.
8. Inspect Regularly (Stay Vigilant)

Storage isn’t a “set and forget” operation (it requires regular attention). Even the most perfectly cured and stored pumpkins can develop problems, and catching issues early is the difference between losing one pumpkin and losing dozens. Make storage checks part of your weekly routine throughout fall and winter.
Every week, walk through your storage area with a critical eye and a gentle hand. Pick up each pumpkin and examine it from all angles. Press gently on the skin, especially around the stem and the bottom where it rests. You’re feeling for soft spots. Check for mold growth, which often appears as white, fuzzy patches or darker discoloration. Smell matters too. A sweet, fermented, or off odor signals the beginning of rot, even if the exterior looks fine.
- Weekly inspections are mandatory. Set a recurring reminder and don’t skip it even once.
- Remove problem pumpkins immediately. Rot spreads through spores and ethylene gas. Isolation is critical.
- Rotate pumpkins during inspections. Turn them so that different sides rest on the storage surface.
Any pumpkin showing signs of decline needs immediate attention. Remove it from storage right away (don’t wait to see if it gets worse, because it will, and it will take neighbors with it). If the problem is minor and localized, you can cut away the bad spot and use the rest immediately.
Otherwise, it’s compost time. As you inspect, rotate your pumpkins, turning them so different surfaces face down. This gentle rotation promotes even aging and prevents moisture from accumulating in one spot. Keep a log if you’re storing a large quantity (note harvest dates, varieties, and when you removed certain pumpkins). You’ll learn what stores best and refine your system each year.
Read More – Will Pumpkins Ripen Off The Vine? Pumpkin Maturity And Harvesting Tips!
9. Creative Bonus Tips (Creating A Straw Bed!)
Create a “wild corner” of deep straw or leaf mulch for extra insulation if you’re storing in an unheated space. Nestle pumpkins into the bedding like you’re tucking them in for winter. (This helps moderate temperature swings and protects from accidental bumps). Some gardeners swear by wrapping individual pumpkins in newspaper before storing. Doing so helps absorb excess moisture and provides a buffer.
- Deep straw insulation extends storage in cold climates. Creates a stable microclimate around fruits.
- Natural pest deterrents work. Peppermint, garlic, and lavender keep rodents away without toxins.
- Label and organize by use. Future-you will thank present-you when you’re searching for pie pumpkins in December.
Are you storing pumpkins in barns, sheds, and garages? Then pest control is crucial! Mice and rats are enormous fans of pumpkins and can easily destroy your stash overnight. Natural repellents work surprisingly well. Scatter cloves of garlic around your storage area, tuck sachets of peppermint or lavender between pumpkins, or use cotton balls soaked with peppermint essential oil.
Read More – How Many Pumpkins Per Plant To Get the Best Yield + Growing Tips!
Conclusion
The real magic happens when you open your storage area in January and find firm, beautiful pumpkins still waiting (when everyone else is buying imports from thousands of miles away, you’re serving up pie from pumpkins you grew in your own garden).
What about you?
- Did you grow a ton of pumpkins this year?
- Do you need help curing and storing them?
- Where is the best place to store pumpkins?
Thanks for reading.
Have a great day!


