The Ultimate Guide To Growing Thanksgiving Cactus From Seed, Cuttings, Or Transplant!
Welcome! This article contains affiliate links, meaning I get a commission if you decide to make a purchase through my links, at no extra cost to you.
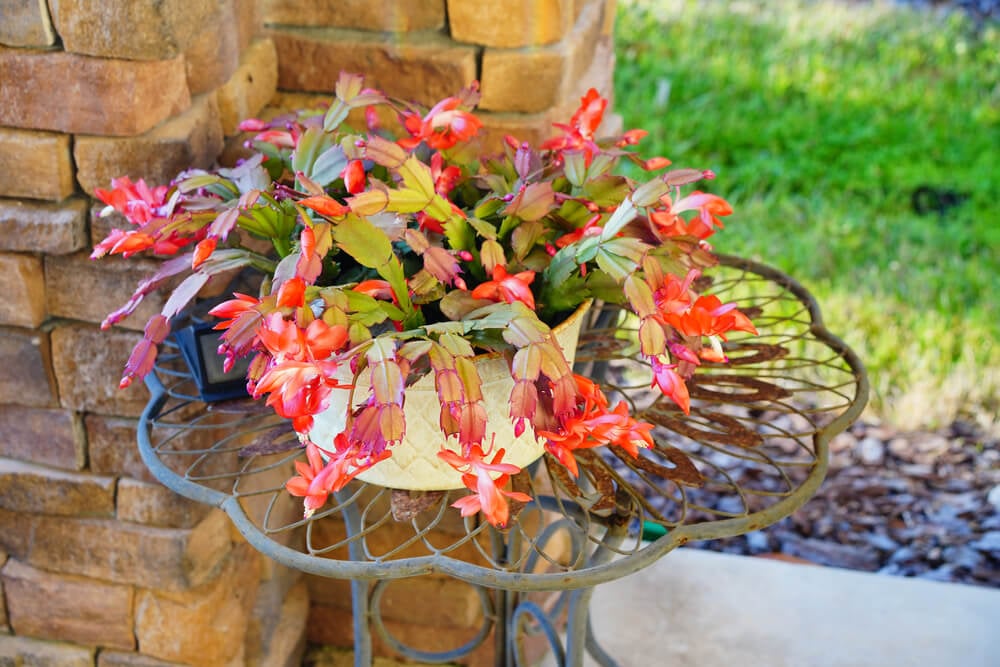
Thanksgiving cactus is one of those plants that looks fussy but secretly thrives on benign neglect once you understand what it actually wants. Unlike its desert-dwelling cousins, this Brazilian native prefers humid air, shady corners, and soil that drains like nobody’s business. This guide covers everything you need to grow a thriving Thanksgiving cactus that’ll outlive most of your houseplants and probably you, too. And it can work whether you’re starting from scratch with seeds, snipping cuttings from grandma’s heirloom plant, or grabbing a nursery transplant on impulse!
Sounds good?
Then let’s get growing.
Growing Thanksgiving Cactus From Seed
Let’s be honest. Growing Thanksgiving cactus from seed is the slow road, and it isn’t easy, but here’s the upside. It’s free (or close to it). That said, if you’re looking for quicker results, cuttings or transplants will get you there much faster with far less fuss. (No worries. We cover all three methods.) But first – growing from seed.
Step 1 – Obtain Viable Seeds
You have two options here. First, you can purchase fresh Schlumbergera truncata seeds online. Many sellers list them as “Thanksgiving cactus seeds” or simply “holiday cactus seeds.” Your second option is to hand-pollinate your own plants, which is admittedly more satisfying. Thanksgiving cactus flowers typically open between November and December. Use a light, tiny, soft paintbrush to transfer Thanksgiving cactus pollen between two different plants, since cross-pollination produces much better fruit set. About six to ten weeks after successful pollination, you’ll notice bright red or pink berry-like fruits developing.
Step 2 – Extract And Clean The Seeds
Patience is key here. When the fruit softens and begins to wrinkle (typically two to six months after pollination), it’s ready for harvest. Gently squeeze out the pulp to reveal tiny black seeds that resemble little commas. Rinse them thoroughly under water to remove any remaining fruit residue, then spread them out to air-dry for a few hours.
Step 3 – Sow The Seeds
Spring or early summer provides ideal conditions for sowing. However, any time works for indoor growing. You’ll need a shallow tray or small pots, a well-draining growing medium (cactus soil works perfectly, or mix equal parts peat and perlite), and a clear dome or tiny plastic bag to preserve humidity.
Moisten your growing medium and level the surface. Scatter the seeds on top, but don’t cover them since these seeds require light to germinate. Mist lightly, then cover with your clear lid or bag. Place the container in bright indirect light where temperatures stay (roughly) between 70 and 80 degrees Fahrenheit. Keep the surface consistently moist and ventilate daily to prevent mold from developing.
Step 4 – Wait For Germination
Germination for Thanksgiving cacti typically occurs within 2 to 8 weeks, though some seeds may take longer. The seedlings are absolutely microscopic at first, so don’t panic if you’re squinting at the soil, wondering if anything’s happening. Once sprouts appear, gradually remove the humidity cover to acclimate them to normal conditions.
Step 5 – Growing On
Provide bright indirect light and water when the surface begins to dry out. By six to twelve months, your seedlings will have developed a few of those distinctive claw-shaped segments with pointed teeth that give Thanksgiving cactus its characteristic look. When plants reach four to six segments, transplant them into small individual pots.
Expect to wait three to five years before seeing your first blooms! Exceptional care can sometimes produce flowers in as little as two to three years.
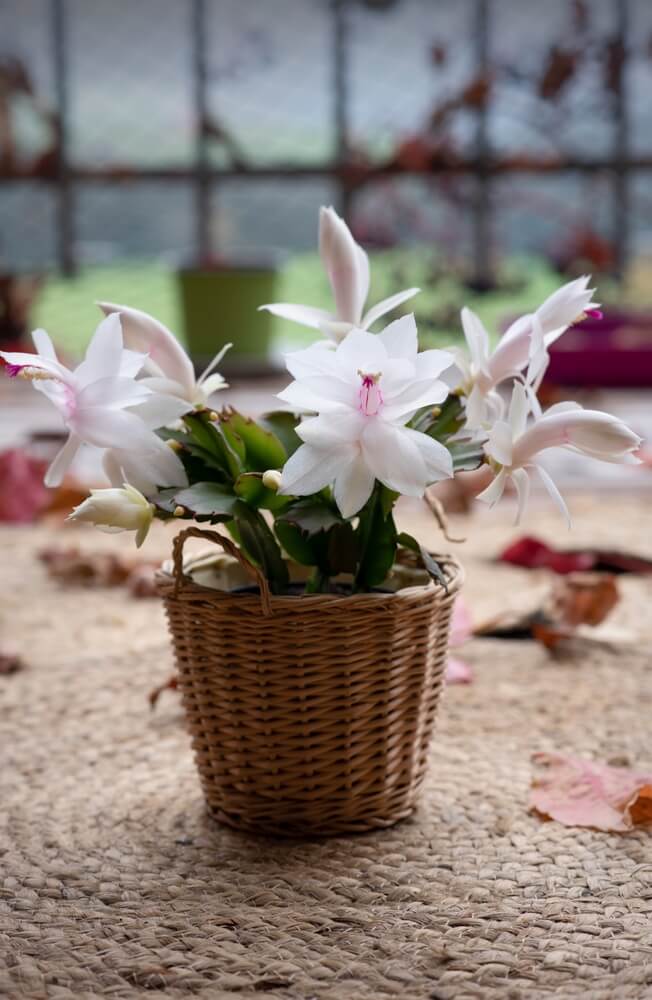
Also, here’s something exciting about seed-grown plants. They vary considerably from their parents. You might end up with flower colors ranging from pure white to deep magenta, with bloom times spanning early November through January. It’s like opening a gift you won’t fully unwrap for years, similar to planting a fruit tree and waiting years to taste that first harvest.
Read More – Ultimate Guide To Growing Osage Oranges (Hedge Apples) From Seeds Or Transplants!
Growing Thanksgiving Cactus From Cuttings
This is your shortcut, and it’s a good one. While growing from seed feels like a mad-scientist experiment, propagating from cuttings gives you a mature, blooming plant in a fraction of the time.
Step 1 – Take Your Cuttings
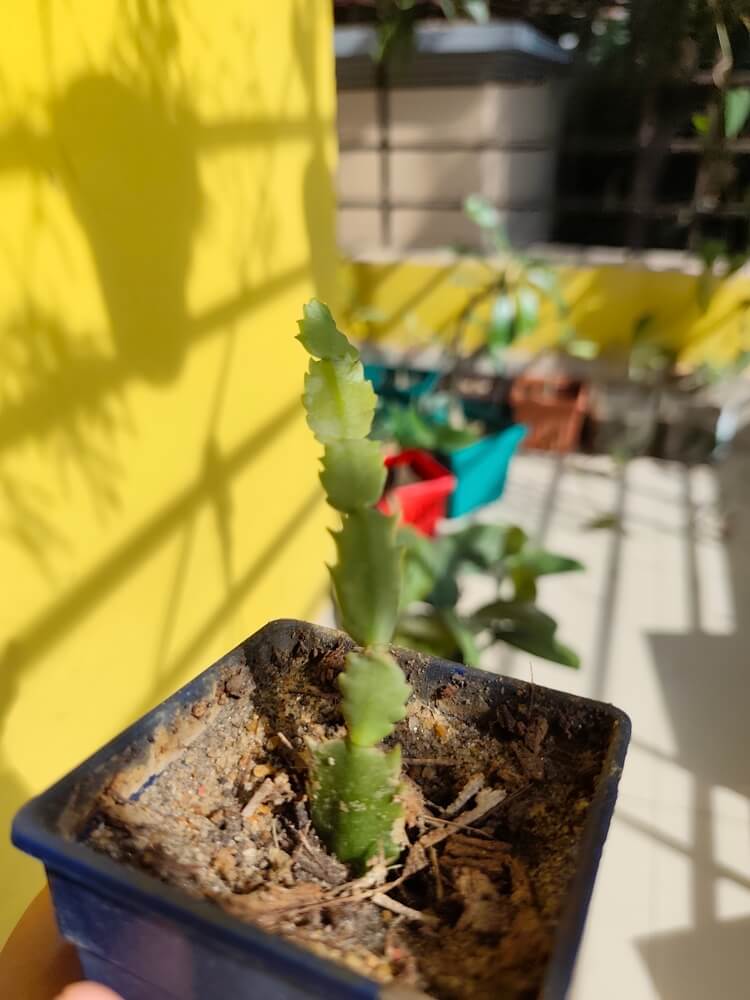
Select a healthy stem and twist off a section containing three to four segments. The joint between segments is the natural breaking point, so work with it rather than against it. Let the cacti cutting rest in a dry location for one to two days until the cut end calluses over.
Step 2 – Plant The Cuttings
Fill a small growing pot with a well-draining cactus mix or a blend of peat and perlite. Insert the callused end of your cutting about an inch deep into the soil. You can plant multiple cuttings in one pot for a fuller look. Water lightly and place in bright indirect light.
Step 3 – Root Development And Care
Keep the soil barely moist (not wet) for the next few weeks. Roots typically develop within three to eight weeks. Rooting occurs when the cutting feels anchored and shows new segment growth. Once established, care for your cacti cuttings as mature plants.
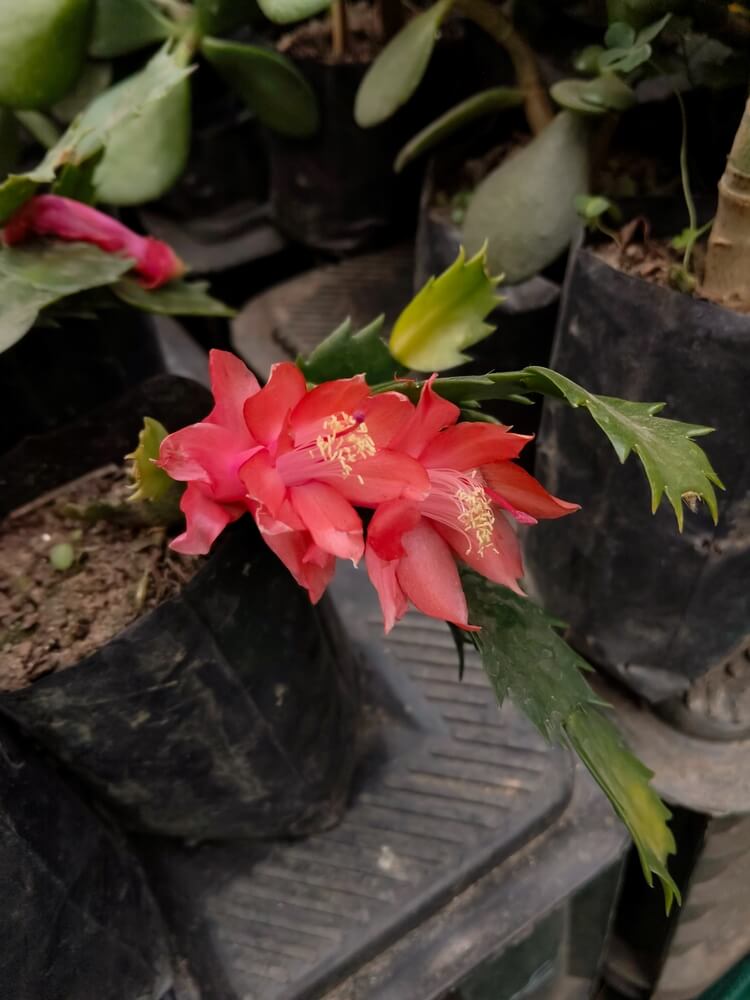
Growing From Nursery Transplants
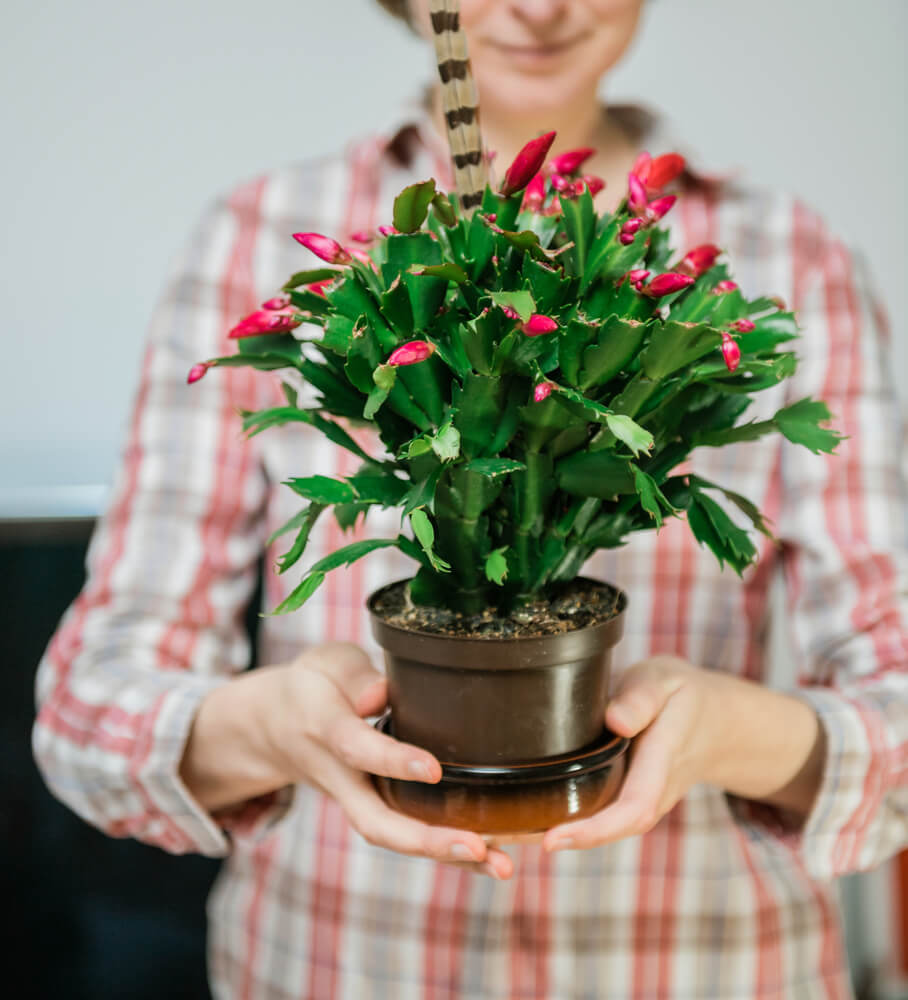
If you want the most straightforward path to a thriving Thanksgiving cactus, nursery transplants are your answer. You skip all the waiting and uncertainty. You also often bring home a plant that’s already blooming or close to it.
Repot into a slightly larger growing pot with fresh cactus mix, give it bright, indirect light, and you’re essentially done. It’s not quite as rewarding as watching something grow from a tiny seed or nursing a cutting to maturity, but sometimes the straightforward approach is exactly what you need.
Read More – 9 Reasons I Stopped Raking Leaves (And Why I May Never Rake Again!)
Thanksgiving Cactus Requirements
Now that you know how to start your Thanksgiving cactus, let’s talk about what these plants actually need to thrive year after year.
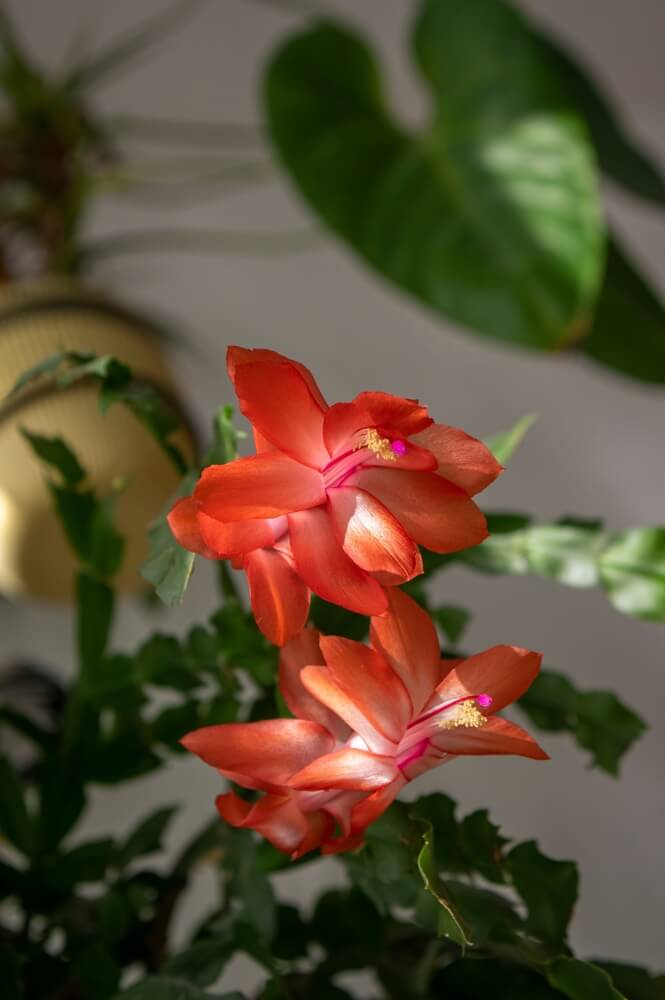
Sunlight
Thanksgiving cactus prefers bright, indirect light, making it perfect for east- or north-facing windows. Despite having “cactus” in its name, this plant doesn’t want the harsh direct sunlight that desert cacti crave. A few hours of gentle morning sun is fine, but intense afternoon rays will scorch the segments and leave you with a sad, bleached-out plant. If your only option is a south or west window, pull it back a few feet or filter the light with a sheer curtain. During summer, many growers move their plants outdoors to a shaded porch or under a tree canopy, which often results in more vigorous growth and better fall blooming.
Climate
Here’s where the Thanksgiving cactus reveals its true nature. It’s not a desert plant at all. This species hails from the coastal mountains of southeastern Brazil! There, it grows as an epiphyte in humid, shaded forests. (Epiphyte, meaning it lives on another plant for physical support – but NOT for nutrients.)
It thrives in average household temperatures between 60 and 70 degrees Fahrenheit and appreciates moderate humidity. The plant tolerates temperatures down to about 50 degrees, which actually helps trigger fall blooming. Avoid placing it near heating vents, fireplaces, or drafty doors, as temperature fluctuations stress the plant and can cause bud drop.
For most of North America, Thanksgiving cactus lives happily as a houseplant year-round, though it enjoys a summer vacation outdoors in zones 10-12, where it can stay outside permanently.
Soil And Fertilizer
Forget everything you know about typical houseplant soil! Thanksgiving cactus needs something entirely different. As an epiphyte, it naturally grows in pockets of leaf debris and organic matter lodged in tree branches, not in dense ground soil.
Your growing medium needs to drain exceptionally well while still retaining some moisture. A quality cactus and succulent mix works perfectly. Or you can blend your own using equal parts regular potting soil, perlite, and orchid bark. The goal is a light, airy mix that lets roots breathe.
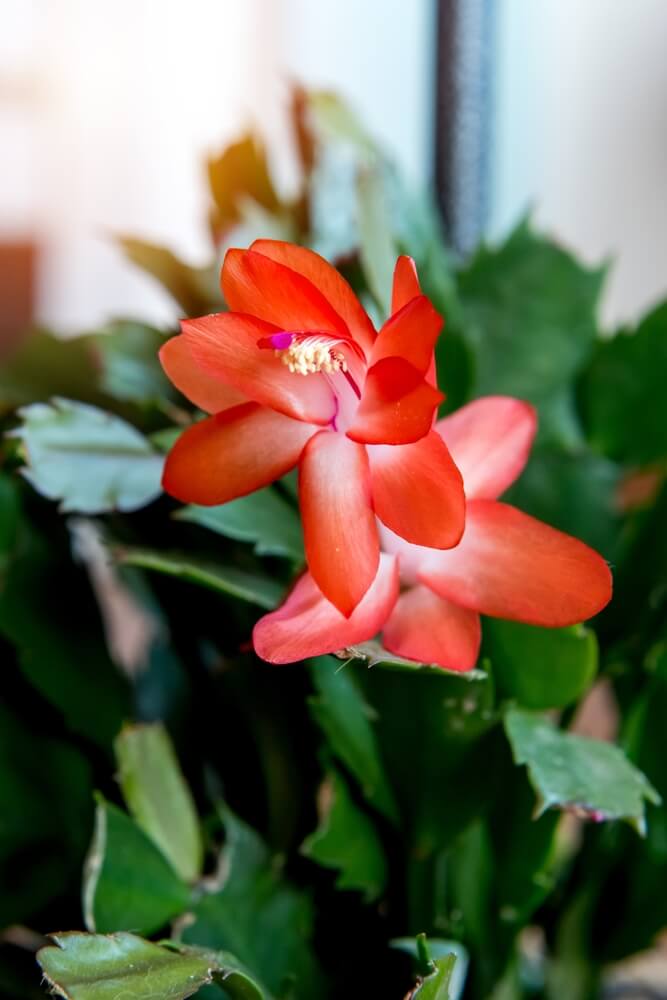
For fertilizing, feed monthly during the active growing season, from April through September, with a balanced houseplant fertilizer diluted to half-strength. Stop feeding entirely from October through March while the plant blooms and rests. Overfeeding produces leggy growth and fewer of those lovely pink or orange flowers. So restraint pays off here.
Pollination
Hummingbirds naturally pollinate Thanksgiving cactus flowers in their native Brazilian habitat, and the tubular shape of the flowers reflects this relationship perfectly. At home, you won’t get fruit or seeds without manual intervention, since most indoor environments lack the pollinators needed for fruit and seed production. If you want to try seed production, hand-pollinate by transferring pollen between flowers on two different plants using a tiny paintbrush or cotton swab. Cross-pollination between genetically different plants produces the best fruit set.
The good news? Pollination isn’t necessary for the plant to bloom beautifully year after year. The flowers will open, dazzle you for several weeks, and drop off naturally, whether or not they are pollinated. However, if you’re interested in growing from seed or enjoy the process, successful pollination results in small berry-like fruits that ripen over several months.
Watering
Watering is where most people go wrong with Thanksgiving cactus. Usually by overdoing it! Despite needing more moisture than true desert cacti, this plant still resents soggy roots. Water thoroughly when the top inch of the cacti’s soil feels dry, allowing water to drain completely through the pot’s drainage holes. Empty any saucer beneath the pot after watering, and never let the plant sit in standing water.
Depending on your home’s humidity and temperature, you might water once per week in the spring and summer. In fall and winter, the plant needs less water, so stretch out the watering intervals to every two to three weeks. The segments will look slightly wrinkled when the plant is truly thirsty, which is a helpful visual cue. Humidity matters too, so misting occasionally or placing the growing pot atop a tray of pebbles and water helps replicate the misty conditions of a Brazilian forest, especially during dry winter months when indoor heating saps moisture from the air.
Read More – 10 Permaculture Principles That Let Mother Nature Do The Heavy Lifting For You!
Thanksgiving Cactus Growing Schedule
Here are the critical dates all Thanksgiving cactus growers should know. Since this is primarily an indoor plant for most folks, the schedule focuses less on frost dates and more on care transitions throughout the year. However, it’s still beneficial for timing repotting, feeding, and that all-important bloom preparation.
April
Spring has arrived, and your Thanksgiving cactus is waking up from its winter rest. April is the ideal month to repot if your Thanksgiving cacti have outgrown their containers or the soil has broken down and compacted. Resume regular fertilizing now with a balanced houseplant fertilizer at half strength. You’ll notice new segment growth starting at the tips, a sign your plant is ready for the active season ahead.
May
Growth kicks into higher gear this month. Continue your regular watering and feeding schedule, checking soil moisture every week or so. If you plan to move your plant outdoors for the summer, start acclimating it now by placing it outside in complete shade for a few hours daily, gradually increasing exposure over two weeks. Never skip this hardening-off period, or you’ll shock the plant.
June
Your Thanksgiving cactus should grow vigorously in June. Watch for it to start producing multiple new segments. June is also prime time for taking cuttings if you want to propagate, since the warm temperatures and active growth mean cuttings root quickly and reliably. If your plant is spending the summer outdoors, ensure it stays in bright shade and monitor for pests like slugs, mealybugs, and aphids, which are more prevalent outdoors.
July
Water your Thanksgiving cactus more frequently when outdoors in July, as the hot summer air can dry out its pots surprisingly quickly. Keep feeding monthly. Watch for sunburn if dappled light shifts as the sun’s angle changes, and move the plant if you notice bleached or reddish segments. July is also a good month to pinch or twist off leggy growth to encourage a bushier shape.
August
Late summer is your last opportunity for major pruning or propagation before the plant begins preparing for bloom. Any cuttings taken now should still have time to root before winter. Continue regular watering, and your final feeding of the season should happen this month or early September. Start mentally preparing for the transition to bloom mode.
September
Time to shift gears. Stop fertilizing entirely since the plant needs to wind down, not push new growth. If your Thanksgiving cactus summered outdoors, bring it back inside before nighttime temperatures drop below 50 degrees. Begin reducing watering frequency slightly. The shorter days naturally signal the plant to start setting buds, so avoid placing it in rooms with artificial light in the evenings.
October Through Winter
Winter is your magic window. Thanksgiving cacti plants won’t flower unless a few requirements are met. They need cool temperatures between 50 and 65 degrees and at least 12 to 14 hours of uninterrupted darkness each night.
A spare bedroom, a basement, or an unheated porch often provides ideal conditions. Water sparingly! Only when the top inch of soil dries out. By late October or early November, you should see tiny buds forming at segment tips.
Once buds appear, avoid moving the plant or making dramatic changes to its environment, as sudden shifts can cause bud drop. Blooms typically open in November, giving you that perfect Thanksgiving display.
Read More – 21 Delicious Food Forest Crops For Homesteads And Small Gardens!
Fun Fact – The Thanksgiving Cactus That Refuses To Be a Christmas Cactus
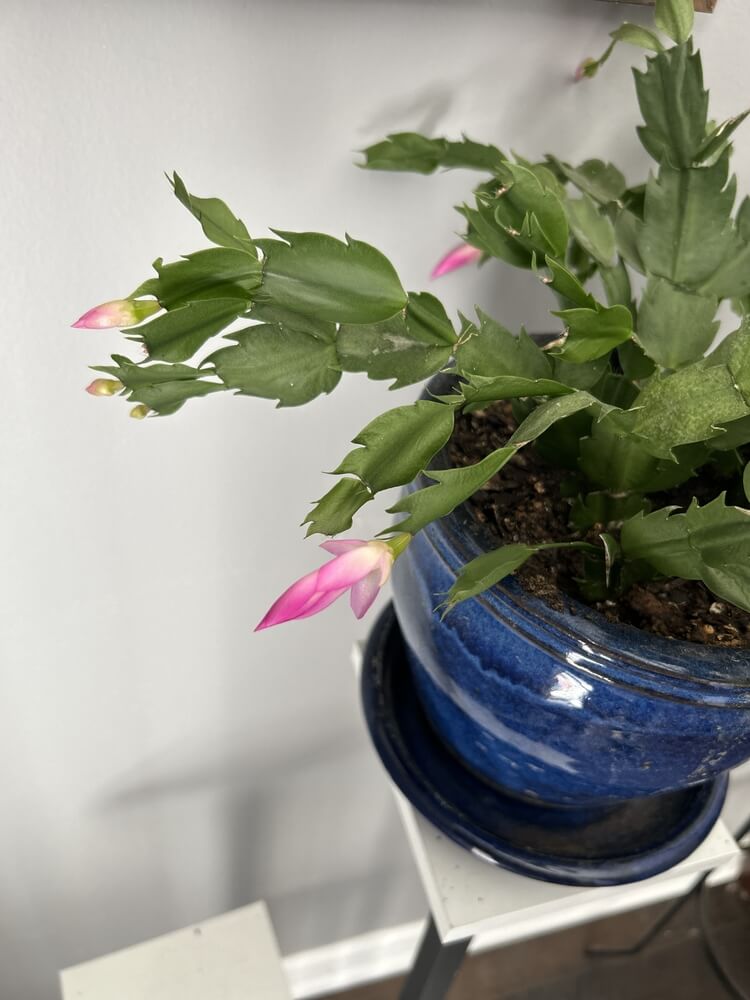
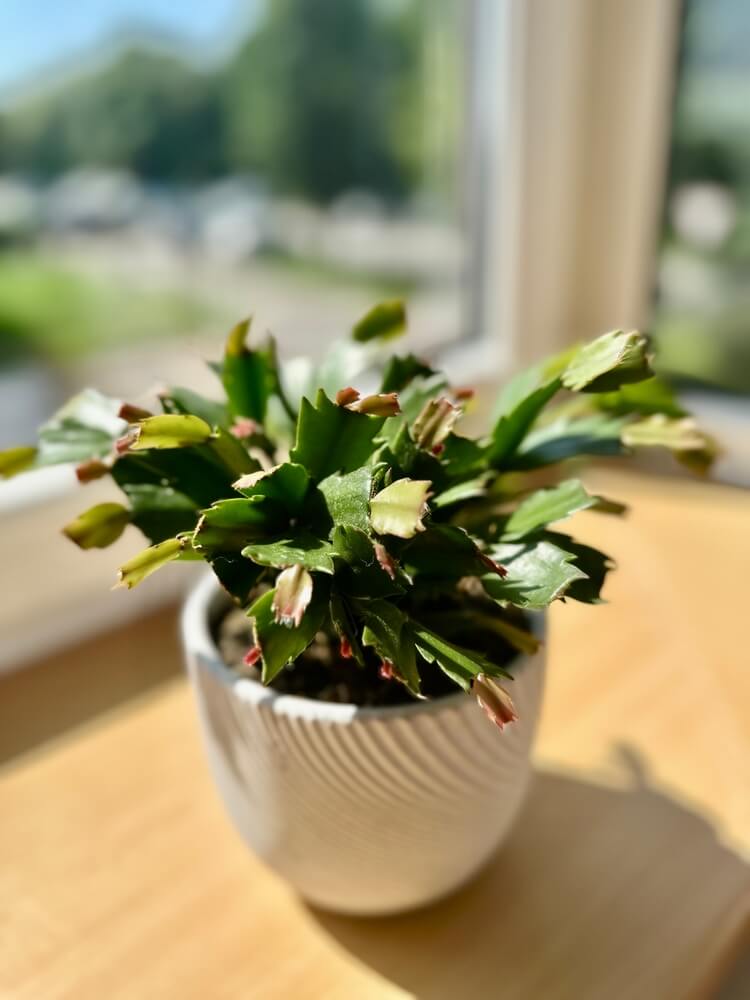
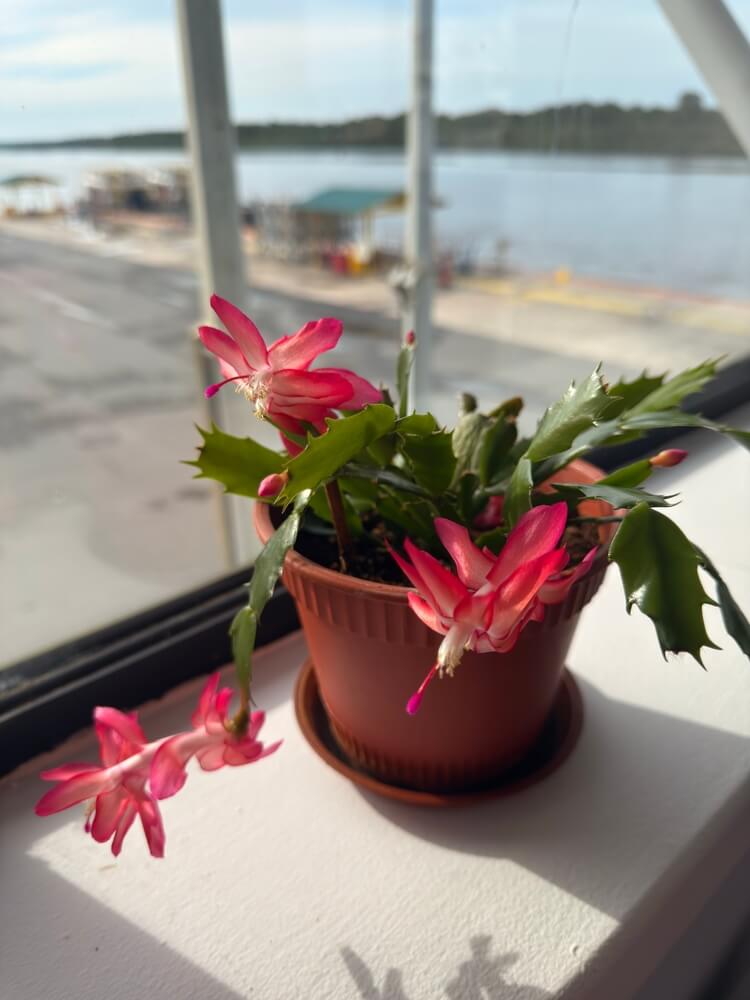
Thanksgiving cactus loves to mess with people. It gets sold in the same pots, right next to the Christmas cactus. And half the world still calls it the wrong name. The easiest way to tell them apart? Look at the edges of the leaves. Thanksgiving cactus has sharp, pointy teeth that look like crab claws or little dragon spikes. That is why it’s nicknamed “crab cactus.” Christmas cactus, on the other hand, has soft, rounded scallops. If your plant looks like it’s ready to pinch you, congratulations, you’ve got the feisty November bloomer that refuses to wait until December. It’s basically the rebel cousin who shows up to holiday dinner early, wearing brighter colors than everyone else.
The Fruit That Nobody Asked For (But You’ll Get Anyway)
When your Thanksgiving cactus finally decides to set fruit after successful cross-pollination, you’ll end up with hot-pink, pear-shaped berries that look like they belong on an alien plant. They’re technically edible but not particularly tasty – bland and full of seeds! Most homesteaders skip them. However, they won’t hurt you if you try some.
I like to leave the berries on the plant. They will slowly turn into dangling magenta ornaments that last for months. Squirrels sometimes nibble the seeds if they’re desperate. But bees, butterflies, and hummingbirds ignore them entirely. The fruits will eventually drop, don’t rot quickly, and sit there looking like nature’s forgotten gumballs.
Read More – 11 Vital Ways To Support Beneficial Garden Bugs During Autumn And Winter!
Three Common Thanksgiving Cactus Blunders
Even experienced gardeners stumble with Thanksgiving cactus, and the mistakes usually fall into three predictable categories. Learning to avoid these pitfalls will save you a lot of frustration.
Overwatering
Overwatering is hands-down the number one killer of these plants. The word “cactus” throws people off because they assume it prefers dry, sandy conditions like those of a desert plant, but Thanksgiving cactus is actually an epiphyte that grows on the branches of Brazilian rainforest trees. It needs moisture, yes, but it absolutely cannot tolerate soggy roots.
When you water too frequently or use heavy soil that stays wet, the roots suffocate, turn black and mushy, and rot sets in. The frustrating part is that root rot makes the plant look wilted and thirsty, so many people water even more, which only accelerates the problem. The fix is simple. Use a fast-draining soil mix, let the top inch or two dry between waterings, and never let the pot sit in a saucer full of water.
Bad Lighting
Forgetting the dark period is the second major blunder, and it’s why so many people complain their Thanksgiving cactus never blooms. These plants are photoperiodic. That means they set buds in response to day length. Thanksgiving cacti plants need (at least) 12 to 14 hours of complete, uninterrupted darkness each night for roughly six weeks in early fall.
But the darkness must be constant! Even flipping on a bathroom light down the hall or a streetlight filtering through curtains can reset the clock. Pair that darkness with cooler nighttime temperatures around 55 to 65 degrees, and you’ll trigger abundant bud formation. Skip this step, and you’ll have a perfectly healthy green plant that refuses to flower.
Moving After Budding
Moving the plant after buds form is the third heartbreaker. You’ve done everything right, beautiful buds are swelling at every segment tip, and you excitedly carry the plant to your dining room for display, only to watch every single bud drop off within days.
Thanksgiving cactus is notoriously sensitive to environmental changes once it’s in bud. Temperature swings, drafts from heating vents or exterior doors, and even rotating the pot can trigger mass bud drop. The solution is to find your plant’s display spot before buds form and leave it there. Please resist the urge to move it until flowering is complete.
Read More – The 21 Mightiest Chicken Breeds for Free-Range and Foraging Life!
Conclusion
Thanksgiving cacti plants aren’t complicated. But they have odd demands that run counter to typical houseplant instincts. Let it dry out between waterings, give it a moody dark place in fall, and don’t shuffle it when flowering begins. Follow those rules, and it will bloom reliably every November – all the while surviving even questionable care.
Thanks for reading.
Have a great day!


