How to Lay Pavers On Dirt In 10 Simple Steps | For Pathways, Walkways, and Patios
Welcome! This article contains affiliate links, meaning I get a commission if you decide to make a purchase through my links, at no extra cost to you.
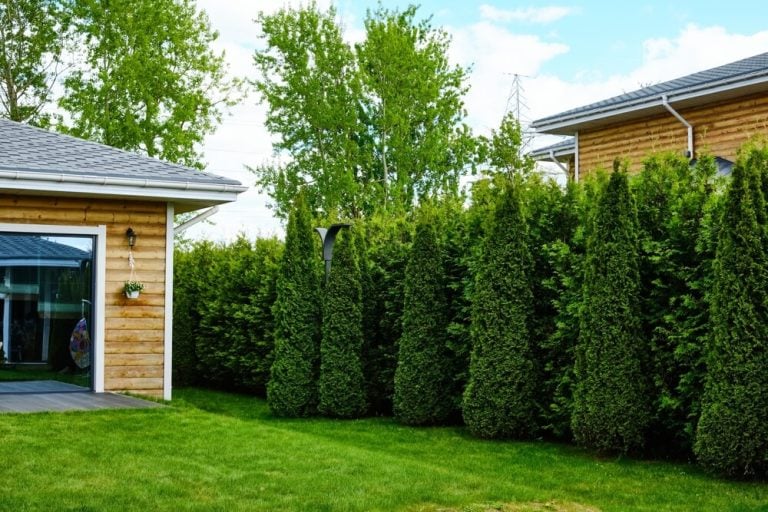
In most cases, the process of how to lay pavers on dirt is simple and something many homeowners can accomplish without professional help. It’s an excellent way to seamlessly expand your backyard’s living area, opening it up for fun and good times while adding value to your home.
There are a lot of different paver styles, designs, finishes, and colors, making it a simple matter of shopping for you to find the perfect base for your outdoor walkways and living spaces. And did you know that building your patio with brick pavers is an excellent natural pest deterrent? It’s true!
Whether you’re considering adding a poolside patio deck, an outdoor bar and kitchen area, a firepit lounging area, or simply a new spot to hang your hammock and enjoy the shade on a hot, sunny day, there are pavers to suit your unique wants, needs, and style.
Of course, if your budget permits, hiring a professional for this type of work is always the best choice. Relying on professional paver installation is doubly prudent if you lack previous experience in construction, landscaping, or other similar skills.
However, this guide shall offer step-by-step instructions on how to lay pavers on dirt by yourself. And do so without putting a tremendous dent in your bank account.
Before we jump into the specific steps of installing a simple paver patio, let’s quickly review the materials and safety equipment you will need to do the work.
Sound good?
Then get ready.
It’s Fun Time!
Materials for Laying Brick Pavers Over Dirt
First, ensure that you have work gloves, safety glasses, and protective boots to wear during the installation procedure. And wear jeans or other heavy-fabric pants, and a long sleeve shirt. Even if it’s hot outside, this protective gear and clothing will help to keep you safe, which is always better than sorry!
Concerning tools and other equipment that you will need, they include:
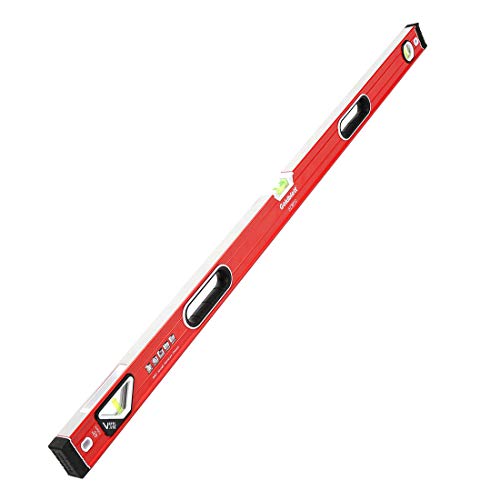
- 4-foot Level
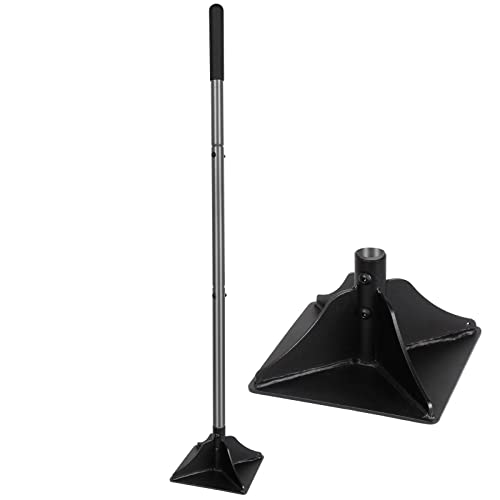
- Laser Level
- Tape measure
- 4 Corner Stakes
- Rake, Shovel, & Tamper
- Spool of Masonry Twine
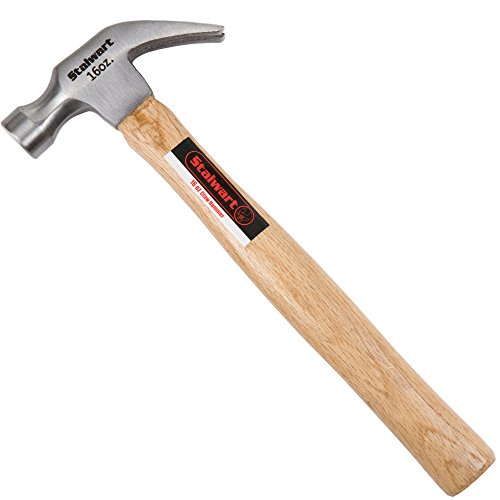
- Hammer & Rubber Mallet
- A stiff broom
Of course, you will also need some sand, gravel, and brick pavers to complete the job.
Think About Paver Design
Before you begin the actual process of laying the pavers, you’re going to have to do some preparatory work first. For instance, you need to decide the design of the pavers you want to use.
Your selection of pavers matters. What shape, color, and texture will they be? How much square footage? Knowing the exact dimensions of the pavers will allow you to lay out and prepare the work site with precision. And accuracy!
10 Steps to Lay Pavers on Dirt

OK – let’s get to work laying these pavers now! Always take your time with each step, and ensure you’re doing a meticulous job. Spending extra time on each step goes a long way toward creating a long-lasting, aesthetically pleasing product, just like a pro!
Step 1. Make a Drawing
Use a pad and pen, along with your tape measure, to make a rudimentary drawing of the patio area, walkway, or other paved area you plan to dress with pavers.
Of course, you already have a picture of what you want to do in your head, but making a physical drawing is more valuable than you might think. It’s an excellent tool to have on hand to help you keep recentering your thoughts as the project develops.
Step 2. Stake the Perimeter
Determine where the corners will be for the area that you will be paving, and then drive in wooden corner stakes to mark the outsides of the perimeter. Then, use the masonry string to connect the corner posts, forming a straight line between them for you to judge the upcoming work.
Make this outdoor space your own!
Step 3. Dig Out the Space
Digging the space is going to be the most demanding step of the job. Use a spade shovel to clear out all dirt, rocks, roots, and anything else inside your perimeter. You’ll want to dig down to accommodate 4 inches of base gravel, plus an inch of sand before you add on the brick patio pavers.
Again, this is why it’s good to know which pavers you’ll be using upfront so that you will know their exact thickness. Take your time on this process, even though it’s arduous, and ensure a straight, tightly skimmed base surface.
Read More – 15+ Backyard Deck Ideas on a Budget – Floating Decks, Porches, & Hot Tubs!
Step 4. Add a Layer of Gravel Base Material to the Soil Base

Once you have the entire area you will be paving dug to the proper depth, double-check the measurements to ensure they match the blueprint you drew earlier. Use a gravel rake and spread gravel over every square foot to be paved.
The gravel should be installed at least 4 inches deep and then thoroughly tamped until it’s firm and compact. You could also use a garden hose in the work area while tamping it so it becomes even more solid.
To keep rain from ruining your pavers, you must rake and tamp the gravel on a slope with at least one inch of drop for every 10 feet of gravel run. You can buy a cheap laser level on Amazon for this. They’re fun to use and work excellently to project a visible grade line to base your work on.
Keep checking in all directions with your leveler as the project progresses. And if you’re working on a large project, consider renting an automatic tamper from your local tool rental store. You’ll be glad you did at the end of the day when you didn’t have to hand-tamp everything!
Step 5. Add a 1-inch Layer of Polymeric Sand

After you have your gravel base layer graded out and packed down, it’s time to install a layer of paver sand on top of it. According to the plan you drew earlier, you should be shooting for about 1 inch of sand here.
Tamp it down and allow it to penetrate in between the gravel, making a sturdy, firm, and smooth surface to install the brick pavers on. Take time on this step, check it with the leveler often, and ensure a solid base.
To lay pavers on dirt, masonry sand is probably the best choice, but any old bedding sand or concrete sand will do!
Step 6. Place Your Concrete Pavers
OK, now it’s time for the paver installation on the sand! Start in the corner of your choice and lay the stones, one by one, like you’re working from the top of the triangle and outward to both sides. When you place a paver, don’t lean it left or right.
Instead – place it straight into the sand, snugly up against the paver next to it. Use your rubber mallet to seat each paver gently into the sand beneath. You can walk and crawl onto the pavers as you tamp them into place and continue placing them until you have installed all the whole pavers.
Step 7. Make Any Necessary Cuts
If you selected your pavers and edgers correctly during your layout process, you probably should not have any cuts that need to get made. However, I recommend using a wet saw if you need to cut some pavers to complete your intended design.
Tile breakers, hand saws, and other cutting utensils are available, but a wet saw will provide the best results with the least effort. Don’t forget to wear your gloves and safety glasses when making cuts. It’s dangerous! And you can lose a finger in half a second!
We’re almost at the end of our how to lay pavers on dirt project! The next step:
Read More – Zen Garden Ideas On a Budget – Natural Landscapes, Peace, and Meditation!
Step 8. Place Your Edge Restraints (If Applicable)
If your design includes beautifying edging stones, now is an excellent time to install them. You’ll need to secure these paver restraints with mortar or concrete.
Alternatively, you can use hardened plastic edging at the same height as your preferred pavers. You stake these paver-edging stones into the ground to secure them.
Step 9. Give the Paved Area a Final Tamping

Start in one corner and tamp down the entire surface area you have just paved one final time. Don’t tamp it too hard – but do it firmly enough to compact everything together and finish your design. Final tamping is an important step that should not get skipped, as it can add years of lifespan to your final product. And if you want the best results, rent a plate compactor from your local tool rental store.
Step 10. A Final Sand Brushing
Congratulations! It’s almost time to celebrate a job well done! All we have now is to spread a thin layer of sand atop the project’s entire surface area and then use a stiff-bristled push broom to brush it between the paver stones. Doing so will ensure that all gaps get filled tightly and that your pavers will not shift anytime soon.

The Ultimate Guide to Walks, Patios, and Walls by Editors of Creative Homeowner is an excellent all-in-one reference for backyard landscaping. The book contains dozens of fun DIY backyard projects and design ideas for your property. The projects have detailed illustrations with over 500 photos, step-by-step instructions, tips, and advice. The projects also have a materials list - so you always know how to complete each step with the right tool for the job.
Where To Get Tools To Lay Pavers on Dirt
Want an easy way to find all the tools you’ll need to complete this project? Here’s what we recommend using to get the job done:


Let’s Wrap It Up!
Now that you know how to lay pavers on dirt, you can use these proper paver installation skills to increase the enjoyment and value of your home while adding usable living space. You can use pavers for your swimming pool, hot tub deck, patio surface, firepit, new walkways to bring your property together, or anything else you like. Your imagination is the limit here!
Even though many homeowners can lay their pavers, installation is tremendously demanding. We confess that using a spade
Plus, the work can be dirty, and you can get injured easier than you think. So, always consider the real-world value of experienced professional contractors when planning these lovely home improvement projects.
Well, that’s it, that’s all I have! As always, thank you for reading, and I hope you found the information very useful. I wish you the best of success on your interior and exterior space improvement projects as you continue your exciting and beautiful outdoor living experiences.

Keep Reading!
- 19 DIY Cheap Patio Paver Ideas for a Beautiful Walkway, Garden, or Yard!
- 15+ Backyard Deck Ideas on a Budget – Floating Decks, Porches, & Hot Tubs!
- Maximizing Your Sloped Backyard: 15 Retaining Wall Ideas for Every Budget!
- 21 Earthy Ideas to Cover a Well Pipe – No More Unsightly Wellheads!
- 19 Creative Playground Ideas for Small Backyards! Make the Most of Your Outdoor Space!