The Ultimate Guide To Growing Hostas From Seed, Division, Or Transplant!
Welcome! This article contains affiliate links, meaning I get a commission if you decide to make a purchase through my links, at no extra cost to you.
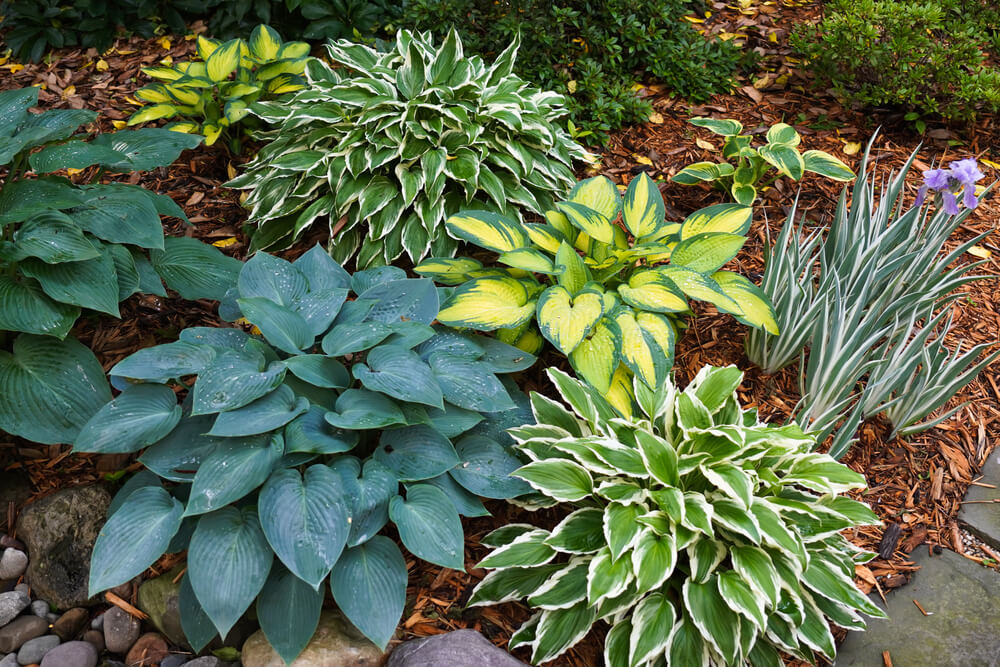
Hostas are tragically underrated garden plants! They help transform any corner of your yard into stunning focal points with lush architecture and vibrant foliage. How you start your hostas makes all the difference in how quickly you’ll enjoy those gorgeous clumps. We’ll explore several methods for growing hostas in this growing guide, including sowing from seed, division, and transplanting.
Sound good?
Then let’s plant some epic backyard hostas!
Growing Hostas From Seed

Growing hostas from seed is the slowest route to a whole, lush plant. (We’re talking 3 to 4 years before you see mature hosta foliage). But hey, it’s practically free! If you have patience and love the thrill of nurturing something from scratch, this method can be highly advantageous. Just know that buying a hosta seedling or transplant will get you to that gorgeous hosta display way faster and with far less fuss.
Step 1. Collect Or Purchase Fresh Seeds
Hosta seeds are ready to harvest in late summer or early fall when the hosta seed pods turn brown and papery. You can collect hosta seeds from existing plants or buy them online. Fresh seeds germinate best! So, don’t let them sit around for years.
Step 2. Stratify The Seeds (Cold Treatment)
Here’s where it gets a bit technical. Hosta seeds need a cold period to break dormancy. The dormancy mimics winter conditions. Place your hosta seeds in a damp paper towel, seal the bag, and refrigerate for 4 to 6 weeks. This cold stratification tricks the hosta seeds into thinking spring is coming, which jumpstarts germination.
Step 3. Sow Hosta Seeds Indoors
Sow your hosta seeds in about 1/4 inch of seed-starting mix after stratification has occurred. Keep your hosta’s soil evenly moist. Then, place them in a warm, well-lit spot with indirect sunlight. Germinating your hosta seeds might take anywhere from 2 to 8 weeks. Don’t panic if nothing happens right away.
Step 4. Provide Consistent Moisture And Light
Your tiny hosta seedlings need bright indirect light as soon as they emerge. A grow light works great if you’re starting them indoors in late winter. Keep the hosta’s soil evenly moist (think of it like a wrung-out sponge).
Step 5. Transplant To Larger Pots
When seedlings develop their second set of true leaves, transplant them into individual 3- to 4-inch pots filled with high-quality potting soil. They’ll need to grow indoors or in a protected area for their entire first season before they’re tough enough for the garden.
Step 6. Harden Off And Plant Outside
In their second spring, gradually acclimate your young hostas to outdoor conditions over 7 to 10 days (this is called “hardening off”). Then plant your baby hostas in their permanent garden spot in rich, well-draining soil with partial to full shade. Now… wait another couple of years for them to fill out!
Read More – Stop Buying Garden Plants – Grow These 21 Perennials From Scraps And Stems!
Growing Hostas From Divisions
This is your express ticket to more hostas! Dividing mature hosta plants is, hands down, the fastest, easiest, and most reliable way to propagate hostas. You’re cloning an established plant, which means you’ll get identical offspring that reach full size in just one or two seasons. Additionally, division can actually benefit older hostas by rejuvenating them and enhancing their vigor.
Step 1. Choose The Right Time
The best time to divide hostas is in early spring (just as shoots emerge) or in late summer/early fall (at least 4-6 weeks before your first frost). Spring divisions establish faster, but fall works great too. Avoid dividing hosta plants in the heat of summer when they are stressed.
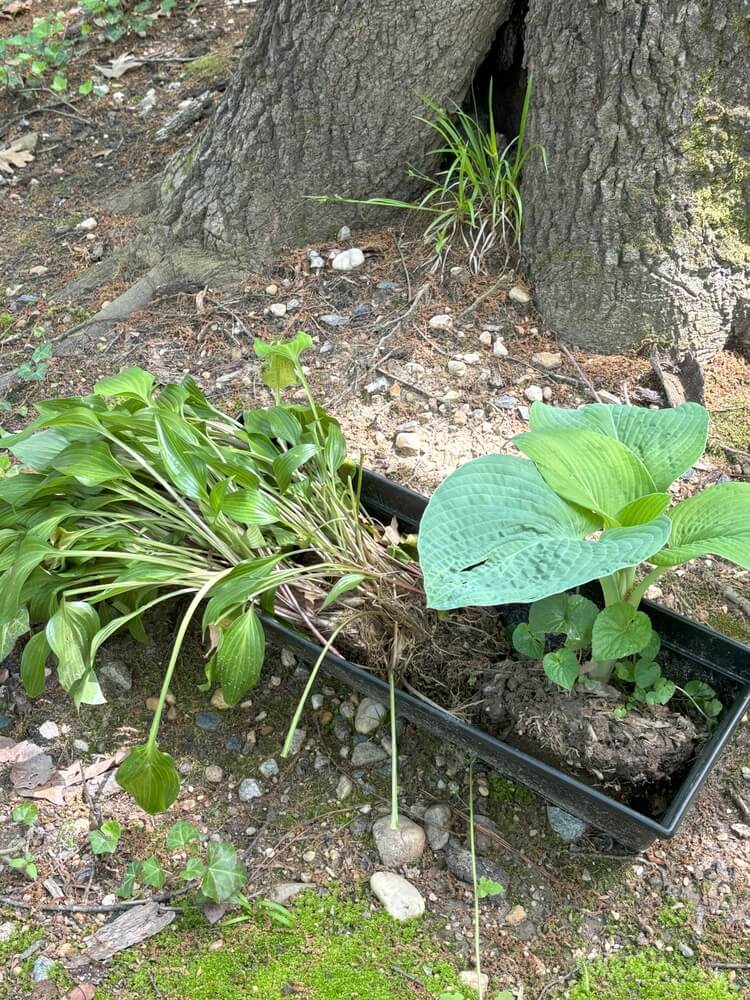
Step 2. Dig Up The Entire Clump
Dig around your hosta clump using a garden fork or spade. Dig approximately 6 to 8 inches from the center. Go deep enough to reach under the root ball. Lift the entire plant out of the ground and gently shake off excess soil so you can see what you’re working with.
Step 3. Divide The Crown
Here’s the fun part! You can use a sharp spade, knife, or even pull apart smaller clumps by hand. Look for natural divisions in the hosta plant’s crown (where the hosta’s stems meet the roots) and aim for sections with at least 3 to 5 eyes (growing points) each. Don’t be shy. Hostas are tough and can handle being split into multiple pieces.
Step 4. Replant Immediately
Get those hosta divisions back in the ground as soon as possible. Dig holes the same depth as the original hosta plant’s root ball. Then, place each division in its new spot, and backfill the hosta’s growing site with soil amended with compost. The crown should sit at or just slightly above soil level. Water thoroughly to eliminate air pockets and help the hosta’s roots make contact with the soil.
Step 5. Water Consistently And Mulch
Keep divisions well-watered for the first few weeks while they establish. A 2 or 3-inch mulch layer helps your new hosta retain moisture and regulate soil temperature. By the following season, your “new” hostas will look like they’ve been there forever!
Read More – 15 Hungry Carnivorous Plants That Devour Flies, Ants, And Bugs!
Growing Hostas From Nursery Transplants
If you want instant gratification with zero drama, nursery transplants are your best friend. You’re getting a healthy, established plant that’s already 1 to 3 years old. So, it’ll look full and gorgeous much faster than seeds (and you skip all the division work).
Just pop it in the ground, water it in, and you’re done. Sure, it costs more than free seeds or divisions from your own garden, but sometimes easy wins are especially helpful, especially when you’re just getting started or need to fill in a new bed quickly.
The trade-off? You miss out on that satisfying “I grew this from nothing!” feeling. But your garden will look magazine-ready in just one season.
Hostas Growing Requirements
Okay. So now you’ve got your hostas in the ground. Now, let’s examine their growing requirements so you can grow and care for them without second-guessing.
Sunlight
Hostas are shade lovers, but it’s not quite that simple. Most hosta varieties love partial to full shade, meaning 2 to 4 hours of morning sun or dappled light throughout the day.
Here’s the trick. Blue and green hostas prefer more shade (they’ll scorch in hot afternoon sun). But gold and yellow varieties can actually handle (and even need) more sunlight to maintain their vibrant color.
If your hosta’s leaves look bleached, crispy, or washed out, it’s getting too much sun. If it’s leggy and sparse, it needs more light. Start with morning sun and afternoon shade, and adjust accordingly based on your plant’s needs.
Climate
Hostas are cold-hardy champs that thrive in USDA zones 3 to 9. These zones cover most of the United States and Canada. They actually need a cold winter dormancy period to perform well, so they’re not ideal for tropical or frost-free climates.
The good news? They can handle a severe cold (down to -40°F in some cases) and bounce back beautifully each spring.
In hotter zones (8 to 9), choose heat-tolerant varieties and provide extra shade and moisture. Hostas naturally die back to the ground after the first hard frost. That’s completely normal and healthy, so don’t panic when they disappear in the fall!
Soil + Fertilizer
Hostas aren’t picky. However, they absolutely thrive in rich, well-draining soil with plenty of organic matter. Think of them as the plants that want to live in a compost pile (in the best way possible).
Your hostas want you to aim for a mildly acidic to neutral pH of (roughly) 6.0 to 7.5. Before planting, work in a generous amount of compost for your hostas. Aged manure or leaf mold also works well. Hostas are heavy feeders. That organic matter provides slow-release nutrients while improving drainage and moisture retention.
The soil should hold moisture without remaining soggy. If water pools after rain, consider amending with compost to improve drainage or planting in a raised bed.
Hostas appreciate a balanced, slow-release fertilizer. A standard 10-10-10 fertilizer in spring works perfectly. You don’t need anything fancy! Organic options, such as compost top dressing, fish emulsion, or well-rotted manure, are also excellent choices. Just avoid high-nitrogen fertilizers late in the season. You don’t want to encourage your hostas to push tender new growth right before frost.
Pollination
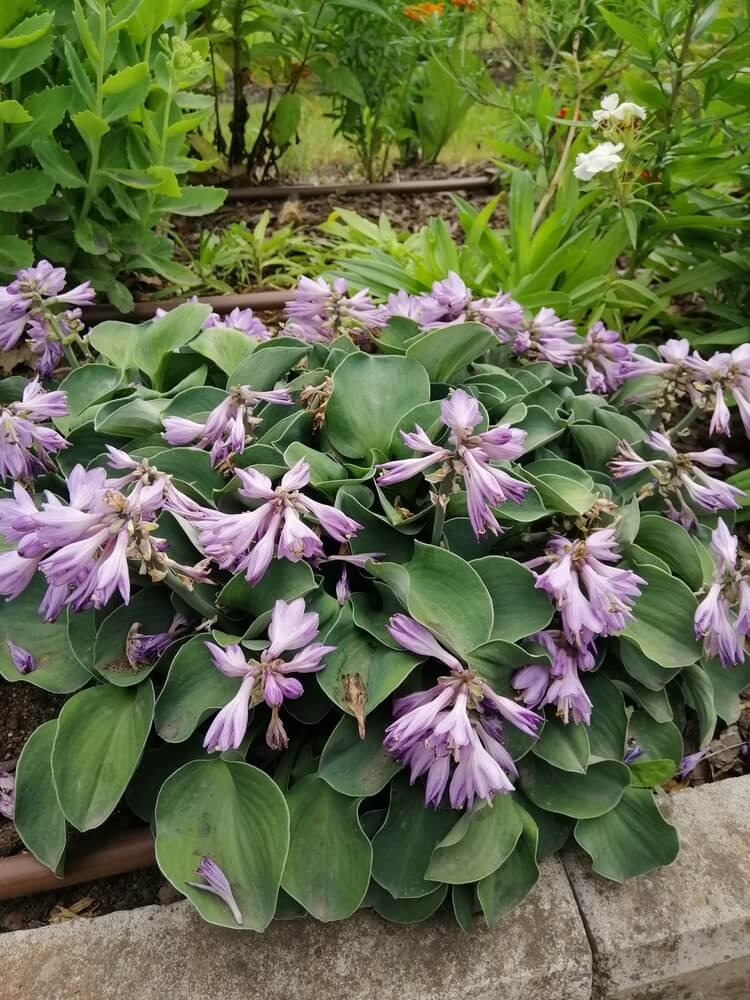
Here’s a fun fact. Hostas don’t need pollination to produce those gorgeous leaves. However, if you want seeds (or you enjoy the tall, elegant flower spikes), hummingbirds and bees will handle the pollination for you.
Hosta flowers appear in mid to late summer on tall scapes rising above the foliage. Some varieties have fragrant white or lavender blooms that pollinators absolutely love. If you’re not interested in seeds and want the plant’s energy focused on foliage, simply cut off the flower stalks as they emerge.
(Personally, the flowers add a nice vertical element to the garden.) If you do want seeds, let the flowers fade naturally and wait for those seed pods to turn brown and papery before harvesting.
Watering
Hostas have a reputation for being low-maintenance, but they’re secretly water lovers at heart. These plants have shallow root systems and large leaves that transpire a significant amount of moisture. So, consistent watering is essential, especially during establishment and the hot summer months.
Aim for about 1 inch of water per week from rain or irrigation. Your hosta’s growing soil should always remain evenly moist but never waterlogged (soggy roots lead to rot).
Here’s your visual cue. If hosta leaves start to droop or look limp in the afternoon, that means your plants are super thirsty. Water deeply at the base of the plant rather than overhead to avoid fungal issues and slug problems. A 2- to 3-inch layer of mulch works wonders for moisture retention and keeps roots cool during heatwaves.
In the fall, you can reduce watering as plants prepare for dormancy. The golden rule? It’s better to water deeply and less frequently than to give shallow, daily sprinkles. Deep watering encourages strong root development.
Read More – How To Attract Bats To Your Garden – 13 Epic Flowers And Shrubs That Bats Love!
Hostas Planting And Growing Schedule
Here are the critical dates that all hosta growers should be aware of.
April
April is prime planting time! As soon as the soil is workable and those first hosta shoots poke through, you can plant new hostas or divide established clumps. Apply the first round of balanced fertilizer as new growth emerges, and refresh the mulch around the plants. Keep an eye out for early-season slugs. They love tender new shoots.
May
Your hostas are now in full growth mode, rapidly unfurling leaves and establishing their shape for the season. This is your last opportunity for spring divisions before the plants become too large and leafy. Keep the hosta’s soil consistently moist as the baby roots establish. Also, start scouting for pest issues, such as deer browsing or slug damage, before they get out of hand.
June
Growth slows down as hostas reach their full size and flower scapes begin to emerge on many varieties. This is a great time to deadhead spent hosta flower blooms if you don’t want seeds, or let them develop if you do. Water deeply during dry spells (those big leaves lose a lot of moisture). Add a light mid-season fertilizer if plants look pale or lackluster.
July
The heat is on. Hostas are mostly just maintaining their foliage at this point. Focus on consistent watering (especially during heat waves) and watch for signs of sun scorch on leaves. Many varieties will be flowering now. Enjoy the show, or cut them back to redirect energy to the roots. This is primarily a “keep them happy and hydrated” month.
August
Late summer is your second chance to divide hostas. Dividing in August is ideal for northern climates, where there are six weeks or more before the first frost. New divisions establish beautifully with warm soil and cooler air temperatures. Continue regular watering. But skip fertilizing for now. You don’t want to push new growth that won’t harden off before winter.
September
The fall division window opens in early September. But wrap it up by mid-month to give plants time to root in before the frost. Hostas are starting to slow down and prepare for dormancy. Reduce watering slightly as temperatures cool, and enjoy the late-season foliage while it lasts. Some varieties develop beautiful fall color before dying back.
October – Winter
After the first hard frost, hosta leaves will collapse and turn mushy. Totally normal! You can cut back the dead foliage to ground level for a tidy look, or leave it as winter mulch and clean up in spring (I’m in the “leave it” camp for extra root insulation). Stop watering and fertilizing altogether. Your hostas are sleeping now. They want to store energy in their roots for next spring’s spectacular show. Add a layer of mulch if you’re in a harsh climate. Then let them rest until April rolls around again.
Read More – 21 Low-Maintenance Xeriscaping Plants For Stunning, Water-Wise Gardens!
5 Best Hostas Cultivars
We’ve lost count of all of the hosta cultivars we’ve grown over the years. However, these five are our top picks, which we recommend for homesteaders and home growers.
1. ‘Sum and Substance’
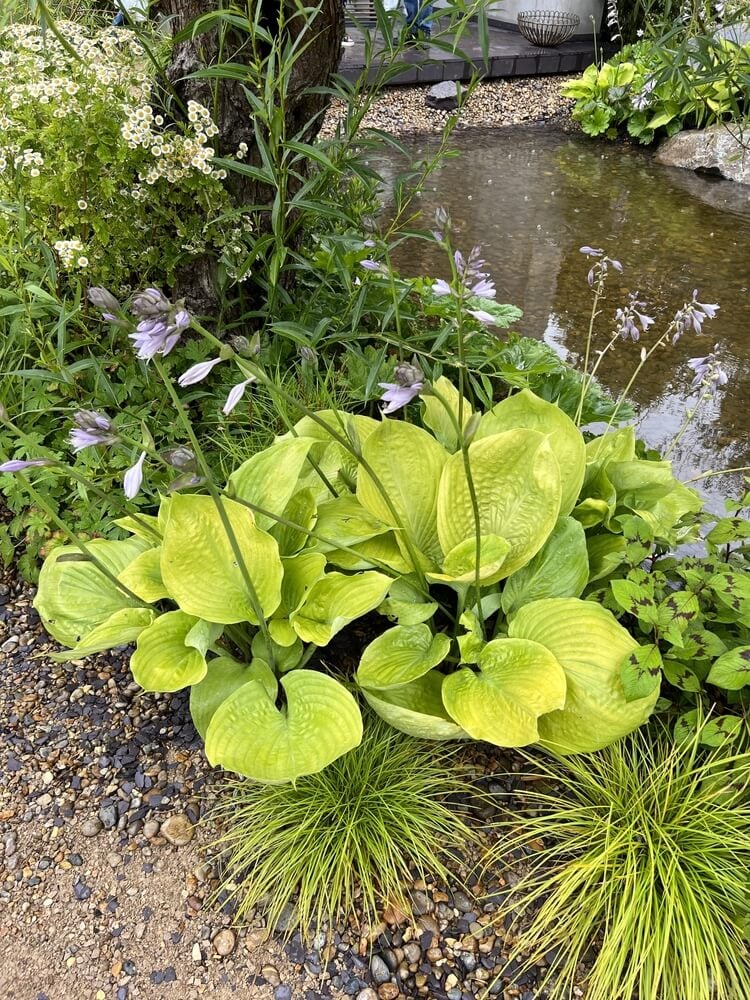
‘Sum and Substance’ can grow up to 3 feet tall with leaves spanning nearly 2 feet across. Its chartreuse-to-gold foliage practically glows in shade and has excellent slug resistance thanks to those thick, substantial leaves. This cultivar also tolerates more sun than most hostas. Its sunlight tolerance helps intensify its golden color. It’s incredibly vigorous once established.
- USDA Growth Zones: 3 through 9.
- Colors: Bright chartreuse to gold-green foliage. Pale lavender flowers.
- Personality: The Show-Off. Big, bold, makes a statement.
- Design Use: Architectural backdrop. It can stand in for nearly any shrub and define structure in shady borders.
If you want one hosta that commands attention and fills space like nothing else, this is your plant.
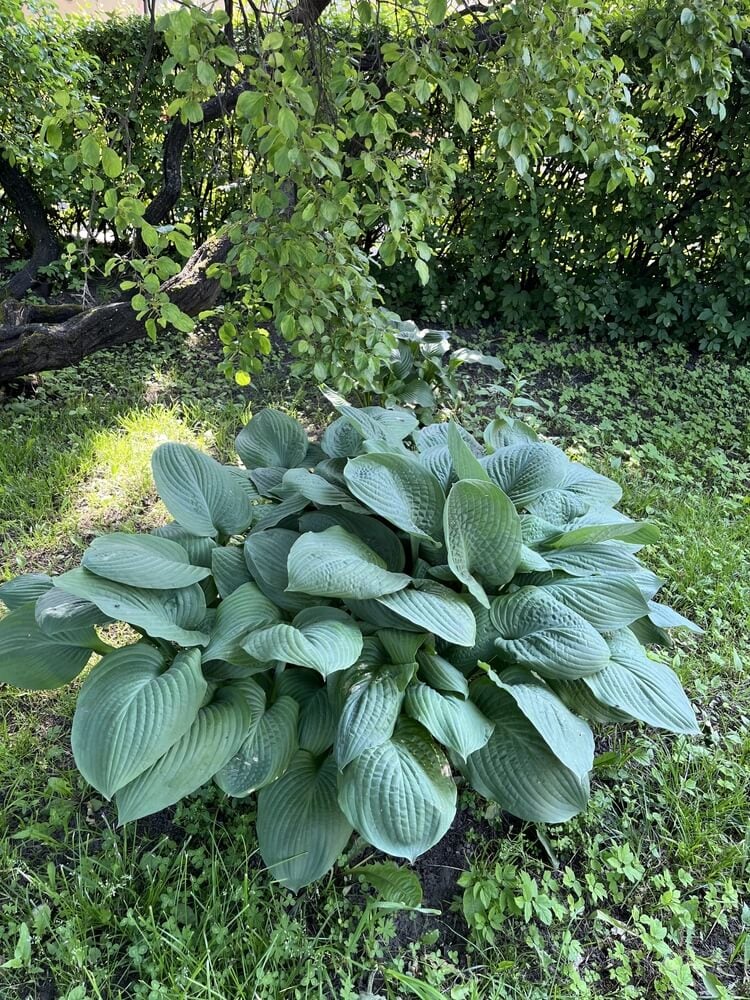
2. ‘Blue Angel’
‘Blue Angel’ is a towering beauty that brings a calm, serene vibe to any shade garden. Its key feature is the powdery blue-gray foliage. It’s another giant variety. It easily reaches heights of up to 3 feet and widths of 5 to 6 feet at maturity. Give it plenty of room to spread. The heart-shaped leaves have a smooth, sophisticated texture. And in mid-summer, it produces tall spikes of white, fragrant flowers that hummingbirds adore.
- USDA Growth Zones: 3 through 9.
- Colors: Soft slate-blue foliage. White to near-white bell-like flowers.
- Personality: The Gentle Giant. Calm, atmospheric, grounding.
- Design Use: Calming background mass. It’s perfect to create a shade-garden “mood” and visual depth.
Blue Angel hostas are ideal for creating a peaceful, meditative corner in your landscape.
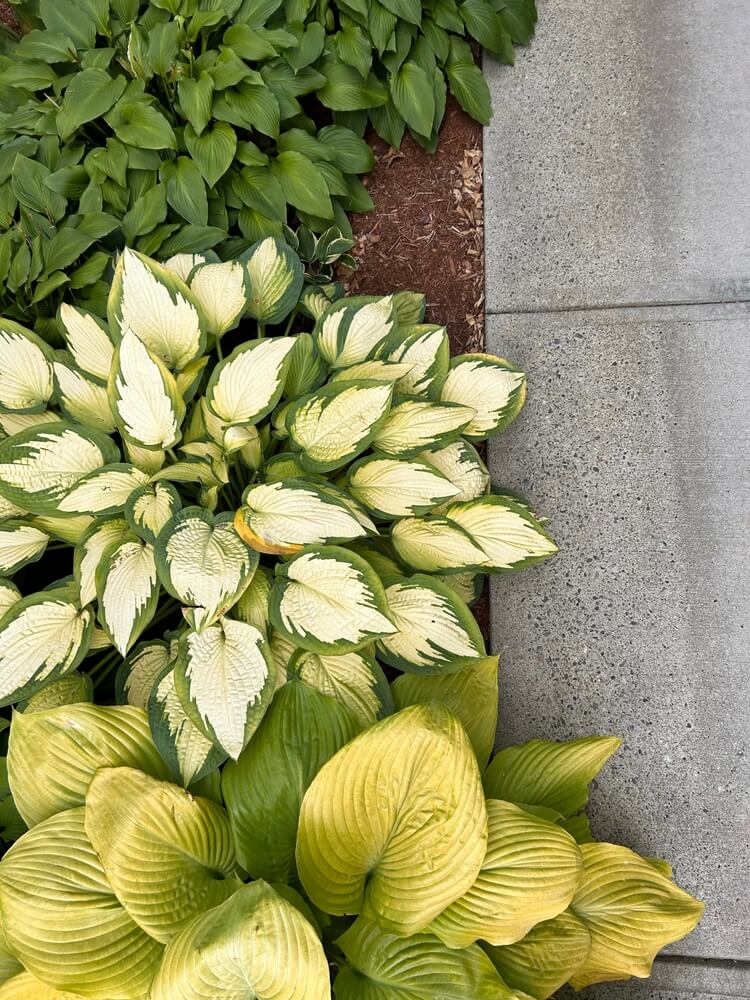
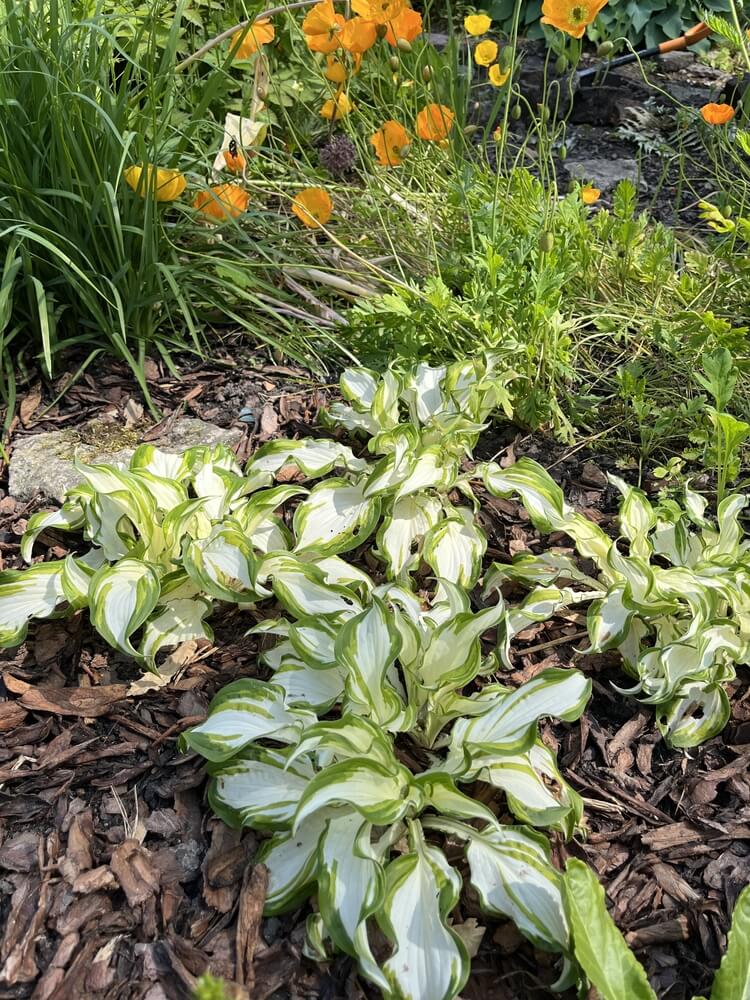
3. ‘Patriot’
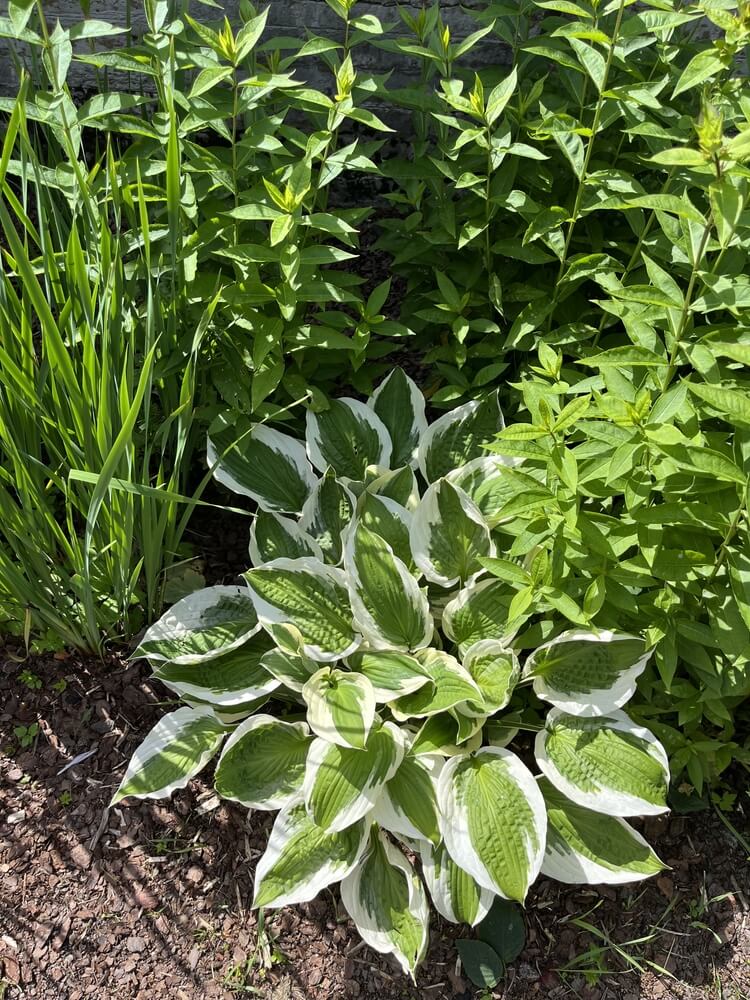
‘Patriot’ is the hosta that even non-gardeners recognize. The crisp white margins surrounding deep green centers create an incredible contrast that brightens up the darkest corners of your yard. This medium-sized cultivar grows about 18 to 22 inches tall and is extremely hardy and reliable. It was named the Hosta of the Year in 1997.
- USDA Growth Zones: 3 through 9.
- Colors: Deep green leaves with wide, bright-white margins. Lavender flowers.
- Personality: The Extrovert. High contrast, eye-catching, crisp.
- Design Use: Shade brightener, adds visual pop, instantly makes shady beds look intentional.
Plant ‘Patriot’ anywhere you need to punch up a dull, shady spot with clean, aesthetic appeal.
4. ‘June’
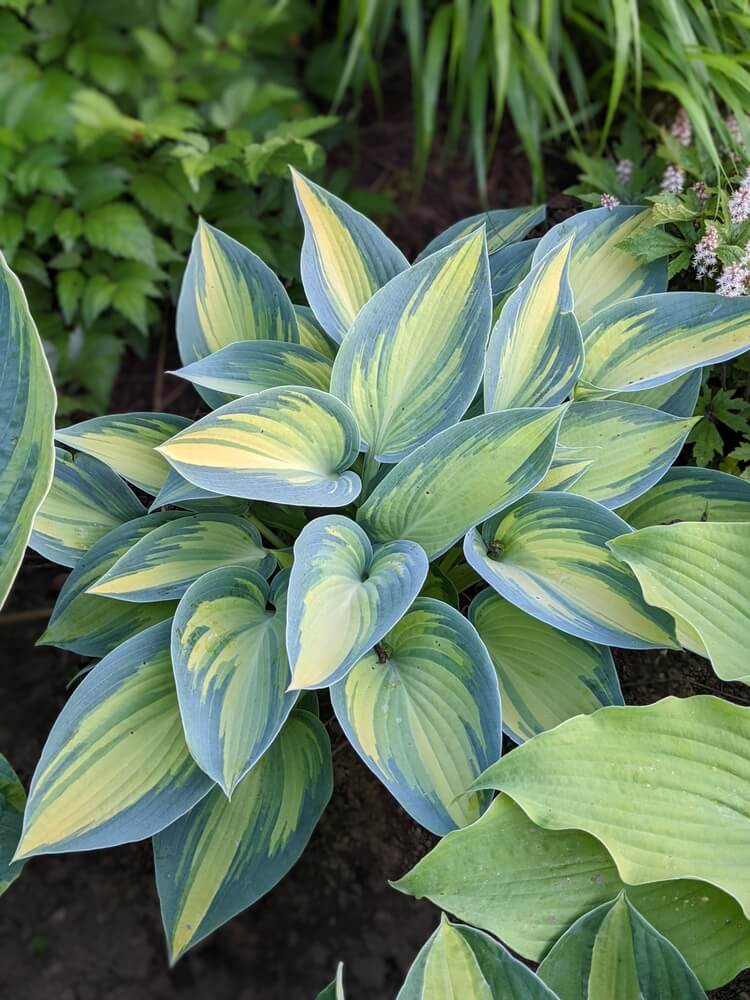
‘June‘ is the hosta that keeps you guessing in the best way possible. The color-changing foliage starts with blue-green margins surrounding golden-yellow centers. But the exact shade shifts throughout the season depending on light exposure and temperature. This medium-sized beauty (about 12 to 15 inches tall) won Hosta of the Year in 2001 and has remained a garden favorite thanks to its adaptability and unique coloring.
- USDA Growth Zones: 3 through 9.
- Colors: Gold to chartreuse leaf centers with blue-green margins. Color shifts with sun exposure. Has lovely lavender flowers.
- Personality: The Mood Ring. Subtly changes appearance based on light.
- Design Use: Accent plant. Draws the viewer’s eye without being overly attention-grabbing. It’s particularly notable near pathways or seating areas, where it can be appreciated up close.
‘June’ rewards careful observation and looks stunning paired with other variegated or colorful shade perennials.
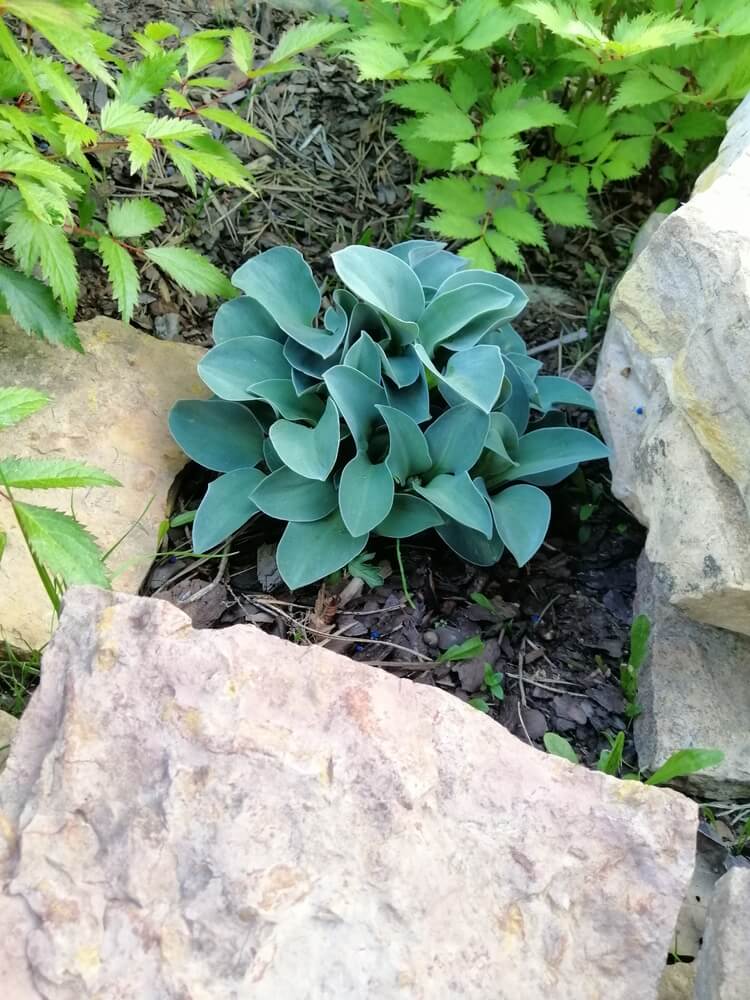
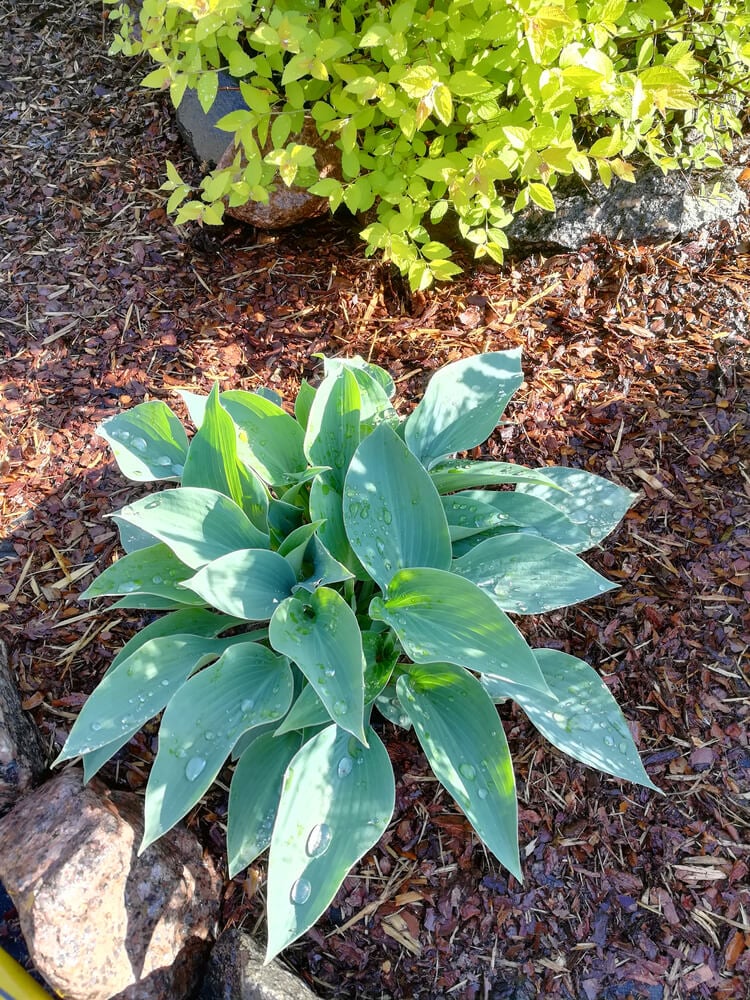
5. ‘Halcyon’
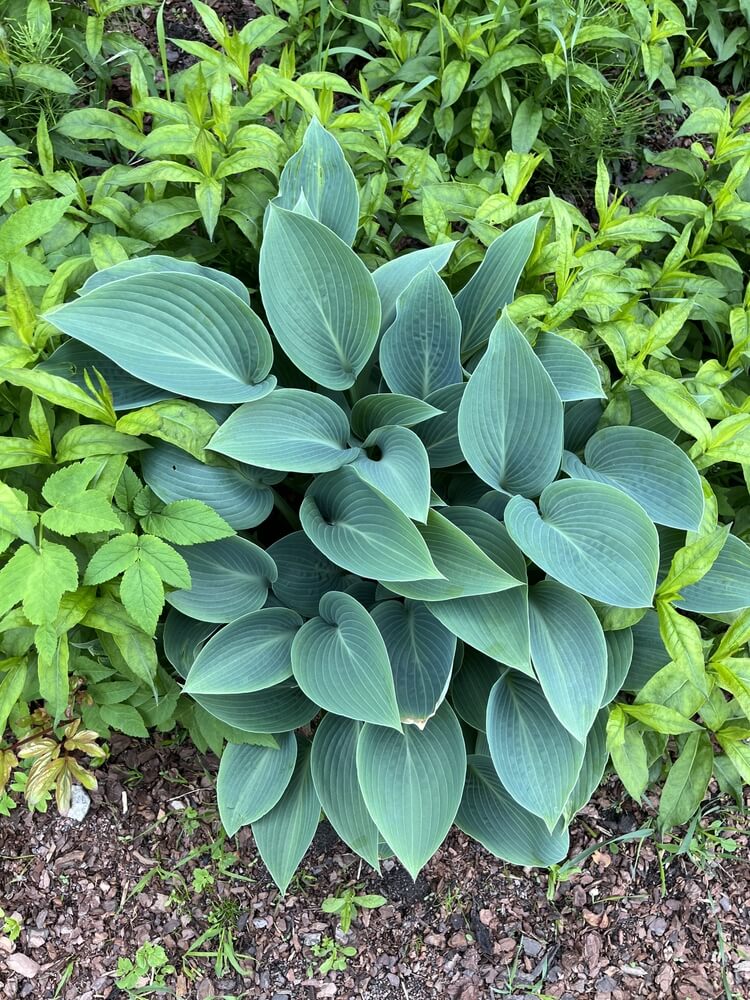
‘Halcyon’ is the sophisticate of the hosta world. I love its fancy, smooth, wedge-shaped leaves, which are an ethereal blue-gray tone. This medium-sized cultivar (approximately 18 inches tall and 36 inches wide) boasts a remarkably refined appearance. Most striking are the clean lines and gorgeous color with no ruffles. The blue color holds remarkably well throughout summer. And it has good slug resistance to boot.
- USDA Growth Zones: 3 through 9.
- Colors: Smooth, refined cool-steel blue foliage. Pale lavender to lilac flowers.
- Personality: The Designer. Clean, modern, always elegant.
- Design Use: Balance and refinement. Pairs beautifully with textured plants (ferns, astilbe, heuchera).
If you’re looking for a modern, minimalist shade garden with sophisticated color palettes, ‘Halcyon’ is a must-have.
Read More – How To Grow Gorgeous Japanese Maple Trees From Seed In Your Home Garden – The Ultimate Guide!
3 Biggest Hostas Growing Blunders (And How to Avoid Them)
Hostas are generally easy to grow. That said, even expert gardeners can mess them up if they make one of these three epic hosta-growing blunders.
Planting Hostas In Deep, Dark Shade
Here’s the thing everyone gets wrong. Hostas aren’t actually deep-shade plants, even though that’s where most people banish them. Sure, they tolerate shade better than most perennials. However, “tolerate” and “thrive” are two distinctly different concepts.
Stick a hosta in that dark, gloomy corner under your deck or beneath dense evergreens. Eventually, you’ll end up with thin, floppy leaves, washed-out colors (especially on those gorgeous gold and variegated varieties), and sluggish growth that never quite lives up to the catalog photo.
The truth is, hostas perform best with dappled light or a few hours of morning sun followed by afternoon shade. That’s the sweet spot where colors pop, growth is vigorous, and leaves develop that thick, substantial texture.
More sun generally means brighter color and tighter, more compact growth. Too much shade produces larger but duller leaves. If your hostas look lackluster and stretched out, they’re probably begging for more light.
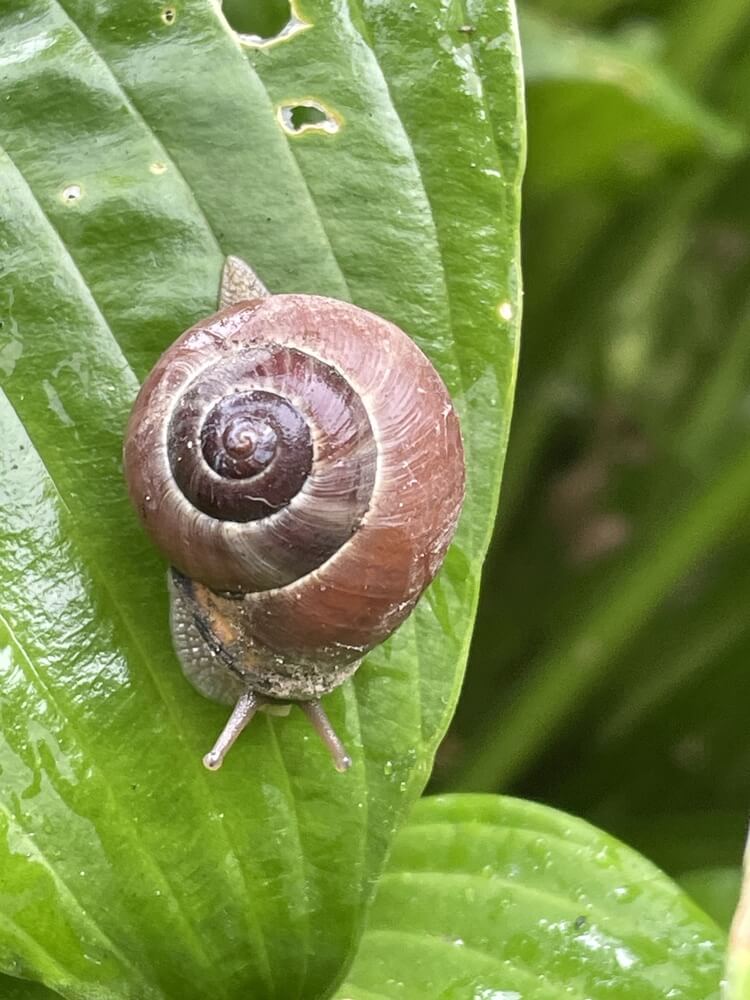
Letting Slugs And Snails Win
Slugs and snails treat hostas like an all-you-can-eat buffet. Most gardeners don’t realize they’ve lost the battle until their beautiful leaves resemble Swiss cheese.
Here’s the brutal truth. By the time you see those telltale holes, the damage is already done, and you’re fighting from behind. The secret is starting slug control in early spring. Play offense right when those first hosta eyes poke through the soil. Stop waiting until June when half your foliage is already shredded.
Iron phosphate granules are your best friend here (safe, effective, and you don’t have to feel guilty). However, copper tape around containers, diatomaceous earth during dry spells, and even beer traps (if you want entertainment with your pest control) are all effective options.
What doesn’t work? Salt (destroys your soil), ammonia sprays (burns leaves), and ignoring the problem while hoping it magically resolves itself. Get ahead of the slime army early. Then your hostas will actually look like the ones in the garden magazines.
Planting Too Shallow Or Mulching Over The Crown
Planting your hosta in shallow soil is another fatal mistake. The crown (that crucial point where all the leaves emerge) needs to sit exactly level with the soil surface, neither above it nor buried beneath it. Plant too high and the crown dries out, leaving you with a struggling, sad-looking plant that never fills out.
Mulch over the crown or plant too deep, and you’re basically suffocating it, inviting crown rot and random dieback that makes no sense.
The fix is stupidly simple but makes all the difference. Plant with the crown precisely at soil level. Keep mulch pulled back 1 to 2 inches from the base. Then water deeply rather than frequently to encourage strong root development.
This one adjustment solves so many “my hostas just don’t look good” problems (poor growth, mysterious wilting, plants that never reach their potential). And it takes about thirty seconds of extra attention at planting time. Get this right, and your hostas will reward you for years to come.
Read More – 15 Gorgeous Rose Cultivars That Bloom Well Into The Fall And Autumn!
Conclusion
Growing hostas is one of those rare gardening wins where the payoff far exceeds the effort. Whether you’re nursing seeds through their multi-year journey, dividing a mature clump into a dozen new plants, or simply planting a nursery transplant for instant impact, you’re investing in perennials that will anchor your shade garden for decades.
What about you?
- Will you grow some hosta plants this year?
- Do you know which hosta variety you’ll grow first?
- Will you plant one cultivar? Or several?
Thanks for reading.
Have a great day!


