Stop Buying Plant Seedlings – Master Indoor Seed Starting In 8 Simple Steps!
Welcome! This article contains affiliate links, meaning I get a commission if you decide to make a purchase through my links, at no extra cost to you.
I know it’s freezing outside as you read this letter. You might be bundling up inside right now, watching snow pile up. Or just shivering through another gray winter day, thinking spring is a million years away. But those warm, spring planting days will sneak up on you faster than you think. Gathering your indoor seed germination supplies now means you’ll have strong and healthy plants ready to go the second that last frost passes. I can help you get ready. In this guide, I’ll reveal a super-easy 8-step process so you can germinate seeds consistently and reliably indoors. And it doesn’t even matter what seeds you’re sprouting this year.
Sound good?
Then let’s germinate some seeds!
How To Easily Germinate Seeds Indoors In 8 Easy Steps
Getting seeds to sprout indoors isn’t complicated. But doing it right makes all the difference between healthy seedlings and lanky, disappointing duds. These eight steps will walk you through the process from labeling your first container to transplanting thriving plants into your garden. Follow along, and you’ll be growing like a pro in no time.
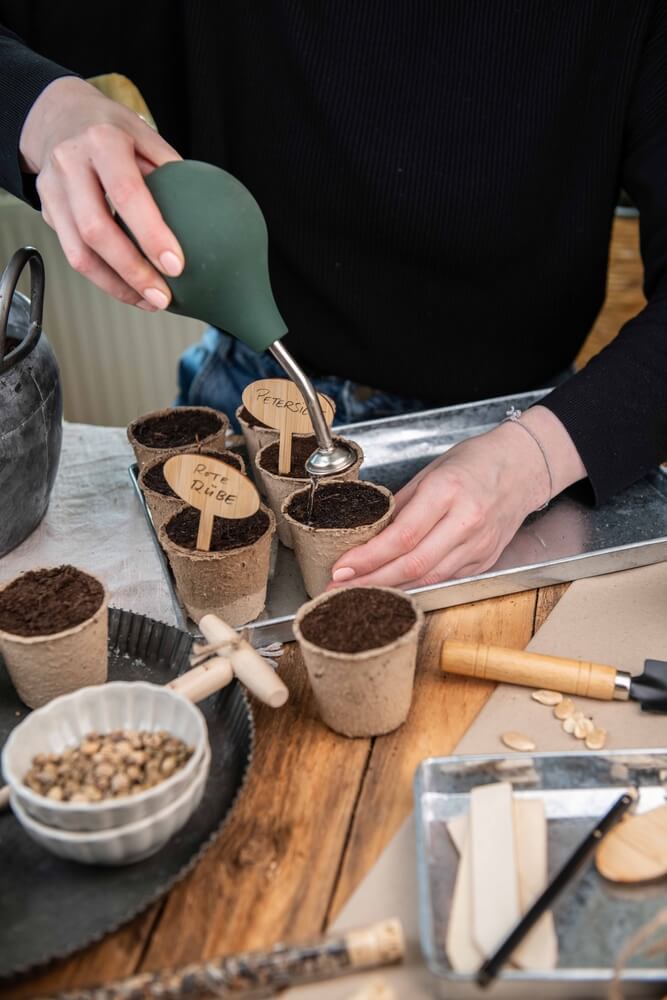
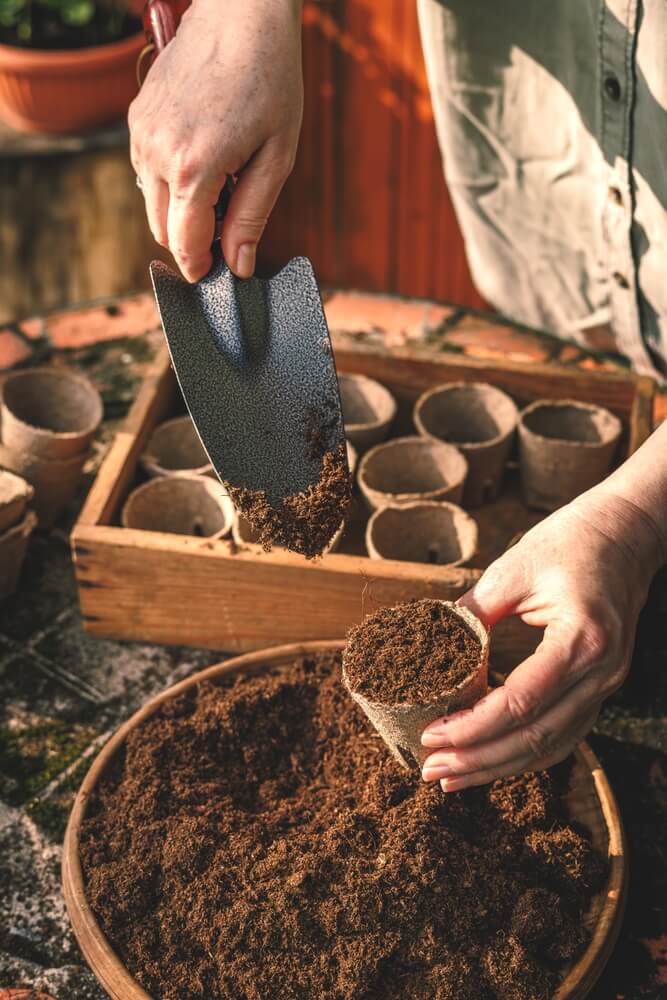
1. Fill Containers With Soil
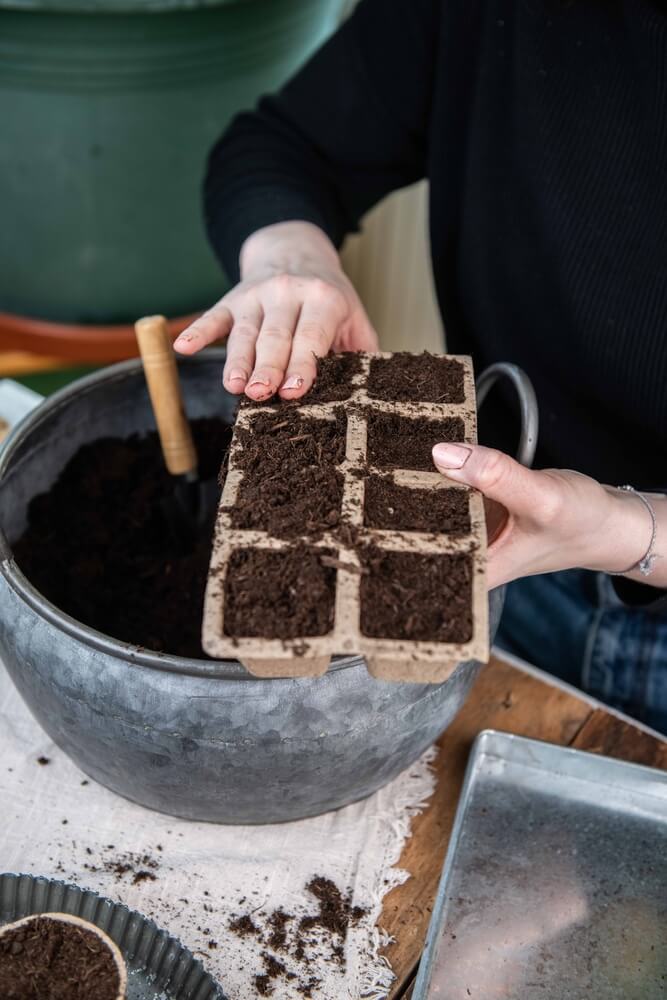
Getting your containers filled correctly sets the whole operation up for success. You want that sweet spot where the soil is fluffy enough for tiny roots to push through but firm enough that your seeds don’t wash away at the first sprinkle. It’s not rocket science. But a little attention here prevents headaches later when you wonder why half your seeds vanished.
- Use seed-starting mix, not garden soil. Specialized soilless mixes provide ideal drainage and prevent disease. Avoid synthetic fertilizers.
- Pre-moisten before filling. Add water to the dry mix in a separate bucket until it reaches a consistency similar to a wrung-out sponge. Doing so makes it way easier to work with.
- Leave ½ to 1 inch at the top. This gap prevents soil overflow during watering and gives seedlings room to grow.
That little gap at the top is your insurance policy against muddy water spilling everywhere during your morning watering routine.
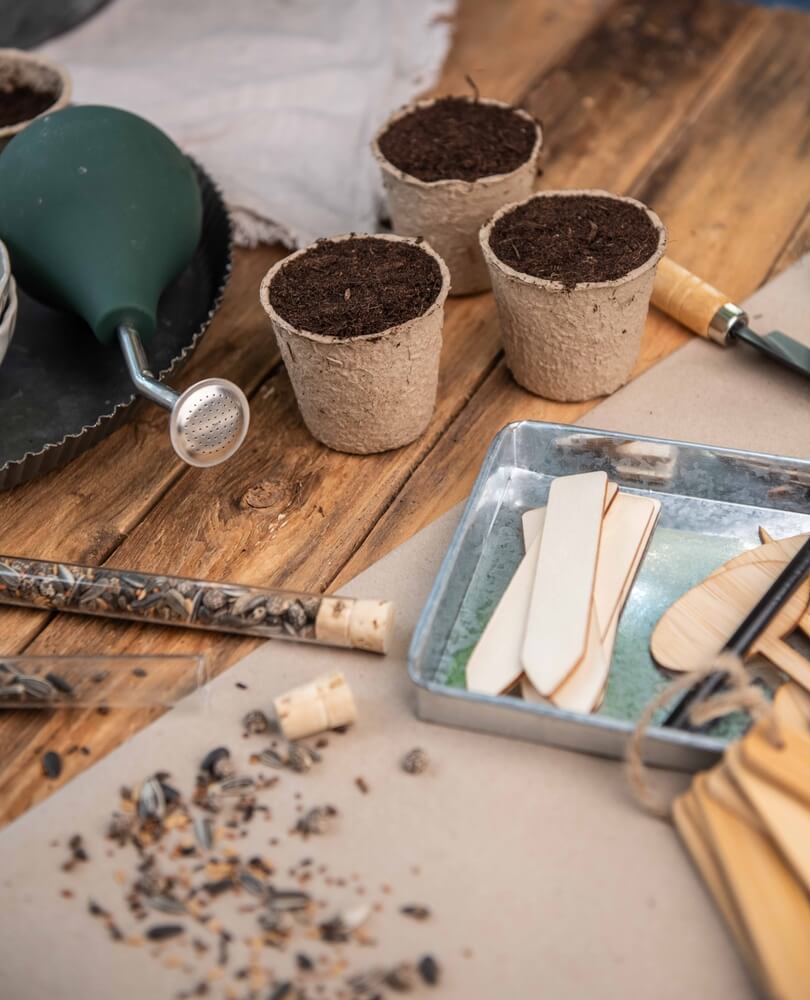
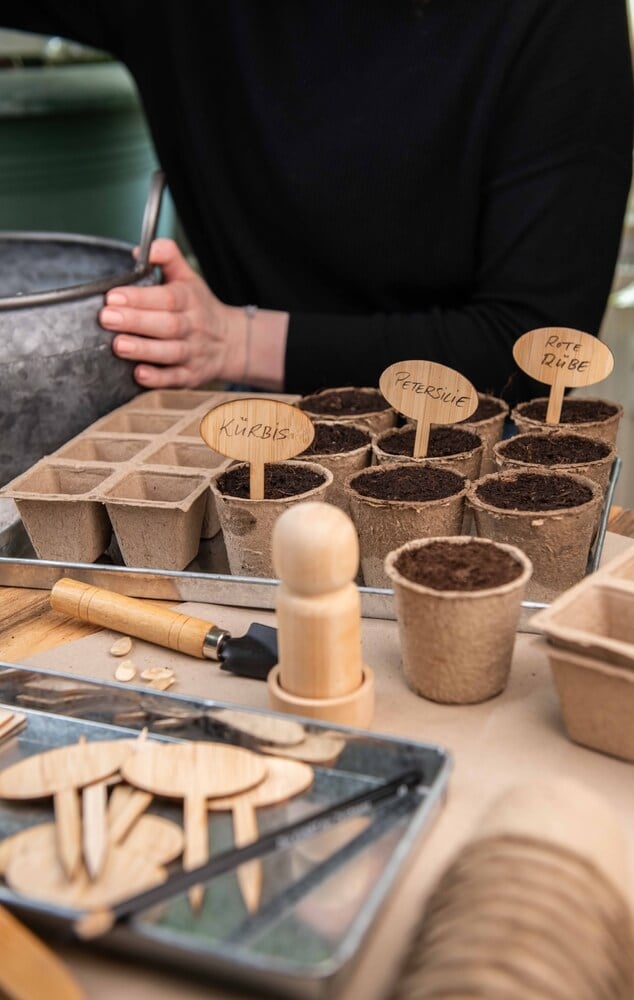
2. Label Your Containers
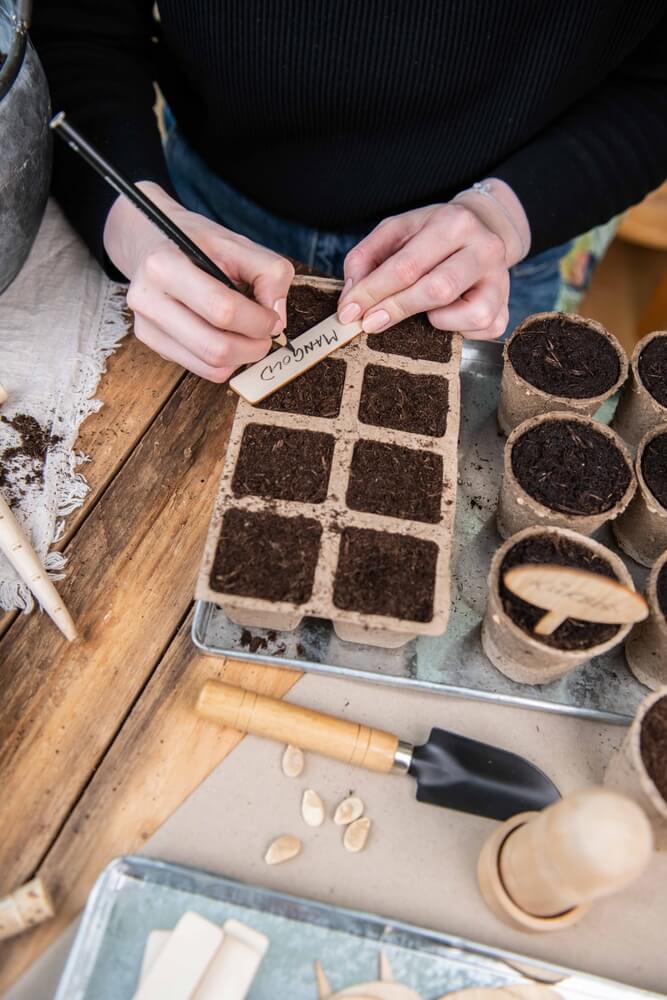
Labeling seems boring. But a month from now, when you’ve got a dozen identical containers sprouting mystery greens, you’ll wish you’d taken the extra 30 seconds. This simple step saves you from the classic “wait, are these cucumbers or pumpkins?” panic. Plus, tracking planting dates helps you know if something’s actually slow to germinate or if it’s not gonna happen.
- Label before you fill. Label containers before adding soil and seeds to avoid smudging or confusion when your hands are dirty.
- Use permanent markers or masking tape. Labels fade shockingly fast with moisture. Use waterproof markers on plastic or masking tape.
- Include planting date. Note both the variety and the date planted so you can track germination time and plan transplanting schedules.
Your future self will thank you when it’s time to move seedlings around, and everything is easy to identify!
Read More – Does Potting Soil Go Bad? [3 Ways to Tell for Sure!]
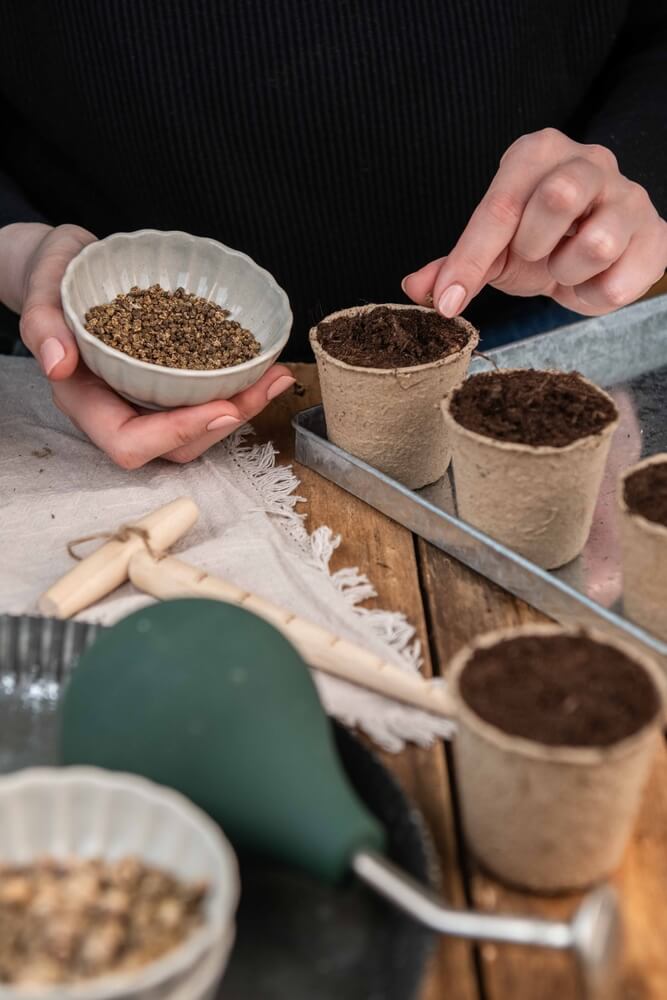
3. Pre-Moisten The Soil
Starting with damp soil is like giving your seeds a head start. They wake up faster in a moist environment rather than waiting for water to trickle down. Dry soil can actually repel water at first, leaving dry pockets where seeds sit, wondering what went wrong. Getting everything evenly moist before planting means more consistent germination across all your containers.
- Water from below to maintain seed depth. Place containers in a shallow dish of water for 30 minutes instead of watering from above, which can displace seeds.
- Aim for moist, not soggy. Waterlogged soil causes rot. But dry soil kills sprouting seeds. Balance is key.
- Cover to seal in moisture. Use plastic wrap, a humidity dome, or a plastic bag after watering to maintain consistent moisture during germination.
Think of that cover as creating a little greenhouse effect. Your seeds stay cozy and damp without you having to check them every few hours.
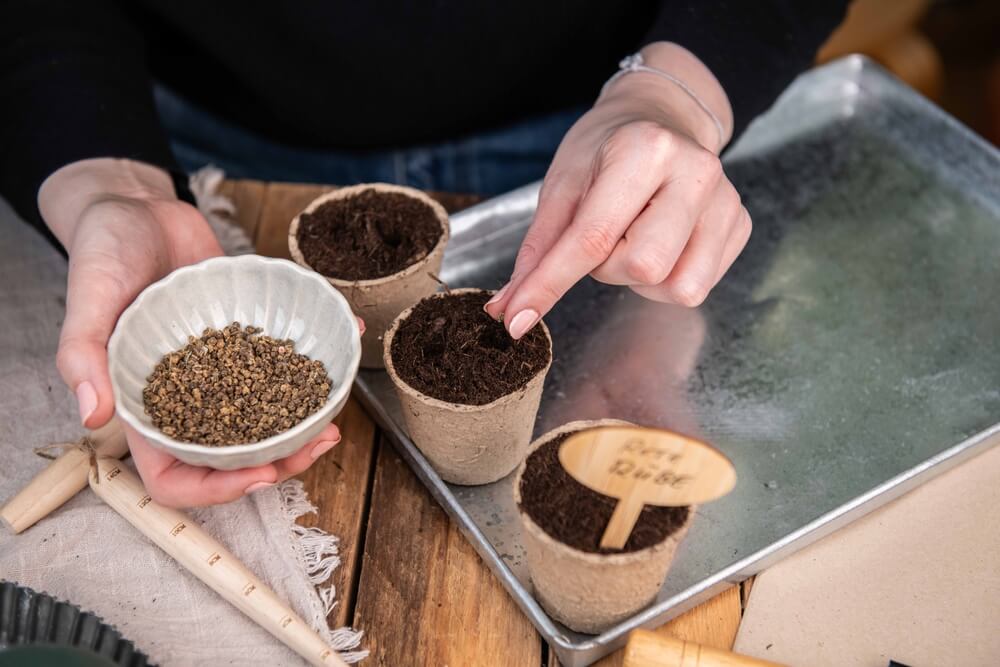
4. Plant Your Seeds At Proper Depth
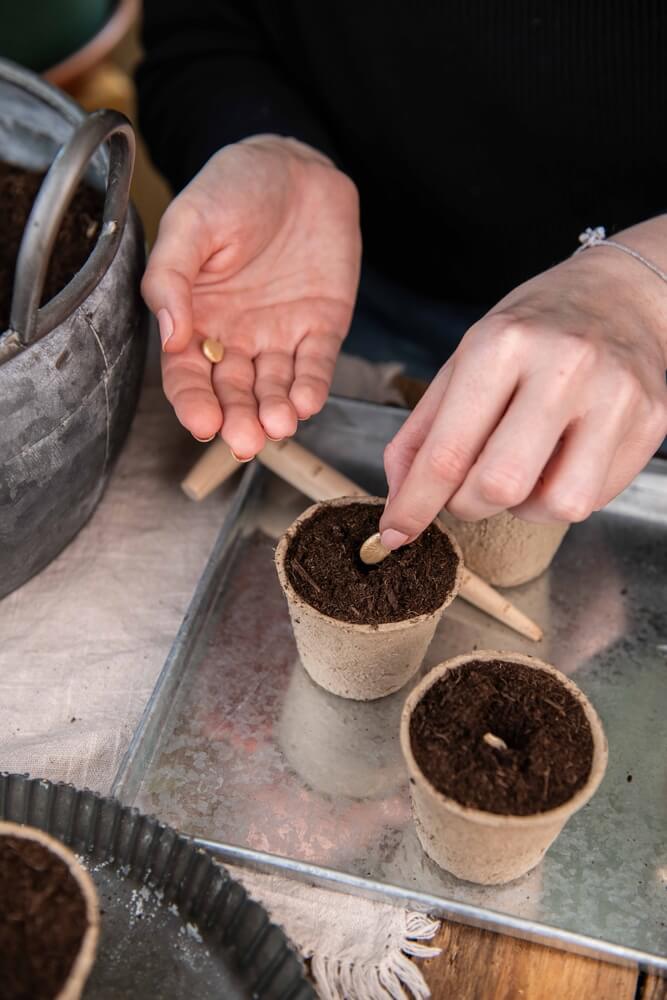
Seed depth matters way more than most homesteaders realize. Plant too shallow and they dry out before they can even think about sprouting. Too deep, and those little guys might exhaust themselves trying to reach sunlight. The following seed planting rule keeps things simple enough that you don’t need a ruler for every single seed.
- Follow the 2-3x rule. Plant the seeds at a depth of (roughly) 2 to 3 times the seed’s width. Tiny seeds should remain on the surface, with perhaps a dusting on top. Plant large seeds deeper.
- Tamp seeds for direct contact. Press seeds firmly into moist soil using your finger, a pestle, or a glass bottom to ensure contact for germination.
- Read the seed packet first. Some seeds require light to germinate and must stay uncovered. Always check specific requirements before planting.
Those seed packets aren’t just decoration. They have the insider info on whether your particular variety likes to break all the ordinary rules.
Read More – 21 Microgreens To Grow Indoors For Fresh, Nutritious Food All Winter!
5. Maintain Proper Temperature
Temperature is everything when it comes to germination. You can have perfect moisture, ideal depth, and premium soil. But if it’s too cold, those seeds are just going to sit there, kinda like they’re waiting for spring to arrive. Most seeds require soil temperatures between 65°F and 75°F to germinate and start sprouting. Cold soil means slow (or zero) germination.
- Use a heat mat for consistent warmth. Place seedling trays on a heat mat to maintain optimal soil temperature, especially in cold basements or unheated spaces.
- Check soil temperature, not air temperature. A thermometer stuck in the soil tells you what the seeds actually feel. Room temperature can be deceiving.
- Move containers to warm spots. Top of the fridge, near a sunny window, or above a water heater all provide gentle bottom heat that speeds germination.
Most seeds can handle the slightly cooler temperatures after they sprout. But getting them to germinate in the first place requires warmth.
6. Provide Adequate Lighting
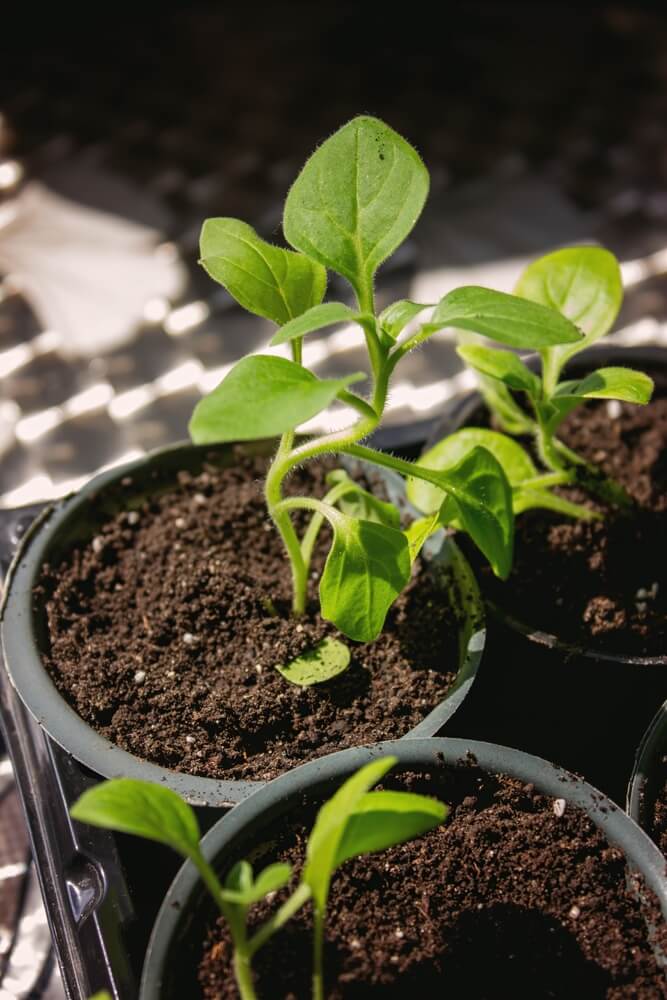
Lighting can make or break your seedlings once they pop through the soil. Seedlings without adequate light get leggy, weak, and basically useless for transplanting. They stretch desperately toward any light source, creating those sad, floppy stems that fall over at the slightest breeze. The problem is that many windows will never offer 6-8 hours of sunlight, even if they offer some.
- Use grow lights for most crops. LED or fluorescent grow lights placed 2-4 inches above seedlings provide the intensity needed for stocky, healthy growth.
- Aim for 12-16 hours of light daily. Set lights on a timer to mimic long spring days. Consistent light schedules produce stronger plants.
- Know which crops need supplemental light. Tomatoes, peppers, eggplants, and most flowers absolutely need grow lights. Lettuce, herbs, and greens can often manage with a bright south-facing window, but grow lights still work better.
Without proper lighting, you’ll end up with tall, spindly seedlings that topple over the moment you try to transplant them outside.
Read More – 17 Easy To Grow Spring Flowers With Beautiful, Colorful, Aromatic Blooms (Newbie Friendly!)
7. Water Consistently
Water consistency is where most seed-starting dreams go to die, honestly. I confess that I have mistakenly drowned my poor baby seeds or forgotten about them for three days straight. Seeds are needy little things during germination! They require consistent moisture without forming pools around them. Daily check-ins become part of your routine, like your morning coffee.
- Mist don’t drown. Use a spray bottle to maintain moisture without disturbing seeds or causing fungal issues from overwatering.
- Check daily when using heat. Heat mats (65-75°F optimal) speed germination but dry out soil faster, requiring more frequent moisture checks.
- Provide airflow to prevent damping off. Remove the covers once seeds sprout and use a small fan to circulate air, preventing deadly fungal disease.
A cheap spray bottle and a small fan are two of the best investments for indoor seed starting. They prevent most of the common disasters.
8. Transplant When Ready
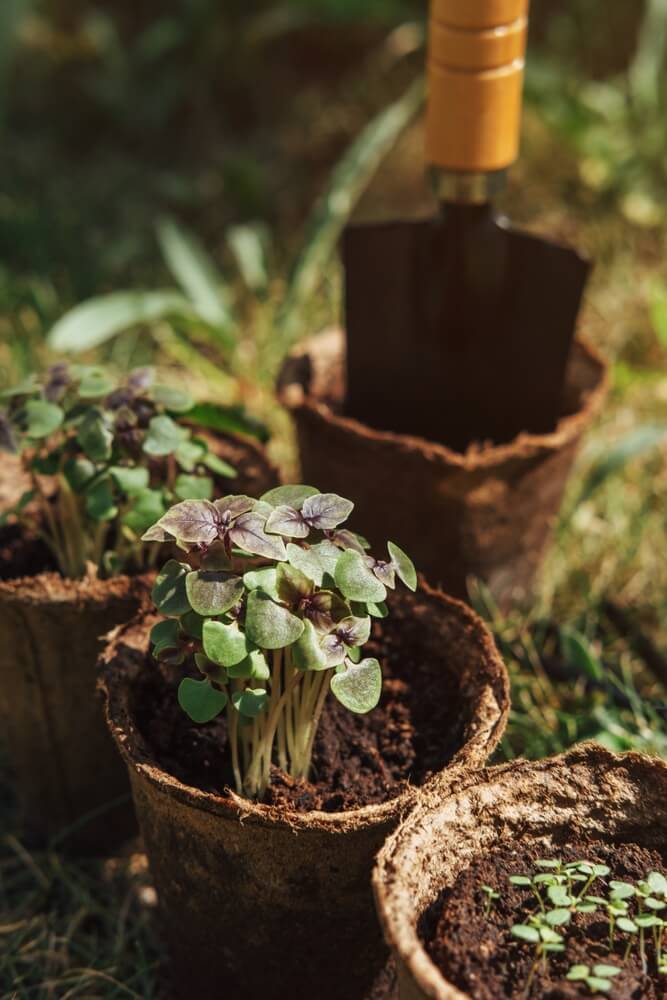
The finish line! But don’t just chuck those pampered indoor seedlings straight into the harsh reality of your garden. Plants started indoors are kind of like couch potatoes. They need a transition period to toughen up. Timing matters too. Starting seeds indoors too early means babysitting leggy, root-bound seedlings that could’ve been thriving in the ground instead.
- Don’t start too early. Calculate backwards from your last frost date using the seed packet timeline. Seedlings started indoors too early become leggy and weak.
- Harden off for 7-10 days. Gradually expose seedlings to outdoor conditions for a few hours daily, increasing time each day before permanent transplanting.
- Transplant at proper spacing. Thin overcrowded seedlings early and follow packet spacing recommendations to prevent competition and disease.
Give your plants the space they need to spread out and breathe. Cramming them together creates a disease buffet and stunted growth all around.
Read More – 17 Easiest Vegetables To Grow From Seed – A Beginner’s Path To Garden Success!
Conclusion
There you have it! Eight straightforward steps to turn your indoor space into a mini nursery while winter does its worst outside. The beauty of starting seeds indoors is that you get a serious head start on the growing season. Plus, you’ll save money and have way more variety than any garden center could ever stock. Sure. It takes a little attention and consistency. But honestly? There’s something magical about watching tiny seeds crack open and reach for the light while everything outside is frozen solid. You’ve got this.
Thanks for reading.
Have a great day!


