The 5-Step Hydrangea Pruning Protocol For Perfect Blooms Every Time!
Welcome! This article contains affiliate links, meaning I get a commission if you decide to make a purchase through my links, at no extra cost to you.
Here’s our bulletproof, nearly perfect system after pruning hundreds of shrubs over the years. Hydrangeas are some of the most forgiving shrubs you can grow, but they have one quirk that trips up almost everyone. Timing! Prune at the wrong moment and you can lose an entire season of blooms. Prune at the right moment and you get an explosion of flowers that lasts for months. The good news is that once you understand the basic rhythm of these plants, pruning becomes straightforward and almost foolproof. Let me show you exactly how I do it.
Sound good?
Then let’s prune some hydrangea shrubs!
5-Step Hydrangea Pruning Process
Let me walk you through the process I use every single year. It works on every hydrangea, as long as you follow the correct timing for the specific type.
Most pruning mistakes come from guessing. We are not guessing today. We are pruning with intention and calm confidence.
Read More – 9 Reasons Why I Stopped Raking Leaves (And Why I Might Never Rake Again)
Step 1 – Identify Your Hydrangea
Identification is the part everyone skips. Please do not skip it!
Some hydrangeas bloom on last year’s wood. Some bloom on new wood made this year. Once you know which group your plant belongs to, the rest becomes incredibly easy.
Here is how they break down:
Old Wood Bloomers (prune right after flowering):
- Hydrangea macrophylla (the classic mophead and lacecap varieties)
- Hydrangea serrata (mountain hydrangea)
- Hydrangea quercifolia (oakleaf hydrangea)
- Hydrangea aspera and involucrata (the specialty types)
New Wood Bloomers (prune in late winter):
- Hydrangea paniculata (Limelight, PeeGee, and other cone-shaped bloomers)
- Hydrangea arborescens (Annabelle, Incrediball, and smooth hydrangeas)
Check the plant tag if you still have it. Look up the variety if you bought it years ago. Look for when it typically blooms. If it flowers before July, it is a old-wood bloomer. If it flowers later in the season, it is a new wood bloomer.
Write the type down on a stake and keep it with the plant. You will never be confused again.
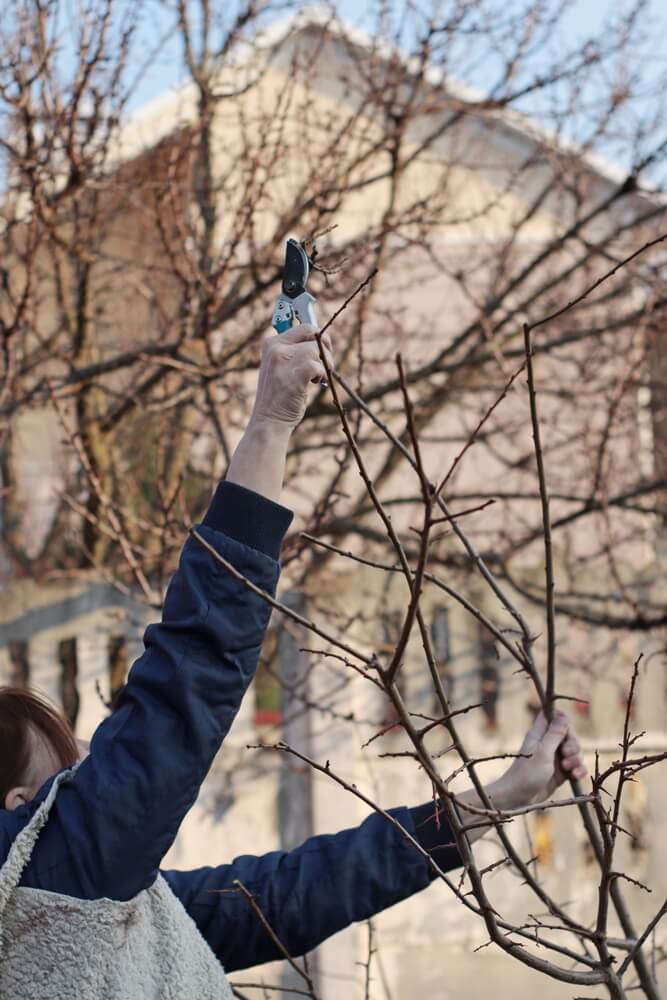
Step 2 – Prune In The Correct Window
Timing matters more than anything else. Timing is where most homesteaders lose an entire season of blooms without understanding why.
For Old Wood Hydrangeas
Prune within 14 days after the flowers fade. The flowers begin to wither in July or early August. The plant needs time to set next year’s flower buds on those stems before winter arrives. If you wait too long or prune in spring, you cut off all the buds and get nothing but green leaves.
For New Wood Hydrangeas
Prune between mid-February and late March. These plants form flower buds on brand new growth in spring and summer. You can cut them back hard in late winter, and they will still bloom beautifully by midsummer.
Set a phone reminder when the flowers start to fade for old wood types. Set a February 1 reminder for new wood types. Missing this window can wipe out the entire bloom cycle. I have seen it happen more times than I can count.
Read More – 10 Permaculture Principles That Let Nature Do The Heavy Lifting For You!
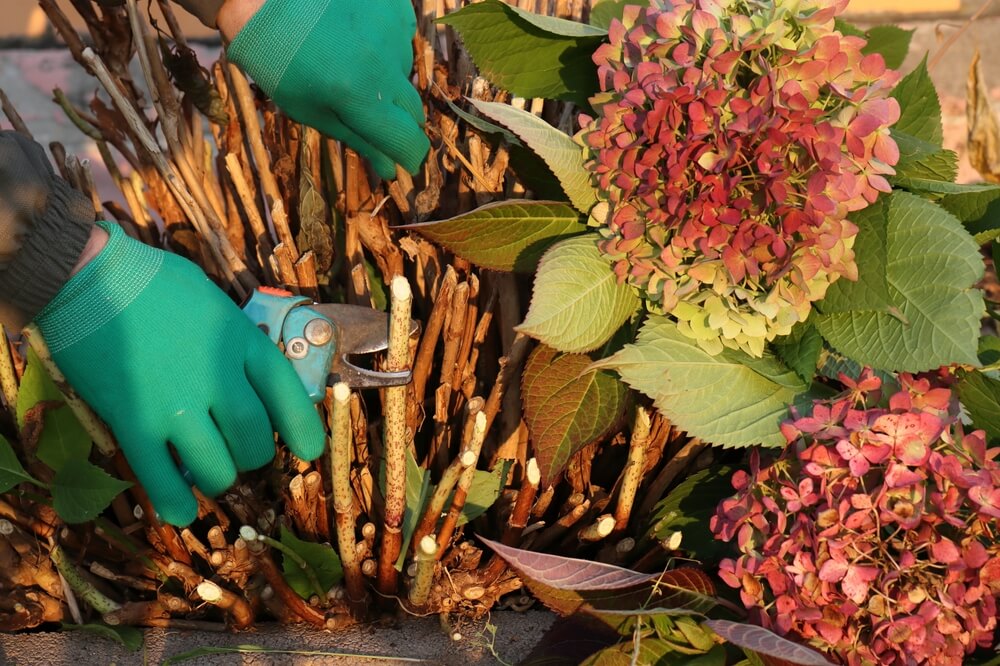
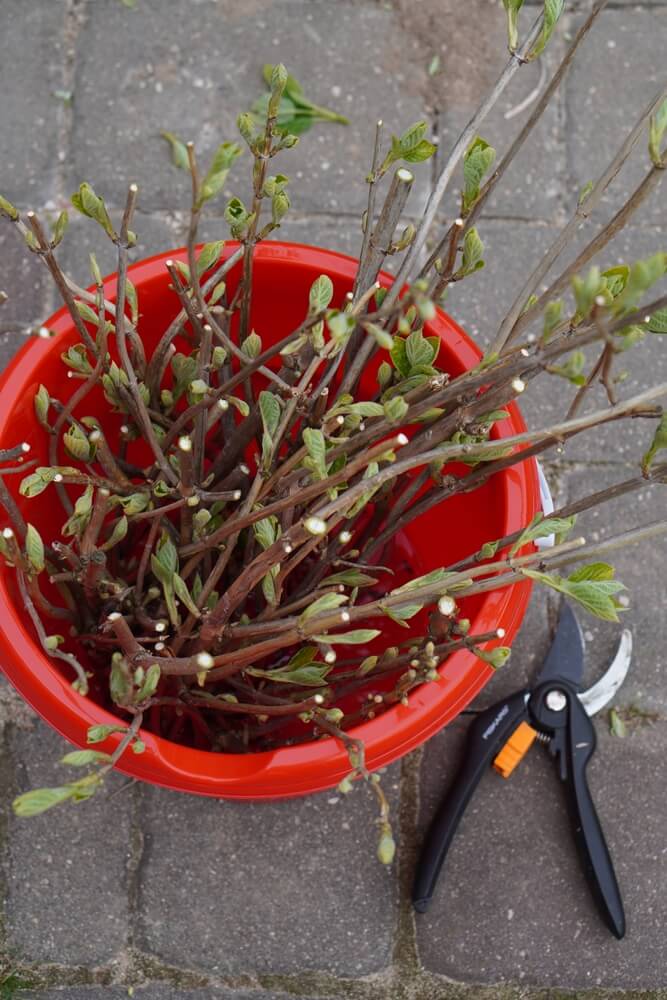
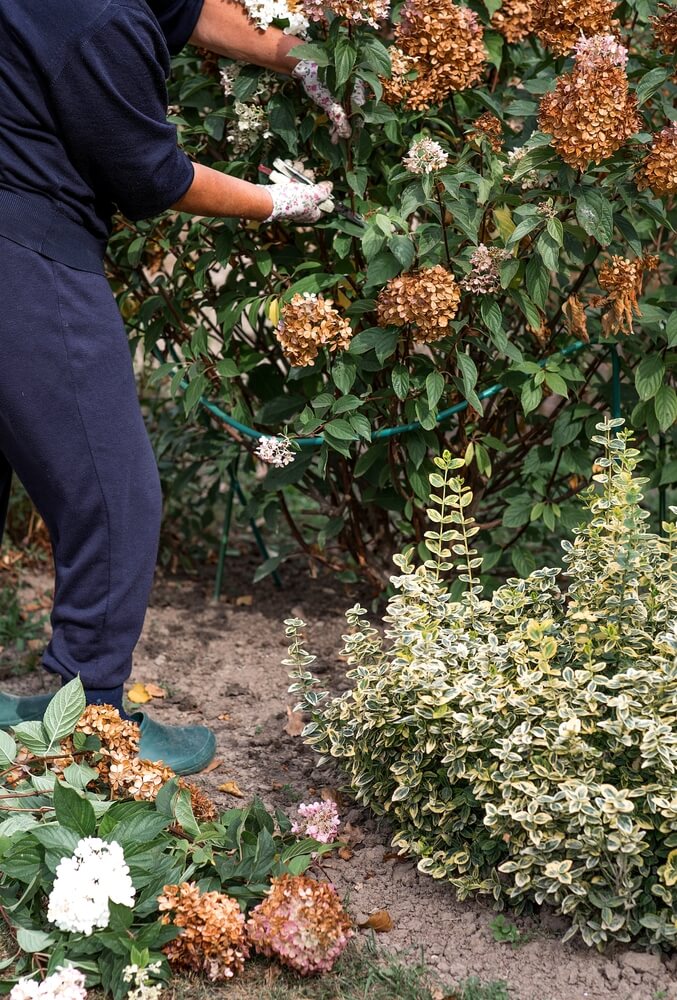
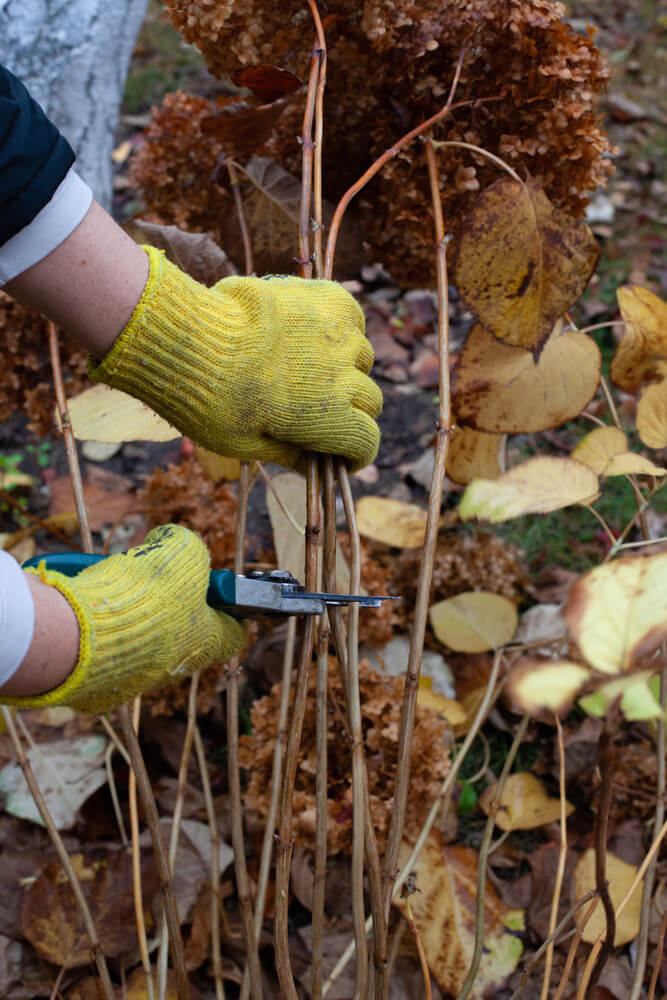
Step 3 – Use The Three Cut Method
The three-cut method is the key to keeping your hydrangeas healthy, productive, and beautiful for years to come. Same tools. Same sequence. Same discipline every time.
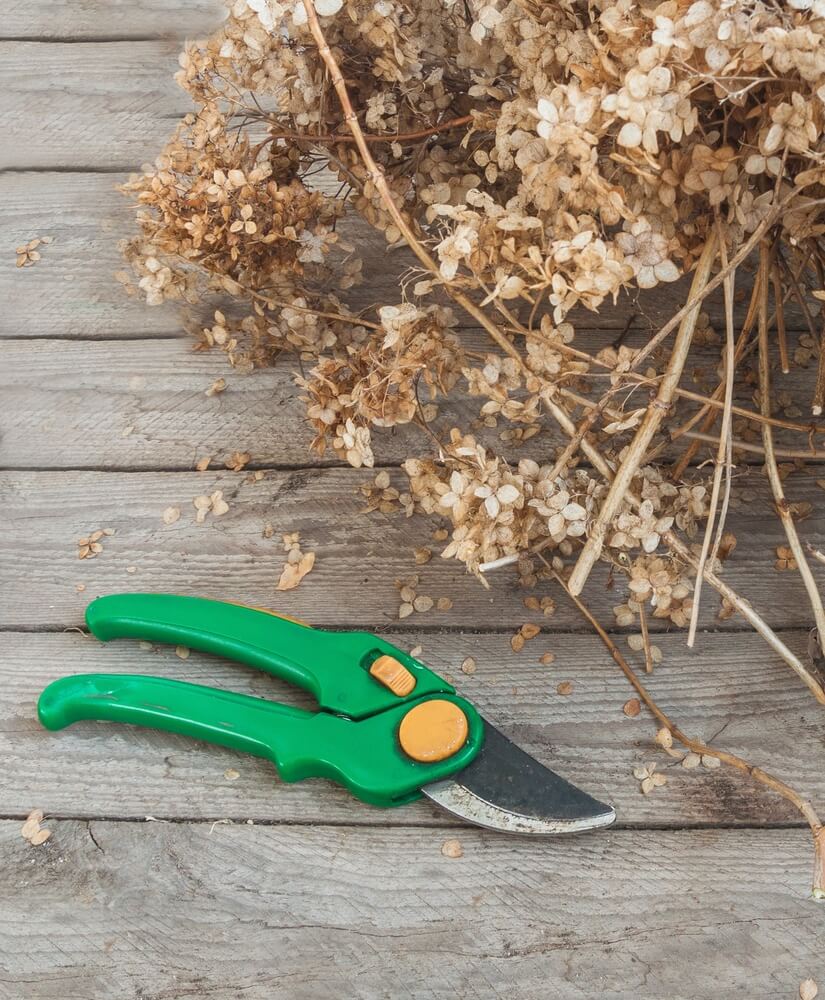
You will need clean bypass pruners, loppers for thicker stems, a pruning saw for anything over an inch in diameter, and rubbing alcohol to disinfect your blades between plants.
Cut 1 – Dead And Damaged Wood
Start by removing anything dead, weak, broken, or crossing. Cut back to healthy wood with green under the bark. Cutting to the healthy wood always comes first. It opens up the plant and removes stems that are wasting energy.
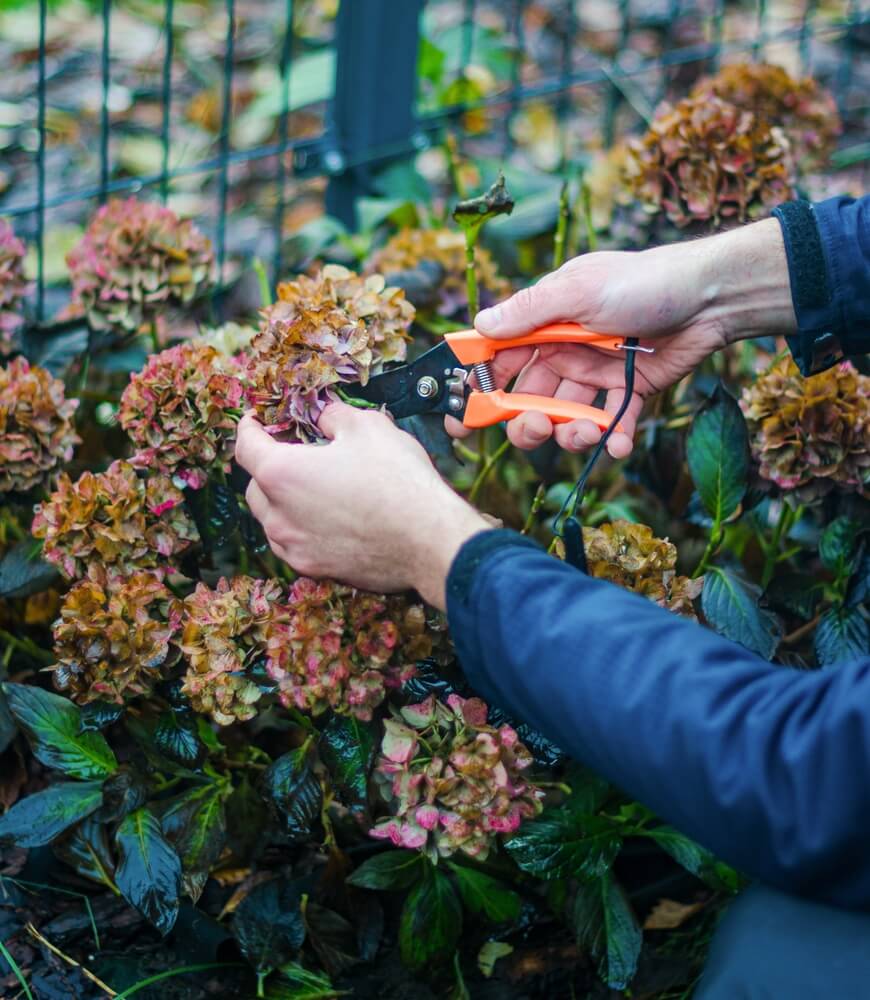
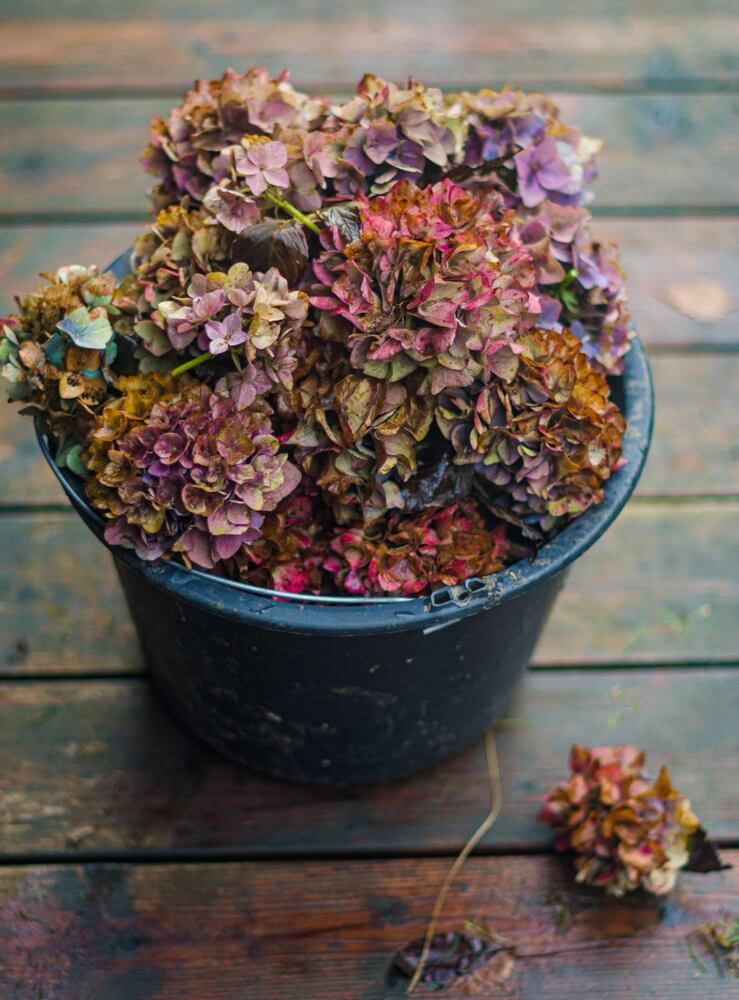
Cut 2 – Spent Flowers
This step only applies to old wood hydrangeas. Remove the faded bloom head, along with one or two sets of leaves below it. Make your cut just above a healthy bud or leaf node. Cutting just above the bud or node keeps the plant tidy and directs energy into next year’s buds, rather than into seed production.
New wood hydrangeas skip this step. You can deadhead them during the growing season if you want things to look neat, but it will not affect next year’s blooms.
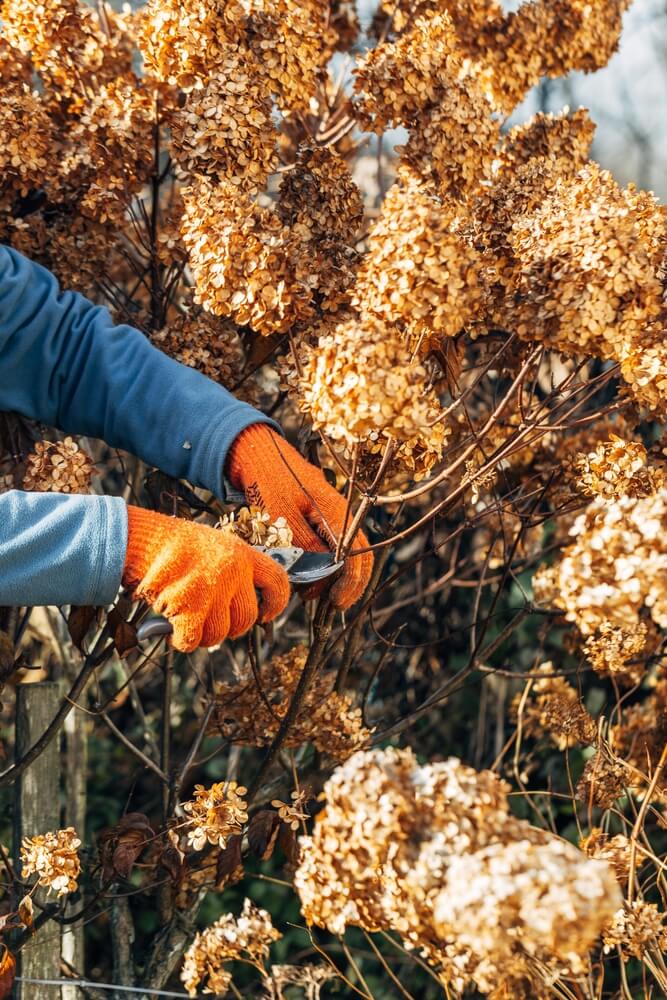
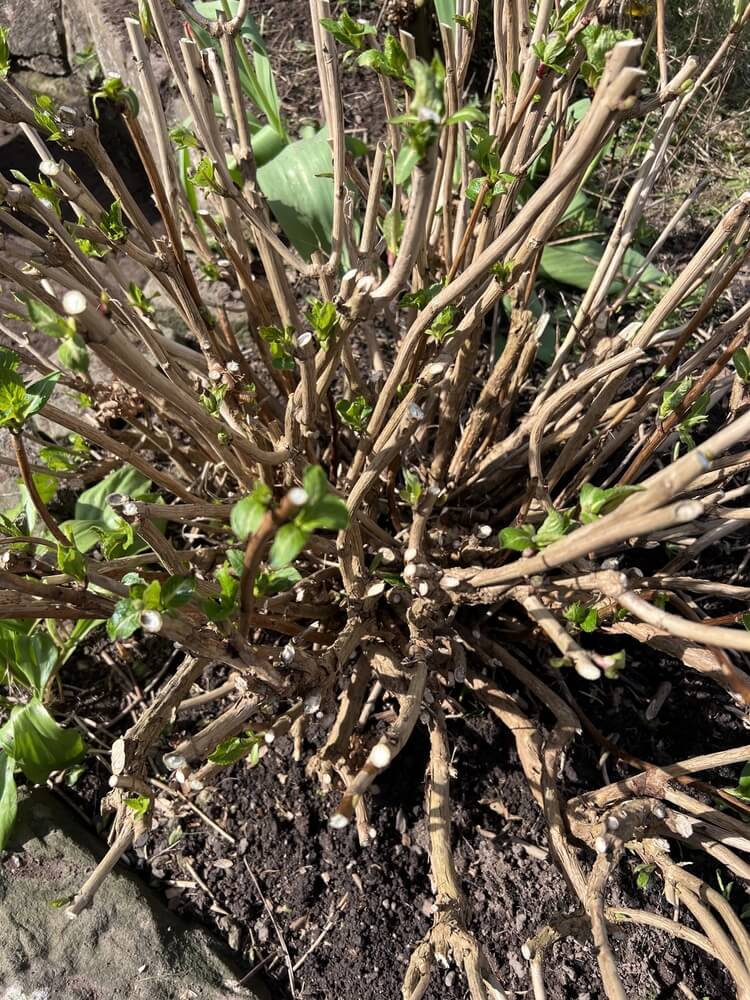
Cut 3 – Renewal Pruning
Renewal pruning involves shaping the plant to maintain its vigor and health.
For old wood types, remove about one-third of the oldest stems every three years. Cut them down to ground level. This vigorous cutting forces the plant to produce fresh, young wood from its base. Those new stems will bloom in their second year. Never remove more than one-third of the live stems in a single session. Old wood hydrangeas do not recover well from aggressive pruning.
For new wood types, you can cut the entire plant back to 12 to 18 inches every year. They handle hard pruning without any trouble. The heavy pruning here keeps them compact, prevents them from getting leggy, and produces bigger blooms on stronger stems.
The goal is to keep the plant open, healthy, and ready to push out vigorous new growth. Good air circulation prevents disease. Young wood blooms harder than old wood. You are managing the age of the stems, not just the size of the shrub.
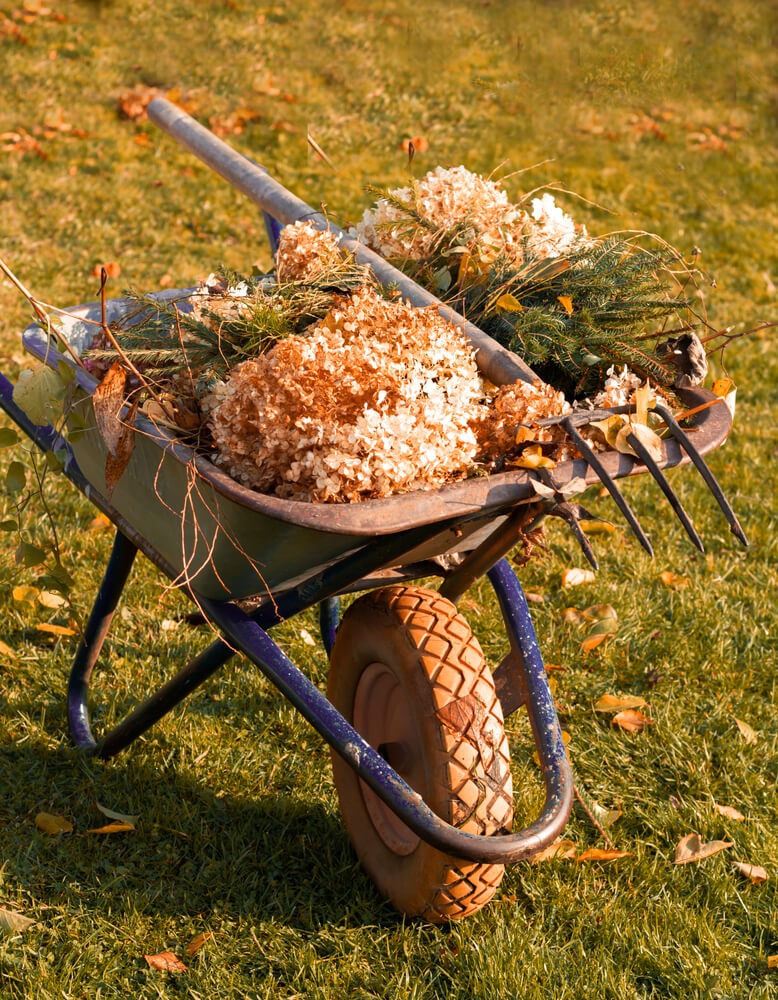
Step 4 – Leave The Prunings On The Ground
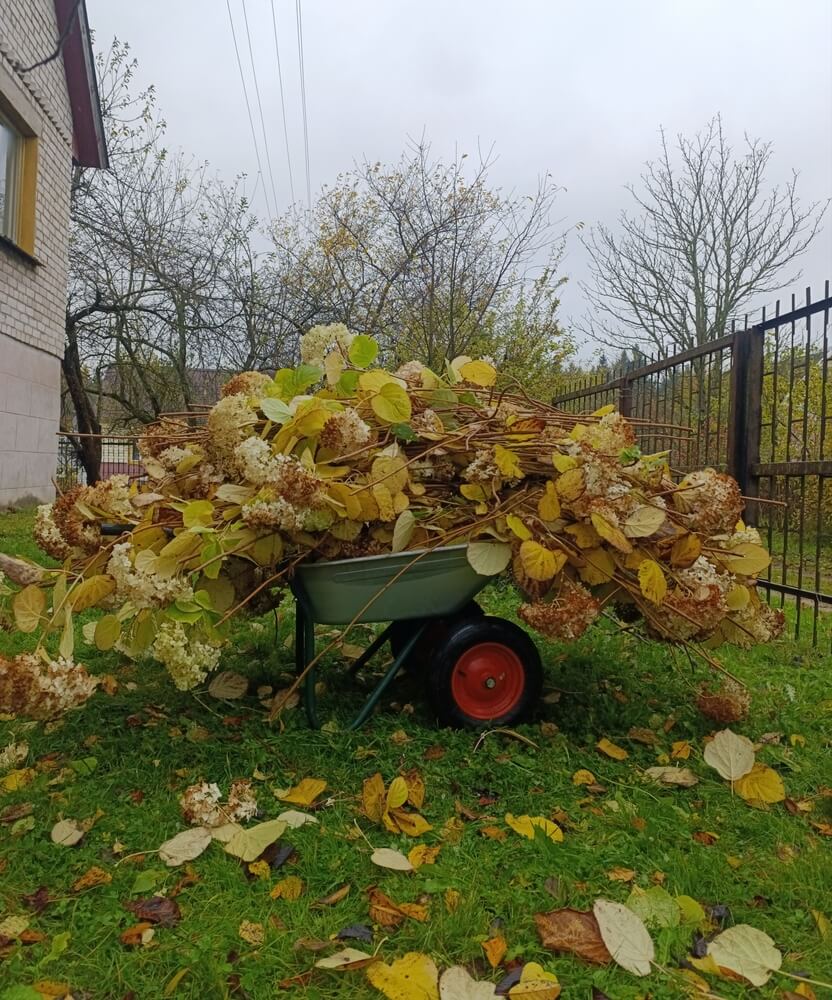
Hydrangeas love their own leaves and stems as mulch. Their adoration for decaying plant matter is simple soil biology! And it works beautifully.
Lay the cuttings under the plant in a layer that is three to four inches thick. Let the material break down naturally. As it decomposes, it feeds the soil, retains moisture, suppresses weeds, and moderates soil temperature. You get free mulch and better growing conditions without spending a dime or hauling anything away.
I have been doing this for years, and the difference is noticeable. The plants grow stronger. The blooms get bigger. The soil stays soft and rich. It is one of the easiest upgrades you can make to your hydrangea care routine.
Step 5 – Mark The Plant For Next Year
Marking your hydrangea helps you avoid mistakes next season.
Put a tag on the plant with the correct pruning month written on it. Take a before-and-after photo with the date. Set a calendar alert for the next pruning cycle.
Your future self will thank you for being organized. You will not have to guess or look things up again. You will know exactly what to do and when to do it. That clarity makes all the difference.
Read More – The 21 Best Food Forest Crops For Homesteaders And Small Gardens!
The Whole System In One Place
Here is how it flows:
- Identify your hydrangea type
- Wait for the correct pruning window
- Use the three-cut method in order
- Chop and drop the prunings on site
- Tag the plant and set a reminder
That is the whole system. It is simple, repeatable, and dependable.
Follow these steps, and you will know exactly what to do every single year. Your hydrangeas will bloom harder, live longer, and look like they came straight out of a garden magazine.
I have used this exact protocol on hundreds of plants. It works every time. No guesswork. No frustration. Just healthy shrubs and explosive blooms year after year.
Best Time To Prune Hydrangeas

Timing is the most critical factor for successful blooms. Get this wrong and you can lose an entire season of flowers without understanding why.
Old wood hydrangeas need pruning immediately after the flowers fade in midsummer. Flower fading typically occurs from mid-July to early August, depending on your location. The plant sets next year’s flower buds on those stems in late summer and fall. If you wait until spring to prune, you cut off all those buds and end up with a green shrub and no blooms.
New wood types are pruned in late winter before the buds start to swell. The ideal window is typically from February 15 to March 31 in most climates. These plants form flower buds on brand new growth made in spring and summer, so you can cut them back hard without affecting the bloom cycle.
Adjust slightly for your climate zone. If you are in Zone 5 or colder, push the new wood pruning window into early April. If you homestead in Zone 8 or warmer, you can prune new wood types as early as mid-February. For old wood types, always prune within two weeks after the last flower fades, regardless of your zone.
Read More – The Ultimate Guide To Growing Hostas From Seed, Division, Or Transplant!
Common Mistakes To Avoid
Even experienced gardeners slip up with hydrangeas. The mistakes usually stem from timing, technique, or leaving problems unresolved.
The biggest mistake is pruning old wood hydrangeas in spring. Gardeners see bare stems in March and assume they need to clean things up. They cut the plant back hard and wonder why it never blooms. Those bare stems were covered in flower buds that would have opened in June. One nasty pruning session can cost you an entire year of blooms.
The second mistake is removing too much old wood at once. Old wood hydrangeas do not recover well from aggressive pruning. If you cut more than one-third of the live stems in a single session, the plant goes into shock and may take years to bloom again. Be patient and spread renewal pruning over multiple seasons.
Other common errors include leaving dead or damaged stems on the plant, skipping the tagging step, forgetting the type of plant, and neglecting to disinfect your tools between plants. Dead wood invites disease and pests. Untagged plants lead to guessing and mistakes. Dirty tools spread pathogens from one shrub to another.
Knowing these pitfalls helps you prune with confidence and avoid unnecessary stress for your plants.
Reblooming Hydrangeas – Special Cases
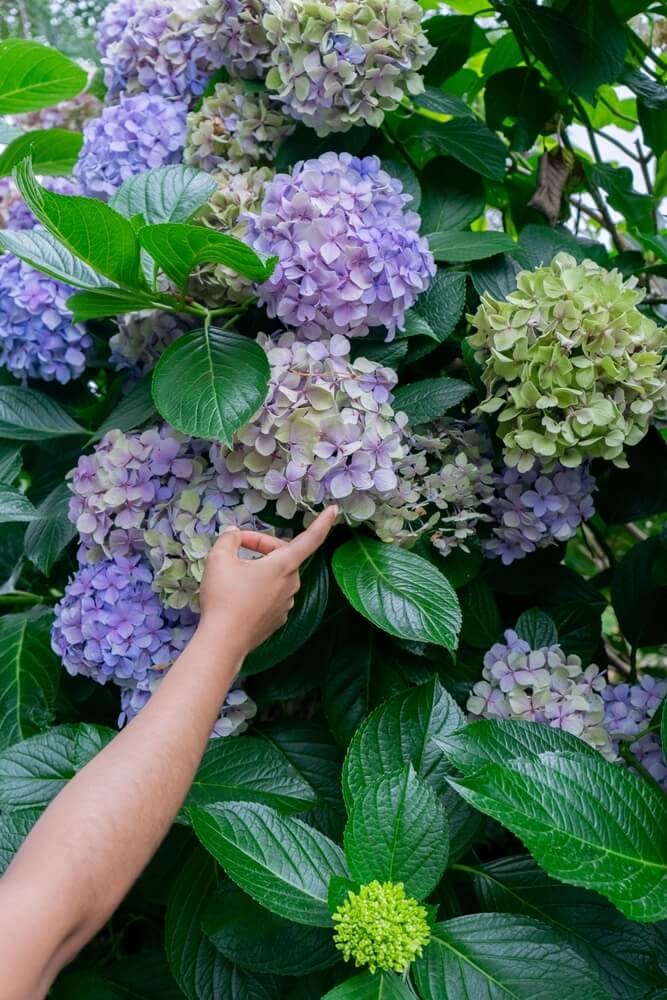
Some varieties bloom on both old and new wood. These are often marketed as reblooming or remontant hydrangeas. Popular examples include Endless Summer, Let’s Dance, and Bloomstruck.
These plants need a lighter, more strategic approach. They produce flowers on last year’s stems in early summer and then push out a second flush of blooms on new growth later in the season. If you prune them hard, you lose the first wave of flowers.
The best approach is to deadhead old blooms as they fade, but avoid any hard pruning. Remove spent flower heads just below the bloom to keep things tidy. Leave the stems intact. Those stems will produce flowers again next year.
Limit renewal cuts to every few years. If the plant gets too large or crowded, remove one or two of the oldest stems at ground level in late winter. Do this sparingly. The goal is to maintain the framework that produces early blooms while allowing the plant to generate new wood for late summer flowers.
Knowing how to handle these reblooming types ensures you do not accidentally remove flowers that will appear later in the season. Treat them carefully, and they will reward you with blooms from June through September.
A Few Final Tips For Elite Hydrangea Care
Always disinfect your tools between plants. Use 70 percent rubbing alcohol on a cloth and wipe down your blades. This step prevents the spread of fungal diseases and bacterial infections from one hydrangea to another.
Lightly fertilize after pruning. Use a balanced slow-release fertilizer or a handful of compost around the base of the plant. Pruning stimulates new flower growth, and the plant needs nutrients to fuel that growth. Please do not overdo it. Too much nitrogen produces lush green leaves and fewer flowers.
Water deeply after pruning if the soil is dry. Pruning is stressful for the plant, and adequate moisture helps it recover quickly. A good soaking once a week is better than light daily watering.
Read More – 15 Hungry Carnivorous Plants That Devour Flies, Ants, And Bugs!
Conclusion
The truth is that hydrangeas are easier to manage than most homesteaders think. The confusion arises from treating all hydrangeas the same way when, in fact, they fall into two distinct categories with two different schedules. Once you identify your type and mark your calendar, the rest is just showing up at the right time with sharp tools and a clear plan. Stick with this system and your hydrangeas will reward you with years of reliable, abundant blooms that make your entire garden look better.
Thanks for reading.
Have a great day.
Let us know if you have any questions or feedback!