How to Make a Bubbling Rock Fountain DIY
Welcome! This article contains affiliate links, meaning I get a commission if you decide to make a purchase through my links, at no extra cost to you.
Bubbling rock fountains add an extra factor to your garden that can bring it to a whole new level. They are fun, they are relaxing, and most importantly, you can build one yourself.
This will give you a lovely DIY home project that will spruce up your garden in no time. So, how do you make a bubbling rock fountain?
Easy Steps to Make a Bubbling Rock Fountain
- Plan out your water bubbler
- Find the perfect location
- Prepare the ground for your water bubbler
- Create a grid from chicken wire and hog panel
- Place your water pump
- Drill a hole in the rock
- Finishing touches
What equipment and materials do you need to build your very own bubbling rock fountain? What are some things to look for when looking for a location to place your bubbling rock fountain in?
I will go over these topics and more in this article.

Before you begin your water bubbler building, you will need to make a stop at your local home store or online for a few supplies.
I have created a list below of the things you will need to build a lovely little water bubbler for your garden.
You will need:
- Spray paint
- 2×3 foot plastic container that is eight inches deep
- A level
- A metal hog panel
- Shovel
- Chicken wire
- 5/8 inch plastic tube
- 170GPH water pump
- Safety goggles
- Large, medium and small rocks
- A hammer drill
- 3/4inch masonry drill bits
Once you have bought these items, you are now ready to begin the fun and exciting process of building your water bubbler.
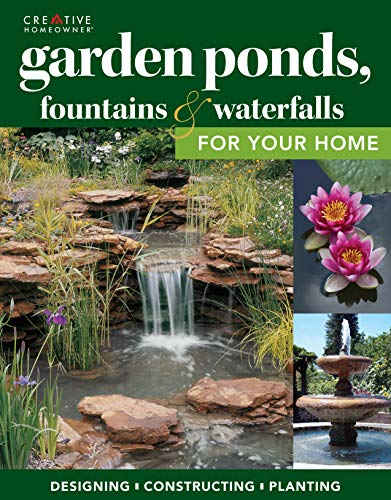
Read this book if you want a backyard duck pond. Or any pond! It's the ultimate guide to building garden ponds, fountains, and backyard water features by Kathleen Fisher and Creative Homeowner. The book shares step-by-step procedures to help brainstorm a fish, plant, or backyard water pond. It also has over 400 water landscaping photos to help kickstart your creativity.
Make a Water Bubbler Step-by-Step

Once you have all the materials and equipment needed to build your water bubbler, you can now begin the fun of actually making it. I have set out an easy-to-follow step-by-step process for you below.
Step 1: Plan Out Your Water Bubbler
Before you start anything with your water bubbler, you need to plan out what you will do and what style you want your water bubbler to be in.
I have found two very common styles for water bubblers; architectural and natural.
The architectural water bubbler style is more striking as it is not trying to imitate nature but instead stand out from it.
This is generally a single tall stone sticking from the ground with little pebbles surrounding it.
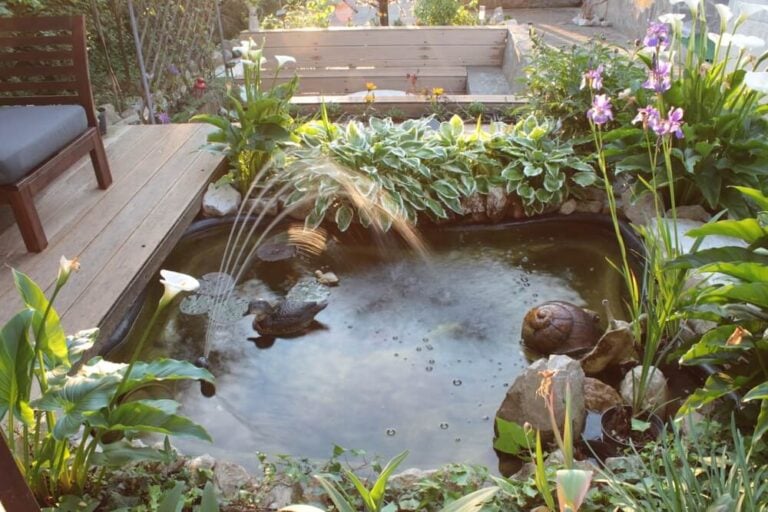
The natural water bubbler style is meant to blend into the natural landscape of your garden. These natural water bubbles are designed to imitate a mountain stream or a waterfall.
The style you choose should be based on your garden and what would look best in it.
Step 2: Find the Perfect Location

Finding the perfect location for your water bubbler is the most challenging part of this process, at least it was for me. You need to find a location that will show off your new water bubbler, but it should be near an electrical outlet as the pump needs electricity.
If you do not have a location near an electrical outlet, you may need to call in an electrician to install one for you or choose a solar-powered pump or fountain.
You also need to ensure that the water bubbler will not overwhelm or even underwhelm the location you want to place it in.
For example, if your patio is small, do not build a large water bubbler right next to it. If you want a large water bubbler, then build it in your backyard instead.
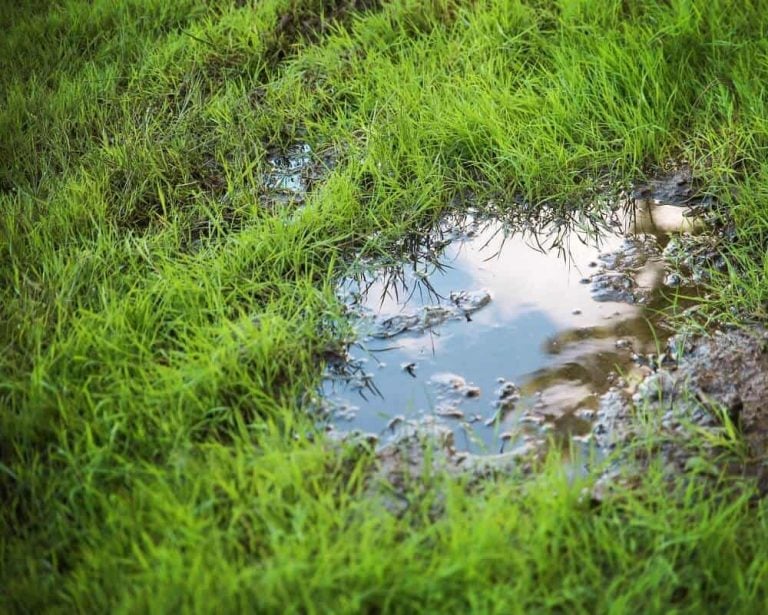
Step 3: Prepare the Water Bubbler’s Location
Now comes one of my favorite parts, preparing the water bubblers location.
For this, you will need the container and the spray paint you bought. Place the container upside down on the location you want the water bubbler to go, and spray paint the ground around the container.
These will create handy guidelines for you to follow with the shovel; I found this extremely helpful.
Remove the container and dig along the guidelines, and only dig as deep as the container you have brought. Once you have dug the depth, use a level to ensure that the container will sit evenly in the hole.
Once it is level, place the container in the hole and place dirt around it to seal the container into place. Do not get any dirt in the container during this step.
Step 4: Create a Grid
Creating a grid is vital as it helps keep the rocks level and the water flowing. Ensure you are wearing your heavy-duty work gloves for this part of the process.
You need to cut the hog panel and the chicken wire to the dimensions of the container used in the above step. I would suggest leaving a few inches to spare just in case.
Now you need to place the chicken wire lengthways over the hog panel. Bend the chicken wire around the short end of the panel so that the panel does not have much give in either direction.
Step 5: Place Your Water Pump

The pump is the part of the water bubbler that makes it bubble. Before you put your water pump into place, you need to attach the plastic tube to it.
For this, your pump should come with directions on the best way to do this for your particular water pump brand.
Once the plastic tube is connected, place the water pump into the container in the ground, with the plastic tube facing up.
Ensure that the water pump is as close to the center of the container as you can get it, as this will help the pump function better.
Now you need to place the gid you just made on top of the container, ensuring the plastic tube is sticking out of the middle of the hog panel.
Step 6: Drill a Hole in the Rock

The large rock you purchased will become the actual water bubbler, so you need to drill a hole where the water can come out.
This can be a dangerous job, so remember to wear your safety goggles and follow all safety precautions.
I found it helpful to have another person with me during his step as they could not only help with the step, but they can also ensure everything is going smoothly and safely.
If you are uncomfortable doing this step yourself, you can have a person do it for you at your local home store.
If you are doing this step yourself, then place the hammer drill into the rotary position. Brace with your chest as this will help prevent the drill from slipping away, and it will help you place even pressure on the rock when drilling.
With the drill braced well against your chest, you can now turn the drill on and put an even and downward pressure on the drill until the drill bit exits the bottom of the rock.
Step 7: Finishing Touches
Move the large rock on top of the plastic tube that is sticking out from the grid. Place the plastic tube in through the hole at the bottom of the rock.
The plastic tube should only go into the rock about one inch. If it goes in more than this, then you need to trim it.
Now, place your smaller stones around the big one, flat side down, until the grid is covered, leaving a little space for you to pour water into the container in the ground.
Fill the container with water, and then plug the water pump into an electrical socket. Hide the gap you poured water through with some more small stones.
Step back and look at your masterpiece.
If you do not want items like the cable to be seen, you can plant a few plants around your water bubbler to hind them.
Enjoy Your DIY Water Bubbler
Building a water bubbler is easier than it seems and can be done in one day; they are fun to make, and they leave you with a lovely sense of accomplishment after they are done.
You only need minimal tools, and the materials can be purchased from a home store close to you. This lovely water bubbler will add a nice relaxing tone to your garden.
Enjoy your new DIY water bubbler project!